background image


5

SAVE THESE INSTRUCTIONS

⑮ 

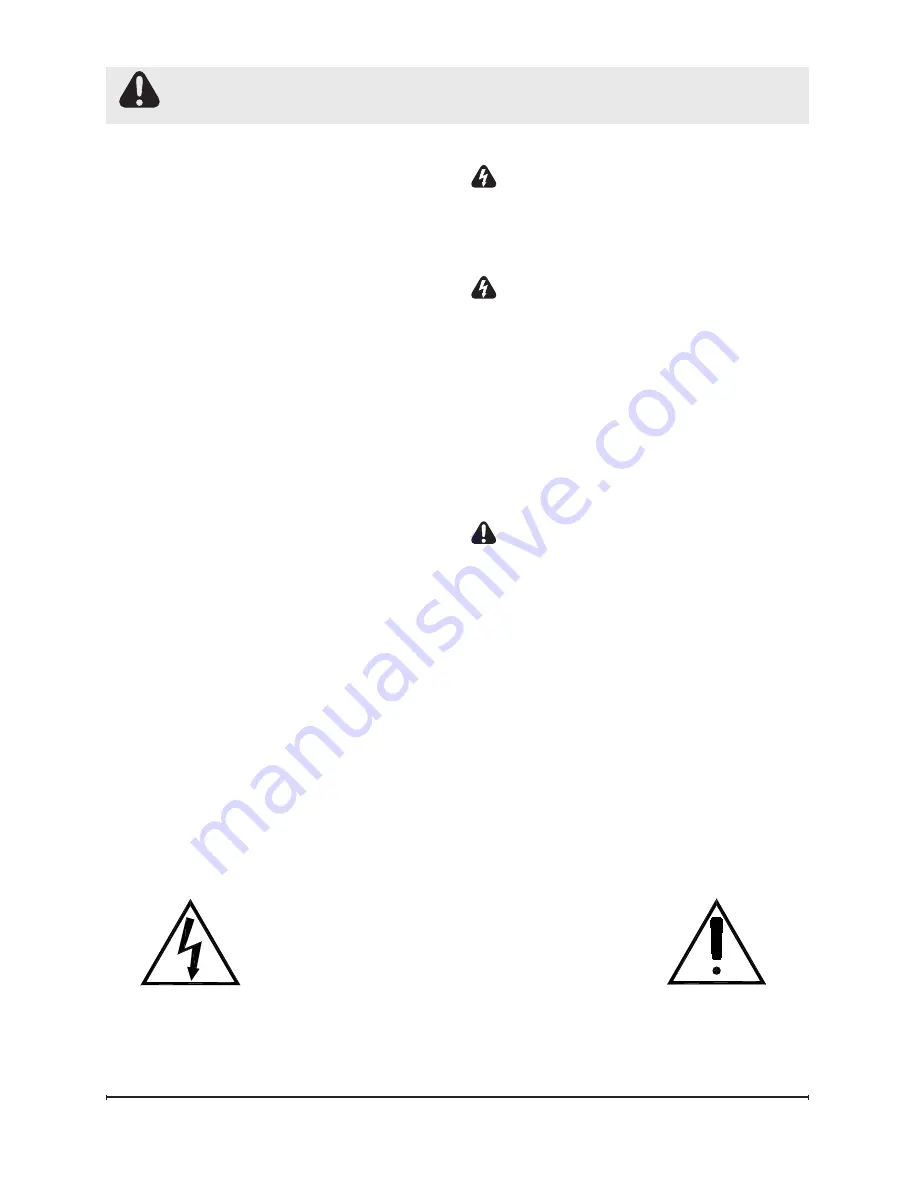
Always plug heaters directly 

into a wall outlet/receptacle. 

Never use with an extension cord 

or relocatable power tap (outlet/

power strip).

⑯ 

Do not burn wood or other materi

-

als in the electric fireplace.

⑰ 

Do not strike the fireplace glass.

⑱ 

Always use a certified electrician 

should new circuits or outlets be 

required. 

⑲ 

Always use properly grounded, 

fused and polarized outlets.

 Disconnect all power supply before 

performing any cleaning, mainte

-

nance or relocation of the unit.  

㉑ 

When transporting or storing the 

unit and cord, keep in a dry place, 

free from excessive vibration and 

store so as to avoid damage.

 WARNING: 

Remote control 

contains a small battery.  Keep away 

from children. 

If swallowed, seek 

medical attention immediately.

 WARNING: 

Do not install battery 

backwards, charge, put in fire or mix 

with used or other battery types - may 

explode or leak causing injury.

!

NOTE: 

Changes or modifications 

not expressly approved by the party 

responsible for compliance could void 

user's authority to operate the equip-

ment. 


CAUTION: 

TO PREVENT 

ELECTRIC SHOCK, MATCH 

WIDE BLADE OF PLUG TO 

WIDE SLOT AND FULLY INSERT.


IMPORTANT INSTRUCTIONS

CAUTION

RISK OF ELECTRIC SHOCK

DO NOT OPEN

NO USER-SERVICEABLE PARTS INSIDE


Summary of Contents for 690932XXXX

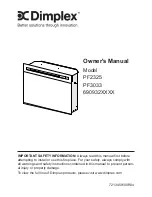
Page 1: ...ways read this manual first before attempting to install or use this fireplace For your safety always comply with all warnings and safety instructions contained in this manual to prevent person al injury or property damage To view the full line of Dimplex products please visit www dimplex com ...

Page 2: ...o emphasize CAUTION Procedures and techniques which if not carefully followed will result in damage to the equipment WARNING Procedures and techniques which if not carefully followed will expose the user to the risk of fire serious injury or death Welcome Congratulations 3 IMPORTANT INSTRUCTIONS 4 Fireplace Installation 6 Operation 9 Maintenance 14 Warranty 15 Replacement Parts 17 ...

Page 3: ...void the warranty Please record your model and serial numbers below for future reference model and serial numbers can be found on the Model and Serial Number Label of your fireplace Model and Serial Number Label NO NEED TO RETURN TO THE STORE Questions with operation or assembly Require Parts Information Product Under Manufacturer s Warranty Contact us at www dimplex com customer_support For Troub...

Page 4: ... Do not run the cord under carpet ing Do not cover cord with throw rugs runners or the like Arrange IMPORTANT INSTRUCTIONS cord away from traffic area and where it will not be tripped over To disconnect the unit turn the controls off then remove the plug from the outlet Do not insert or allow foreign objects to enter any ventilation or exhaust opening as this may cause an electric shock or fire or...

Page 5: ...rting or storing the unit and cord keep in a dry place free from excessive vibration and store so as to avoid damage WARNING Remote control contains a small battery Keep away from children If swallowed seek medical attention immediately WARNING Do not install battery backwards charge put in fire or mix with used or other battery types may explode or leak causing injury NOTE Changes or modification...

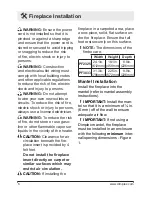
Page 6: ...nity of the heater CAUTION Clearance for air circulation beneath the fire place insert is provided by 4 felt feet Do not install the fireplace insert directly on carpet or similar surfaces which may restrict air circulation CAUTION If installing the Fireplace Installation fireplace in a carpeted area place a one piece solid flat surface un der the fireplace Ensure that all feet rest securely on th...

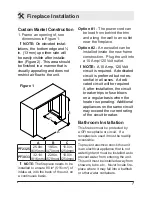
Page 7: ...fter installation the circuit breaker trips or fuse blows on a regular basis when the heater is operating Additional appliances on the same circuit may exceed the current rating of the circuit breaker Bathroom Installation This firebox must be protected by a GFI receptacle or circuit If a receptacle is used it must be readily accessible To prevent electrical shock this unit is an electrical applia...

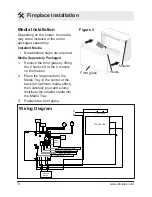
Page 8: ...lace the large media in the Media Tray in the center at the back for optimum media effect then carefully pour and evenly distribute the smaller media into the Media Tray 3 Replace the front glass Figure 2 Front glass Mounts Hooks Wiring Diagram FAN FAN NTC DISPLAY GESTURE FAN FAN NTC LOG MEDIA TOP LIGHT TOP LIGHT FLAME COLOUR MOTOR HEATER NEUTRAL LINE L PTC HEATER L L N N FLICKER MOTOR gWave BOARD...

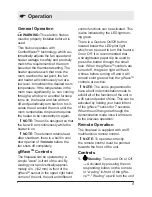
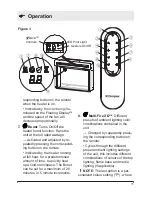
Page 9: ...ng your hand vertically approxi mately 4 in 102 mm in front of the gWaveTM sensor in the upper right hand corner of the unit the unit and different control functions can be activated This is also indicated by the LED light turn ing green There is a Gesture On Off button located below the LED pilot light which can be used to turn this feature On or Off It is recommended that a straightened papercli...

Page 10: ...per ated when the flame is not visible In this case the icon will remain on the Floating Display until the heater Operation is turned off or the flames are turned back on 4 Temperature Down Decreas es the heat output Adjusted by repeatedly press ing the corresponding button on the remote Indicated by setpoint tempera ture on the Floating Display decreasing and the speed of the fan decreasing to re...

Page 11: ...a predetermined amount of time to quickly heat up a cold room space The Boost can be set for a maximum of 20 minutes in 5 minute increments 8 Multi Fire XD Different presets of ambient lighting color combinations contained in the unit Changed by repeatedly press ing the corresponding button on the remote Cycles through the different preset ambient lighting settings of the unit this includes differ...

Page 12: ...after a preset duration from 30 minutes 0 5h to 8 hours in hour increments Activated and adjusted by re peatedly pressing the correspond ing button on the remote Indicated by the Floating Display changing to indicate 30 minutes 0 5 h through 8 hours The fireplace will automati cally turn off when the sleep timer reaches zero minutes The sleep timer can be cancelled at any time by pressing the slee...

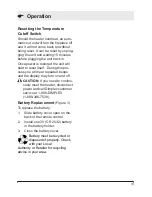
Page 13: ...ng this pro cess you will hear repeated beeps and the display may turn on and off CAUTION If you need to continu ously reset the heater disconnect power and call Dimplex customer service at 1 888 DIMPLEX 1 888 346 7539 Battery Replacement Figure 3 To replace the battery 1 Slide battery cover open on the back of the remote control 2 Install one 3V CR 2032 battery in the battery holder 3 Close the b...

Page 14: ... restore power Glass Cleaning The front glass is cleaned in the factory during the assembly opera tion During shipment installation handling etc the front glass may collect dust particles these can be removed by dusting lightly with a clean dry cloth To remove fingerprints or other marks the glass can be cleaned with a damp cloth The glass should be completely dried with a lint free cloth to preve...

Page 15: ...ipment and subject to the provisions of this warranty Dimplex warrants such products to be free from defects in material and workmanship for a period of 1 year from the date of the first purchase of such products The limited 1 year warranty period also applies to any implied warranties that may exist under applicable law Some jurisdictions do not allow limitations on how long an implied warranty l...

Page 16: ...HIRD PARTY WHETHER IN CONTRACT IN TORT OR ON ANY OTHER BASIS FOR ANY INDIRECT SPECIAL PUNITIVE EXEMPLARY CONSEQUENTIAL OR INCIDENTAL LOSS COST OR DAMAGE ARISING OUT OF OR IN CONNECTION WITH THE SALE MAINTENANCE USE OR INABILITY TO USE THE PRODUCT EVEN IF DIMPLEX OR ITS DIRECTORS OFFICERS OR AGENTS HAVE BEEN ADVISED OF THE POSSIBILITY OF SUCH LOSSES COSTS OR DAMAGES OR IF SUCH LOSSES COSTS OR DAMAG...

Page 17: ...41580200RP Front Glass Flat 1026770100RP 1026770200RP Media Tray Curved 0441580300RP N A Front Glass Curved 1026770300RP N A Partially Reflective Glass 5902750100RP 5902750400RP Brick Panels 0441600100RP 0441600300RP Flicker Assembly 5902830100RP 5902830200RP Lower Light Assembly 3001310100RP 3001310300RP Media LED Light Assembly 3001330300RP 3001330500RP Flame LED Light Assembly 3001330100RP 3001...

Reviews: