4
www.dimplex.com
MAINTENANCE
WARNINg:
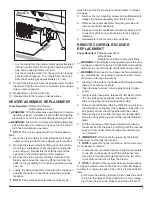
Disconnect all power coming to fireplace at
main service panel before attempting any maintenance
or cleaning to reduce risk of fire, electric shock or
damage to persons.
WARNINg:
If the fireplace was operating prior to
servicing allow at least 10 minutes for light bulbs and
heating elements to cool off to avoid accidental burning
of skin.
Light Bulb Replacement
Light bulbs need to be replaced when you notice a dark
section of the flame of when the clarity is reduced. There
are four bulbs under the log set which generate the flames
and embers.
Helpful Hints:
It is a good idea to replace all light bulbs
at one time if they are close to the end of their rated life.
Group replacement will reduce the number of times you
need to open the unit to replace light bulbs. Long life
bulbs are recommended to reduce the frequency of bulb
changes.
Bulb Requirements:
Quantity of 4 clear chandelier or
candelabra bulbs with an E-12 (small) socket base, 60 watt
rating. Example: GE 60BC or Philips 60CTC.
Do not exceed 60 Watts per bulb.
Tool Requirements:
Philips Screw Driver
Open steel curtain (remove glass doors if applicable).
1.
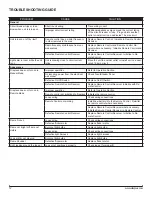
The bulbs can be accessed from either side of the
fireplace.
Remove two screws on log bracket and remove log
2.
plate (Figure 3).
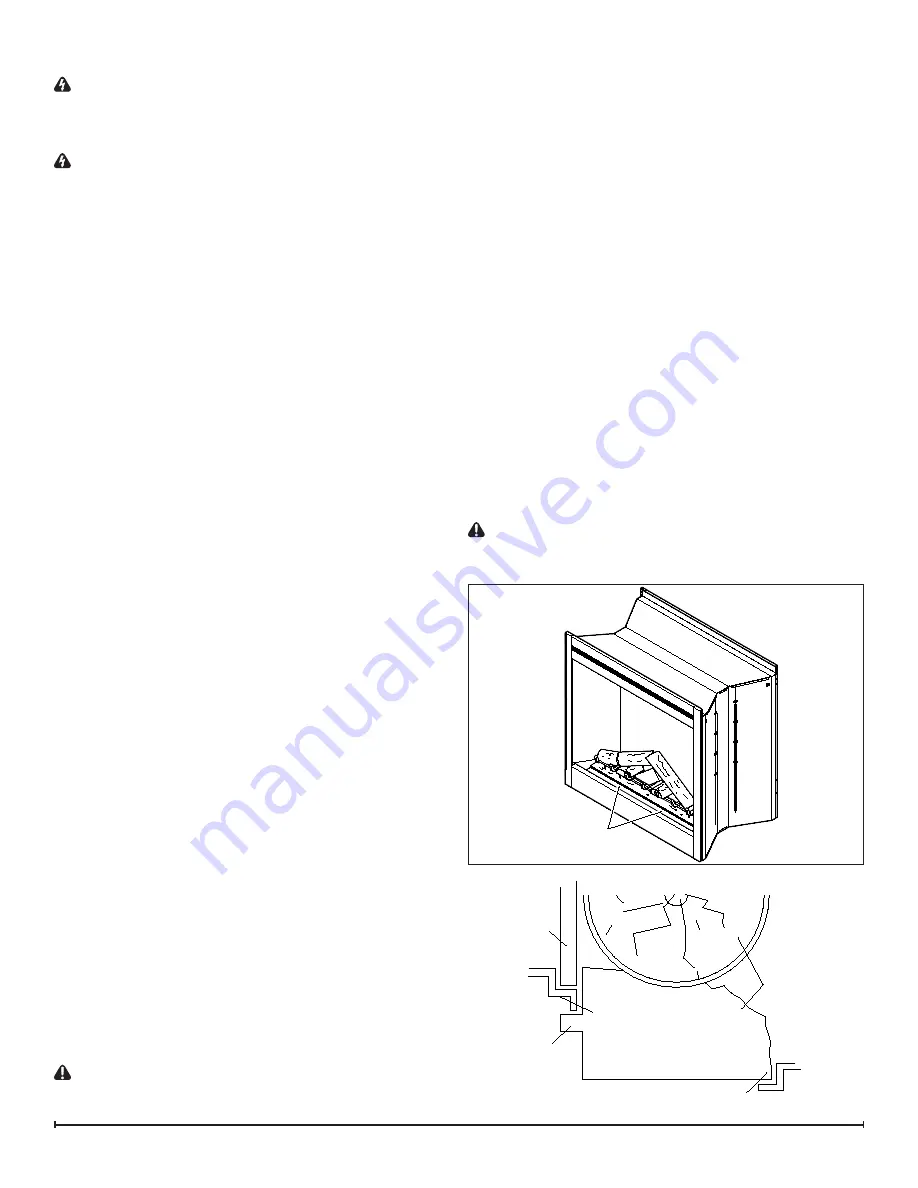
Pull the rear edge of the log set forward by grasping
3.
the ember bed by the sides, pull firmly until the rear tab
pops out from under the back ledge, then lift the logs
out. (Figure 4)
!
IMPORTANT:
Only handle the log-set by the plastic
ember-bed, not the logs themselves.
!
NOTE:
Log-set fits tightly into firebox. Some force may
be necessary to remove.
Examine the bulbs to determine which bulbs require
4.
replacement.
Remove the flicker rod. Begin by removing the plastic
5.
grommet, which holds the end of the rod in the left
bracket. Grasp and turn it ¼ turn, releasing it from the
slot in the bracket, and then lift it out of the bracket.
The motor side of the rod may be attached to the motor
6.
in one of two ways:
Secured with a spring - attach needle nose pliers to
•
the spring on the motor shaft and pull while rotating in
the same direction of the spring winding.
Secured with a rubber gasket - pull and twist the gas-
•
ket away from the motor simultaneously until it comes
off the motor shaft.
CAUTION:
Ensure that the flicker rod does not get
bent during removal and re-connecting, ensure the rod is
straight when replaced, otherwise, it may cause excessive
noise during operation.
!
NOTE:
To replace the flicker rod that uses a spring,
attach needle nose pliers to the flicker rod spring and push
onto the flicker motor shaft while rotating in the opposite
direction of the spring winding.
Unscrew bulbs counter clockwise.
7.
Insert new bulbs.
8.
Reassemble in the reverse order as above.
9.
!
NOTE:
To replace the log set insert the front edge,
pushing back down until the rear tab snaps under the back
ledge and the logs are resting against the partially reflective
glass.
Partially Reflective Glass Cleaning
The partially reflective glass is cleaned in the factory during
the assembly operation. During shipment, installation,
handling, etc., the partially reflective glass surface may
collect dust particles; these can be removed by buffing
lightly with a clean dry cloth.
To remove fingerprints or other marks, the partially
reflective glass can be cleaned with a damp cloth using
good quality household glass cleaner. The partially
reflective glass should be completely dried with a lint free
cloth or paper towel.
CAUTION:
Do not use abrasive cleaners on partially
reflective glass surface or spray liquids directly onto any
surface.
Figure 3
Ember Bed
Assembly
Front Edge
Rear Tab
Back Ledge
Mirror
Figure 4
SCREWS

