background image

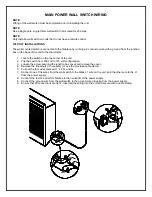
MAIN POWER


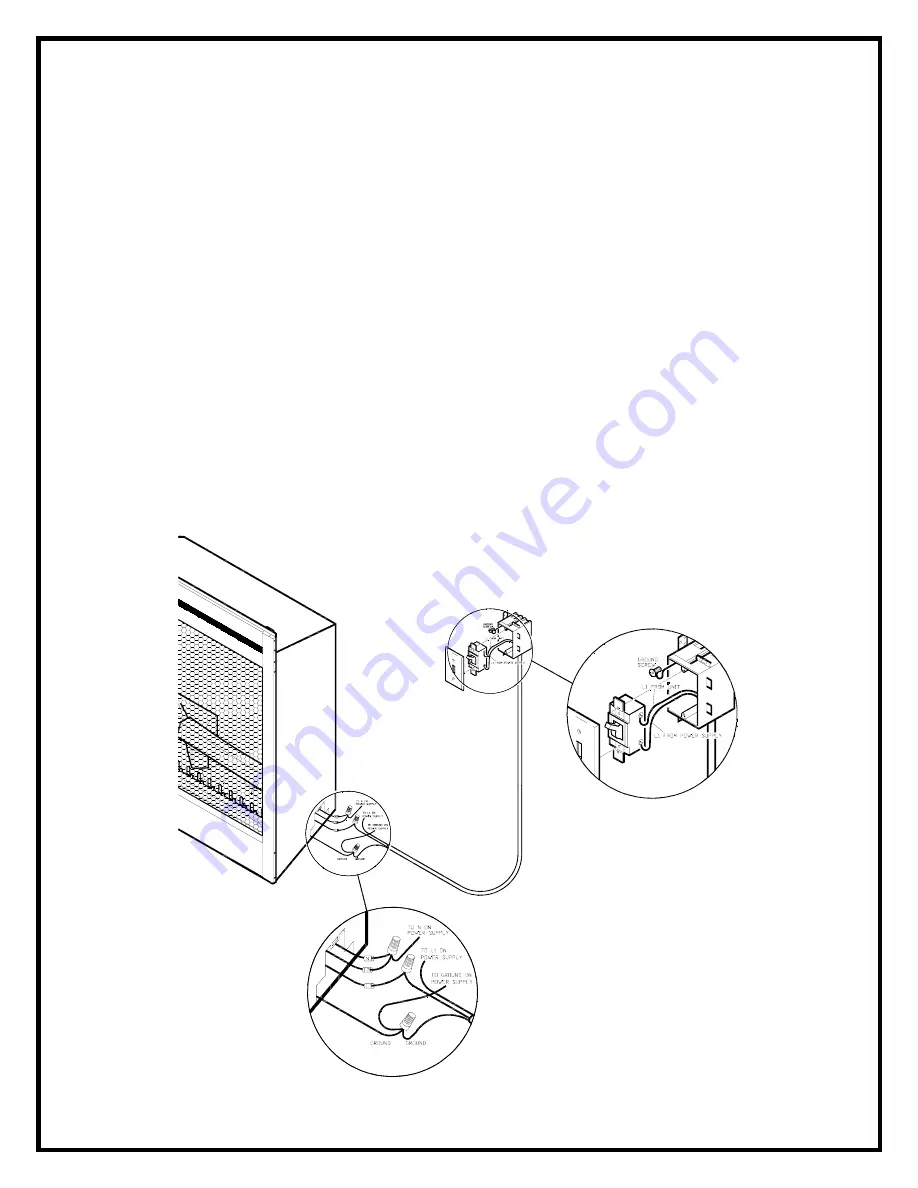
WALL SWITCH WIRING 


NOTE: 

Wiring of the wall switch must be completed prior to installing the unit. 


NOTE: 

Use a single pole, single throw wall switch that is rated for 20 amps. 


NOTE: 

Only install a wall switch on units that do not have a remote control. 


120 VOLT INSTALLATIONS  


The wall mounted switch is connected to the fireplace by running a 2 conductor wire with a ground from the junction 
box on the back of the unit to the thermostat.   
 

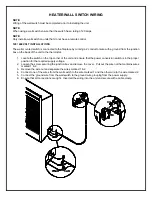
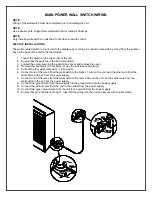
1.  Locate the switch on the top corner of the unit. 
2.  Flip the switch from 230 volt to 115 volt configuration. 
3.  Loosen the screw securing the junction box cover and remove the cover. 
4.  Remove the knockouts (if necessary) or use the provided cable clamp. 
5.  Pull out the four wires marked L1, L2, N, and G. 
7.  Connect one of the wires from the wall switch to the black L1 wire on the unit, and the other wire to the L1 

from the power supply. 

8.  Connect the red L2 and white N wires to the neutral from the power supply.   
8.  Connect the ground wire from the wall switch to the ground wire grouping from the power supply. 
9.  Ensure that all connections are tight.  Insert all the wiring into the unit and secure with a cable clamp. 


Summary of Contents for BF36DX

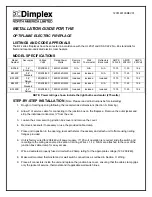
Page 1: ...before installing 1 Rough in framing opening following the recommended dimensions Section A Framing 2 Allow 8 of service cable for connecting to the junction box on the fireplace Remove the outer jac...

Page 2: ...ational electrical codes for rated power consumption For 208 240 volt installations use three conductor non metallic sheath cable with ground wire for the incoming power supply on Optiflame fireplace...

Page 3: ...the green ground wire from the unit to the ground from the power supply 7 When the unit has been configured for the appropriate power supply voltage ensure that all connections are tight Insert all th...

Page 4: ...h on the top corner of the unit and ensure that the power conversion switch is in the proper position for the required supply voltage 2 Loosen the screw securing the junction box and remove the cover...

Page 5: ...at 1 Locate the switch on the top corner of the unit and ensure that the power conversion switch is in the proper position for the required supply voltage 2 Loosen the screw securing the junction box...

Page 6: ...orner of the unit 2 Flip the switch from 230 volt to 115 volt configuration 3 Loosen the screw securing the junction box cover and remove the cover 4 Remove the knockouts if necessary or use the provi...

Page 7: ...and remove the cover 4 Remove the knockouts if necessary or use the provided cable clamp 5 Pull out the four wires marked L1 L2 N and G 6 Connect one of the wires from the wall switch to the black L1...

Page 8: ...WIRING DIAGRAM WITH REMOTE CONTROL...

Page 9: ...WIRING DIAGRAM WITHOUT REMOTE CONTROL...

Page 10: ...1367 Industrial Road Cambridge Ontario Canada N1R 7G8 1 888 DIMPLEX 1 888 346 7539 Approved for use in the United States and Canada...

Reviews: