- 25 -
- 24 -
Operation
Operation
Heater Enable & Disable Function:
From the touchscreen controls touch and hold the Heat icon for 10 seconds. The
Ember Bed will flash 6 times to indicate that the heater function is disabled. When
the heat is disabled, pressing the Heat button will cause the Ember Bed to flash,
but the heater will not operate. To enable the heater again, touch and hold the Heat
icon for 10 seconds.
NOTE:
When the control panel is inactive, press it once to illuminate, now it is ready
to action commands.
NOTE:
This function cannot be set with the remote control.
APP PAIRING MODE
Hold the timer icon for 5 seconds and the heat icon flashes. At this time, TuyaSmart
can connect the fireplace through Bluetooth. The Timer button is used to activate or
deactivate the sleep timer.
TIMER CONTROL
Pressing the Timer turns the timer on and ‘8h’ appears on the display. Pressing
the Timer a second time within 10 seconds will turn the timer off. To set the time,
use the Level Selection control to select the desired time from the following:
8h-1h-2h-3h-4h-5h-6h-7h.
The fireplace will shut off after the selected time period. Switching the fireplace
OFF with the Power button will clear any timer setting.
EMBER BED
The Ember Bed button changes the Ember Bed by cycling through the seven colour
options: colour rotation ‘d1’ and smoldering (fluctuating brightness) embers option
‘d9’. With ‘d8’ through ‘d2’ displayed, the Level Selection button will adjust the
brightness of the Ember Bed from 3- High, 2-Medium, and 1-Low.
LEVEL SELECTION BUTTON
The Level Selection button is used to adjust the heat setting, as well flame and
Ember Bed brightness and timer setting. See relevant section for more details.
EN
Remote control
Remove the battery cover on the back of the remote by sliding downwards and insert
2 x AA batteries ensuring that the batteries are fitted correctly. Refit the battery cover.
NOTE:
Please make sure the fireplace is plugged in and the ON / OFF Power Switch
on the fireplace is in the ON position before set any function.
Below you will find an example of the steps how to set the 7-day timer.
NOTE:
Firstly, you must set the time with the remote control (steps 1 to 3) before you
can set the 7-day timer.
Example:
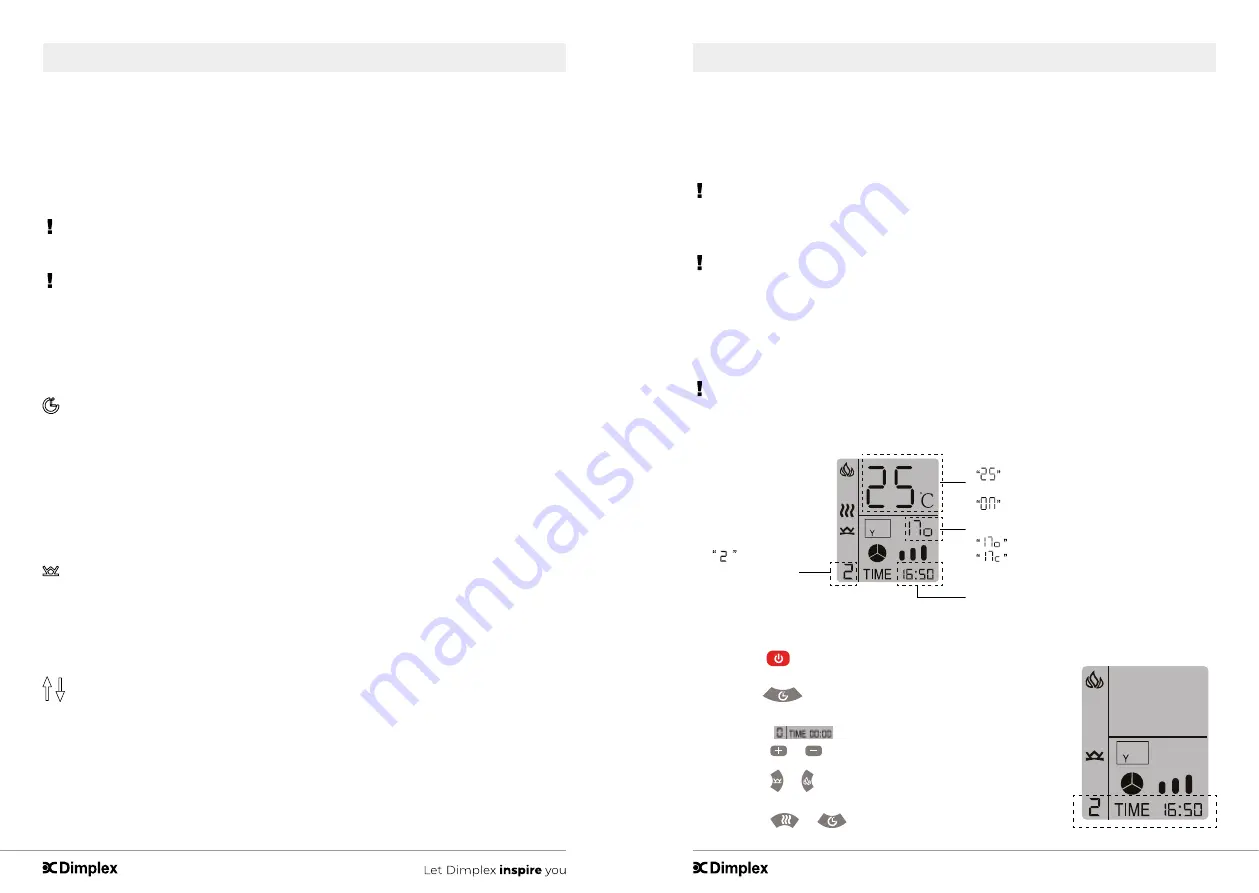
The time is 16.50 on Tuesday and you would like the fireplace to turn on
automatically at 17.00 on Tuesday and you also want to set the room temperature at 25C
and to turn off at 18.00 on Tuesday.
NOTE:
Make sure the fireplace turns on flame and Ember Bed. Hold the remote
handset and point to the front face of fireplace and the fireplace receives a remote
signal, the Ember Bed will blink once.
Room temperature setting.
means control the house
temperature in 25�C
means the heating keep working.
Time to turn on and off.
means turn on at 17:00
means turn off at 17:00
The current time.
Day of the week.
Can choose from
1-7.
means
Tuesday.
Follow below steps to set the time with the remote control.
Step 1: Press
to wake up the remote handset.
Step 2: Hold
5 seconds to enter the current demo timer setting.
Step 3: When
flash,
Press
or
to set today to Tuesday (example).
Press
or to set the hour to 16.
Press
or
to set the minute to 50.
Summary of Contents for DVF1200
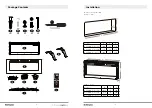
Page 3: ...5 4 Installation IN WALL IN WALL INSTALLATION Installation INSTALLATION HEIGHT A C B D F E...
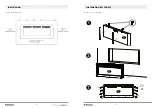
Page 4: ...7 6 Installation ON WALL ON WALL INSTALLATION Installation IN WALL IN WALL INSTALLATION...
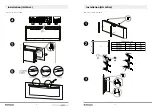
Page 5: ...9 8 Installation TABLE TOP INSTALLATION Installation ON WALL ON WALL INSTALLATION...
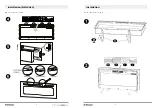
Page 6: ...10 Installation ON WALL TABLE TOP INSTALLATION...

