background image

10  

www.dimplex.com

  Fireplace Installation 

Install the supplied wall 

7. 

anchors on the marked 

locations by placing a #2 

Phillips screwdriver into the 

recess of the anchor. 
Press the anchor into the wall 

8. 

in the desired marked position 

while turning the anchor 

clockwise until it is flush with 

the wall. 
Insert the wall anchor screws 

9. 

through the wall bracket and 

thread into the wall anchors. 

Tighten the screw (Figure 3).
Install the remaining screws 

10. 

through the bracket and into 

the wall studs as required. 

!


NOTE:

  At least two of 

the mounting screws must be 

installed into a wall stud.

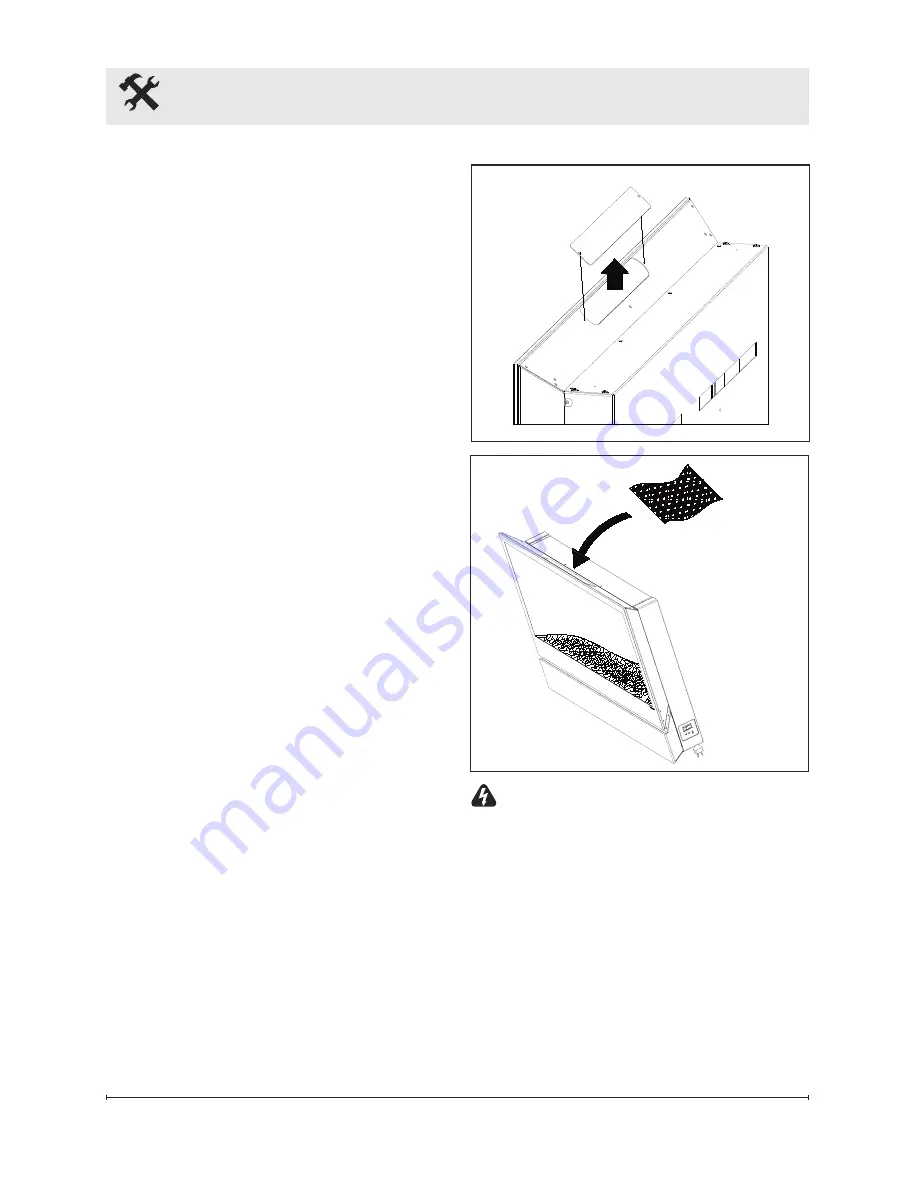
remove the (2) screws 

11. 

securing the firebox enclosure 

cover. (Figure 4)
With the firebox tilted forward, 

12. 

carefully pour and evenly 

distribute the supplied glass 

rock media on the front tray of 

the firebox (Figure 5).
once complete, use the bare 

13. 

end of the enclosed rake to 

make sure the glass rock 

media is level in the firebox. 

(Figure 6)

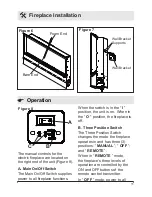
Figure 4

Figure 5

  WARNINg: 

When raking the 

glass rocks be careful that the 

rake does not scratch the mirror.

once the rocks are level, use 

14. 

the foam end of the rake to 

remove any dust left from 

adding the glass rocks.
replace the enclosure cover.

15. 

Mount the unit on the wall as 

16. 

shown (Figure 7).

Summary of Contents for DWF36

Page 1: ...this manual first before attempting to install or use this fireplace For your safety always comply with all warnings and safety instructions contained in this manual to prevent personal injury or prop...

Page 2: ...UTION Procedures and techniques which if not carefully followed will result in damage to the equipment Warning Procedures and techniques which if not carefully followed will expose the user to the ris...

Page 3: ...arranty Please record your model and serial numbers below for future reference model and serial numbers can be found on the Model and Serial Number Label of your fireplace NO NEED TO RETURN TO THE STO...

Page 4: ...trical or mechanical adjustment or repair Do not use outdoors Important Instructions This fireplace is not intended for use in bathrooms laundry areas and similar indoor locations Never locate heater...

Page 5: ...875 Watts Do not burn wood or other materials in the wall mount fireplace Do not strike the glass front Always use a certified electrician should new circuits or outlets be required Always use properl...

Page 6: ...ul interference in a residential installation This equipment generates uses and can radiate radio frequency energy and if not installed and used in accordance with the instructions may cause harmful i...

Page 7: ...ted circuit will be required if after installation the circuit breaker trips or the fuse blows on a regular basis when the heater is operating Additional appliances on the same circuit may exceed the...

Page 8: ...wall mounted fireplaces only Improper use or use for purposes other than intended may cause damage or injury Installation WARNING Failure to install the fireplace as instructed below may result in da...

Page 9: ...apers clothes and curtains The wall mounting bracket 2 must be mounted to at least two 2 wall studs Studs should be accessed through two 2 wall bracket holes in one of the following combinations A C B...

Page 10: ...ote At least two of the mounting screws must be installed into a wall stud Remove the 2 screws 11 securing the firebox enclosure cover Figure 4 With the firebox tilted forward 12 carefully pour and ev...

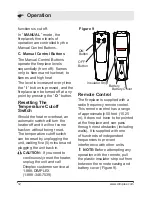
Page 11: ...in the O position the fireplace is off B Three Position Switch The Three Position Switch changes the mode the fireplace operates in and has three 3 positions MANUAL OFF and REMOTE When in REMOTE mode...

Page 12: ...emperature cutoff switch can be reset by unplugging the unit waiting five 5 minutes and plugging the unit back in CAUTION If you need to continuously reset the heater unplug the unit and call Dimplex...

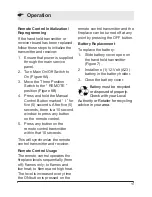
Page 13: ...ransmitter within that 10 seconds This will synchronize the remote control transmitter and receiver Remote Control Usage The remote control operates the fireplace levels sequentially from off flames o...

Page 14: ...an be removed by dusting lightly with a clean dry cloth To remove fingerprints or other marks the mirror can be cleaned with a damp cloth The mirror should be completely dried with a lint free cloth t...

Page 15: ...d by this limited warranty have been tested and inspected prior to shipment and subject to the provisions of this warranty Dimplex warrants such products to be free from defects in material and workma...

Page 16: ...removal of the product or part or any replacement product or part or any labour or transportation costs Such costs shall be the purchaser s responsibility What Dimplex and its dealers and service agen...

Page 17: ...sembly 2203540100RP On Off Switch 2800070200RP Remote Receiver 3000820100RP Switch Board 3000820300RP Flicker Rod 5902180100RP Cordset 4100190100RP Capacitor 2300030100RP LED Driver Board 3000810100RP...

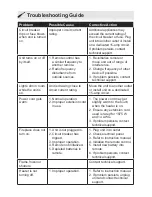
Page 18: ...t rating Move the unit to another outlet or install unit on a dedicated 15 amp circuit Power cord gets warm 1 Normal operation 2 Improper extension cord in use 1 The power cord may get slightly warm t...

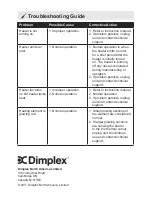
Page 19: ...rsists unplug unit and contact technical support Heater fan turns on but heater lacks heat 1 Improper operation 2 Normal operation 1 Refer to instruction manual 2 Normal operation 3 If problem persist...

Reviews: