background image

7


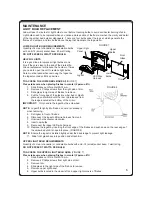
7.  Unscrew bulbs counter clockwise.


8.  Insert new bulbs.


9.  Re-install upper light panel.


10.  Slide front glass back into position and attach trim.


11. Re-insert the fi rebox. 

Please take care when placing fi rebox in mantel (2 person lift)

PURIFIRE™ FILTER

The Purifi re™ fi lter supplied in your fi rebox is reusable and washable.  The fi lter should be cleaned or 
replaced on average once a year.  To clean the fi lter gently tap fi lter on a hard surface to dislodge any 
loose dirt or debris, and then clean with water.  No soap or cleaning products are recommended.  The 
fi lter size is 508mm x 254mm x 25mm (20inch X 10inch X 1inch) rated at MERV 10.

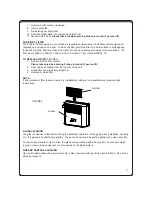
TO REPLACE FILTER 

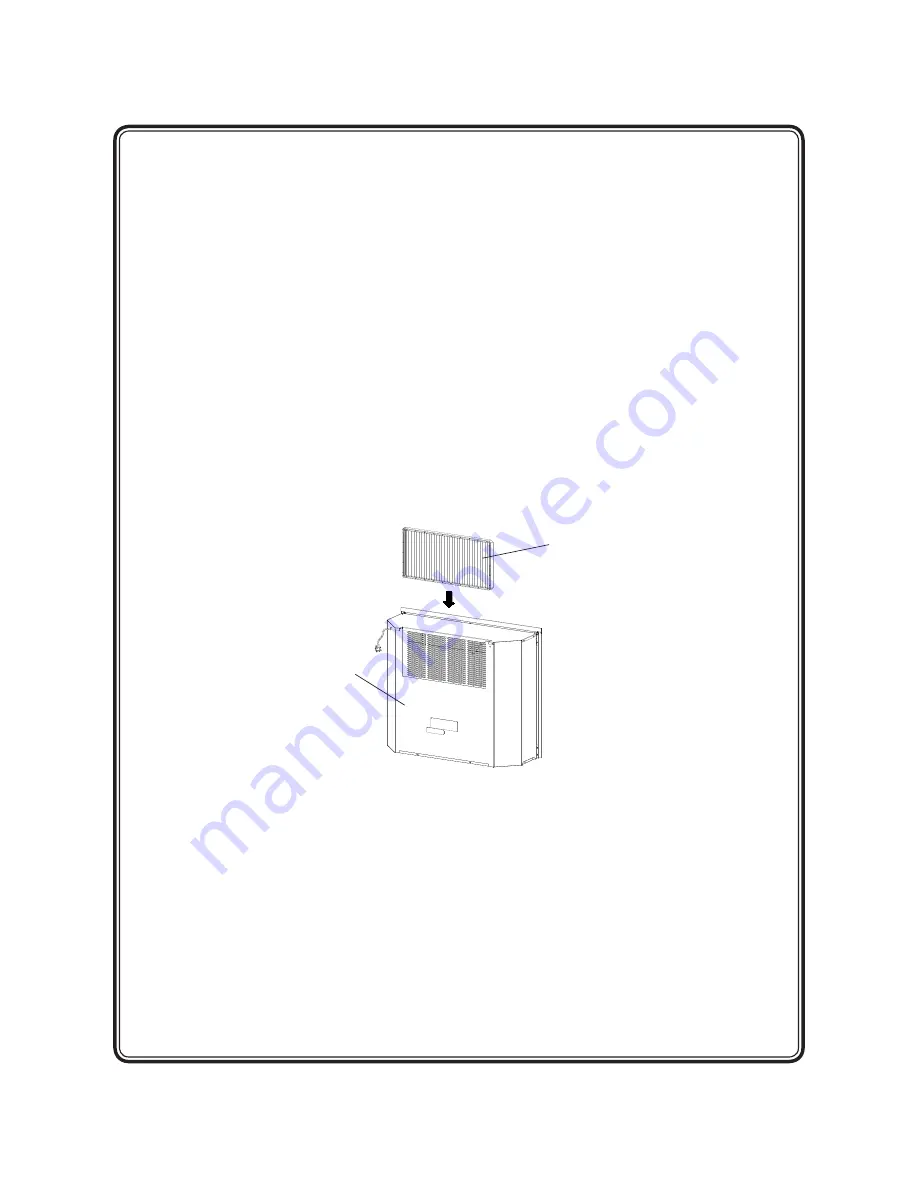
(FIGURE 9)

 1. 

Remove 

fi rebox from mantel.


Please take care when placing fi rebox in mantel (2 person lift)


2.  Filter can be accessed from the top rear of the unit.

 3. 

Grasp 

fi lter and slide fi lter straight up.


4.  Replace or clean fi lter.

NOTE

If after market air fi lter is used ensure it is installed according to the manufacturers recommended 
instructions.


FIGURE 9

Air Filter

Firebox

GLASS CLEANING

The glass is cleaned in the factory during the assembly operation.  During shipment, installation, handling, 
etc., the glass may collect dust particles.  These can be removed by dusting lightly with a clean dry cloth.

To remove fi ngerprints or other marks, the glass can be cleaned with a damp cloth.  To prevent scratch-
ing, do not use abrasive cleaners or spray liquids on the glass surface.

FIREBOX SURFACE CLEANING

Use a cloth dampened with warm water only to clean painted surfaces of the electric fi rebox.  Do not use 
abrasive cleaners.

Summary of Contents for LAGUNA LAGFB2

Page 1: ...LAGUNA FIREBOX LAGFB2 08 51849 0 ISS1 UK ...

Page 2: ...not work switch the unit off for 5 minutes and try again Consult the Operation section of your practical users guide for further information 4 The information regarding the model of your firebox can be found on the rating plate located on the side adjacent to the supply cord 5 If you have any technical questions regarding the operation of your fireplace or require service for your fireplace please...

Page 3: ...ce facility for examination electrical or mechanical adjustment or repair 10 Do not use outdoors 11 Do not use this firebox in the immediate surroundings of a bath a shower or a swimming pool 12 Do not install the firebox directly on carpet or a similar surface which may restrict air circulation beneath the unit 13 Do not run the cord under carpeting DO NOT COVER cord with throw rugs runners or th...

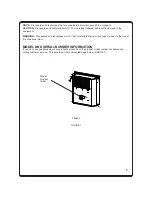
Page 4: ...equipment WARNING Procedures and techniques which if not carefully followed will expose the user to the risk of fire or serious injury MODEL AND SERIAL NUMBER INFORMATION If you have any questions about our products please have the product model number available upon calling customer service To locate the model number label see below FIGURE 1 FIGURE 1 Firebox Model Number Label ...

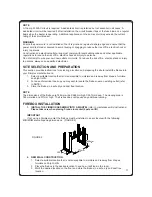
Page 5: ...cation and preparing the site to install the firebox into your Dimplex mantel surround 1 Select a suitable location that is not susceptible to moisture and is away from drapes furniture and high traffic 2 For ease of electrical hook up you may wish to locate the firebox near an existing outlet refer to NOTE 3 Store the firebox in a safe dry and dust free location NOTE The dimensions of the firebox...

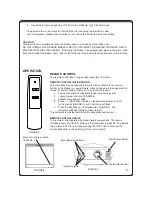
Page 6: ... power to the remote control in the firebox i e power failure breaker tripped main power switch is turned off remote battery failure or if a new remote is used 1 Ensure that power is supplied through main service panel 2 Locate manual controls FIGURE 4 3 Activate main power switch 4 Press ON button located on the Manual Selection Control for 3 seconds FIGURE 5 All 3 indicators will flash 5 Press t...

Page 7: ...sing this button has the same effect as the OFF button on the remote control Pressing once will shut the unit off FIGURE 6 B OFF Switch A ON Switch Level 2 Indicator Level 3 Indicator Level 1 Indicator HEATER THERMOSTAT CONTROL To adjust the temperature to your individual requirements turn the thermostat control clockwise all the way to turn on the heater When the room reaches the desired temperat...

Page 8: ... of the plastic ember bed or plastic grate up and forward until the rear tab releases from the ledge located at the bottom of the mirror IMPORTANT Only handle the logset by the emberbed NOTE Logset fits tightly into firebox so care is necessary when removing 5 Set logset in front of firebox 6 Disconnect the logset LED wire harness from unit 7 Unscrew bulbs counter clockwise 8 Insert new bulbs 9 Re...

Page 9: ...tel Please take care when placing firebox in mantel 2 person lift 2 Filter can be accessed from the top rear of the unit 3 Grasp filter and slide filter straight up 4 Replace or clean filter NOTE If after market air filter is used ensure it is installed according to the manufacturers recommended instructions FIGURE 9 Air Filter Firebox GLASS CLEANING The glass is cleaned in the factory during the ...

Page 10: ...le to advise you should you need to purchase any spares Please do not return any faullty product to us in the first instance as this may result in loss or damge and delay in providing you with a staisfactory service Please retain your receipt as proof of purchase Light bulbs and batteries are not covered in the warranty SERVICE Contact your local dealer for service or warranty information RECYCLIN...

Page 11: ...5 Stamp Signature of retailer 6 Fault Defect 7 Contact Number Address Dimplex A Division of GDC Group Ltd Millbrook House Grange Drive Hedge End Southampton Hampshire SO30 2DF 9 TEL 0844 879 3588 Fax 0844 879 3582 WEBSITE www dimplex co uk Republic of Ireland TEL 01 8424833 ...

Reviews: