background image


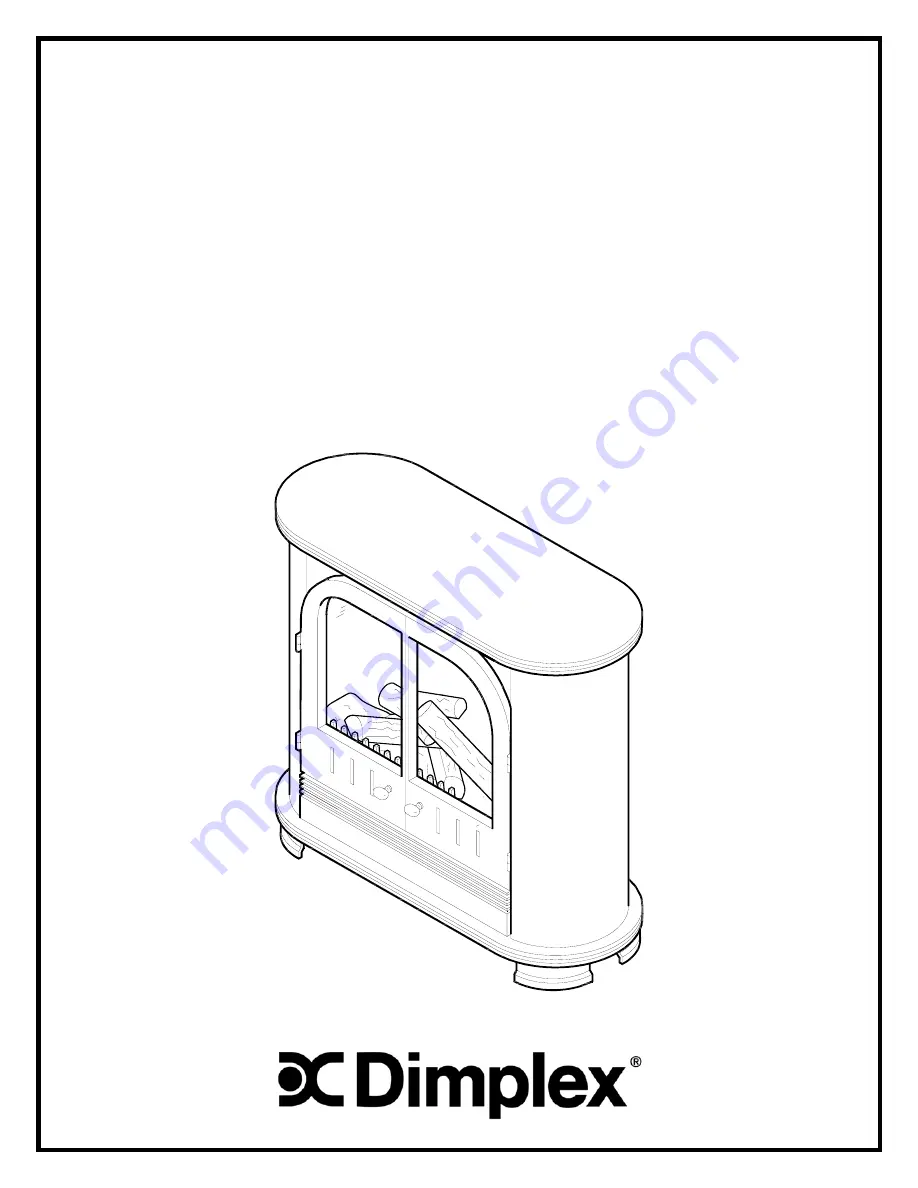
PARTS AND SERVICE MANUAL 


FOR THE MILANO

ef

 STOVE 


MODEL NUMBER: 


EDS7001F 


Summary of Contents for MILANOef EDS7001F

Page 1: ...PARTS AND SERVICE MANUAL FOR THE MILANOef STOVE MODEL NUMBER EDS7001F ...

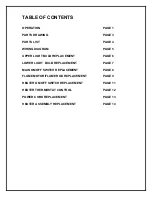
Page 2: ... 5 UPPER LIGHT BULB REPLACEMENT PAGE 6 LOWER LIGHT BULB REPLACEMENT PAGE 7 MAIN ON OFF SWITCH REPLACEMENT PAGE 8 FLAME MOTOR FLAME ROD REPLACEMENT PAGE 9 HEATER ON OFF SWITCH REPLACEMENT PAGE 11 HEATER THERMOSTAT CONTROL PAGE 12 POWER CORD REPLACEMENT PAGE 13 HEATER ASSEMBLY REPLACEMENT PAGE 14 ...

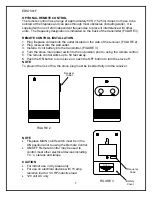
Page 3: ...turn clockwise until you hear the click again and the heater will turn on To turn the heater off switch the HEATER ON OFF SWITCH to the OFF position NOTE When the heater is switched ON the heater fan will operate The heater element may or may not be on depending on the thermostat control setting SEE HEATER THERMOSTAT CONTROL RESETTING THE TEMPERATURE CUTOFF SWITCH This unit is equipped with a ther...

Page 4: ...ry into the transmitter FIGURE 3 4 Turn the stove main power switch to the on position prior to using the remote control 5 The remote control works up to 50 feet away 6 Push the ON button to turn stove on push the OFF button to turn the stove off NOTE To prevent the risk of fire the stove plug must be inserted fully into the receiver NOTE Fireplace MAIN on off switch must be in the ON position pri...

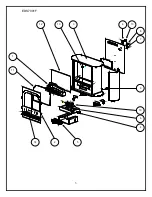
Page 5: ...3 EDS7001F 8 12 6 13 9 5 4 6 10 13 1 11 14 2 3 7 ...

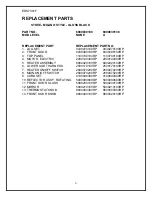
Page 6: ...2000140300RP 2000140300RP 5 HEATER ASSEMBLY 6902420100RP 6902420100RP 6 LOWER LIGHT HARNESS 2500170100RP 2500170100RP 7 HEATER ON OFF SWITCH 2800070200RP 2800070200RP 8 MAIN ON OFF SWITCH 2800070200RP 2800070200RP 9 CORDSET 4100040300RP 4100040300RP 10 REFLECTOR ASS Y ROTATING 5900080600RP 5900080600RP 11 FRONT DOOR GLASS 5900200100RP 5900200100RP 12 MIRROR 5900210100RP 5900210100RP 13 THERMOSTAT ...

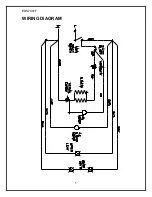
Page 7: ...5 EDS7001F WIRING DIAGRAM ...

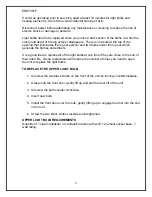
Page 8: ...mes and embers It is a good idea to replace all of the light bulbs at one time if they are close to the end of their rated life Group replacement will reduce the number of times you need to open the unit to replace the light bulbs TO REPLACE THE UPPER LIGHT BULB 1 Unscrew the two black knobs on the front of the unit by turning counterclockwise 2 Grasp onto the front door gently lift up and pull th...

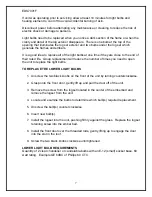
Page 9: ...ou need to open the unit to replace the light bulbs TO REPLACE THE LOWER LIGHT BULBS 1 Unscrew the two black knobs on the front of the unit by turning counterclockwise 2 Grasp onto the front door gently lift up and pull the door off of the unit 3 Remove the screw from the logset located in the center of the emberbed and remove the logset from the unit 4 Locate and examine the bulbs to determine wh...

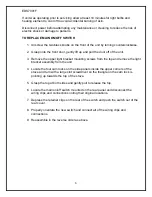
Page 10: ...unting screws from the top and remove the light bracket assembly from the unit 4 Locate the four cam locks on the side panels inside the upper corners of the stove and turn with a large slot screwdriver so the triangle on the cam lock is pointing up towards the top of the stove 5 Grasp the top at both sides and gently pull to release the top 6 Locate the main on off switch mounted on the rear pane...

Page 11: ...he light bracket assembly from the unit 5 Locate the four cam locks on the side panels inside the upper corners of the stove and turn with a large slot screwdriver so the triangle on the cam lock is pointing up towards the top of the stove 6 Grasp the top at both sides and gently pull to release the top 7 Locate and remove the mirror by pulling it out of the slots being careful not to bump or drop...

Page 12: ... of the rod to the left and cut the reflector spring with wire cutters DO NOT TAKE THE LEFTOVER SPRING OFF THE END OF THE REFLECTOR ROD 15 Remove the 2 motor mounting screws with a short handled screw driver 16 Discard the old flicker motor 17 Pick up the 1 rubber sleeve and locate over remaining spring on reflector rod ENSURE TO LOCATE THE LARGE OPENING OF THE RUBBER SLEEVE OVER THE REMAINING SPR...

Page 13: ... mounting screws from the top and remove the light bracket assembly from the unit 4 Locate the four cam locks on the side panels inside the upper corners of the stove and turn with a large slot screwdriver so the triangle on the cam lock is pointing up towards the top of the stove 5 Grasp the top at both sides and gently pull to release the top 6 Locate the heater on off switch mounted on the rear...

Page 14: ...he top and remove the light bracket assembly from the unit 4 Locate the four cam locks on the side panels inside the upper corners of the stove and turn with a large slot screwdriver so the triangle on the cam lock is pointing up towards the top of the stove 5 Grasp the top at both sides and gently pull to release the top 6 Locate the heater thermostat mounted on the rear panel and disconnect the ...

Page 15: ...ck is pointing up towards the top of the stove 5 Grasp the top at both sides and gently pull to release the top 6 Locate the main on off switch mounted on the rear panel and disconnect the wiring connections noting their original locations 7 Remove 10 screws from back panel assembly 8 Slide the rear panel up approximately four inches 9 Locate and remove the wiring connections for the power cord 10...

Page 16: ...embly from the unit 5 Locate the four cam locks on the side panels inside the upper corners of the stove and turn with a large slot screwdriver so the triangle on the cam lock is pointing up towards the top of the stove 6 Grasp the top at both sides and gently pull to release the top 7 Locate and remove the mirror by pulling it out of the slots being careful not to bump or drop it 8 Remove 10 scre...

Page 17: ...e rod flame motor assembly thru the rear of the unit 17 Remove the front grill 18 Remove the front panel screws from both side panels using a short handled screwdriver 19 Locate and remove all of the heater assembly retaining screws from the blower mounting panel 20 Disconnect the wiring clips and connections noting their original locations and remove the heater assembly 21 Properly orientate the ...

Reviews: