background image

  01/02

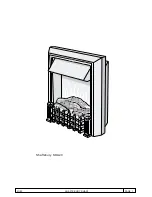
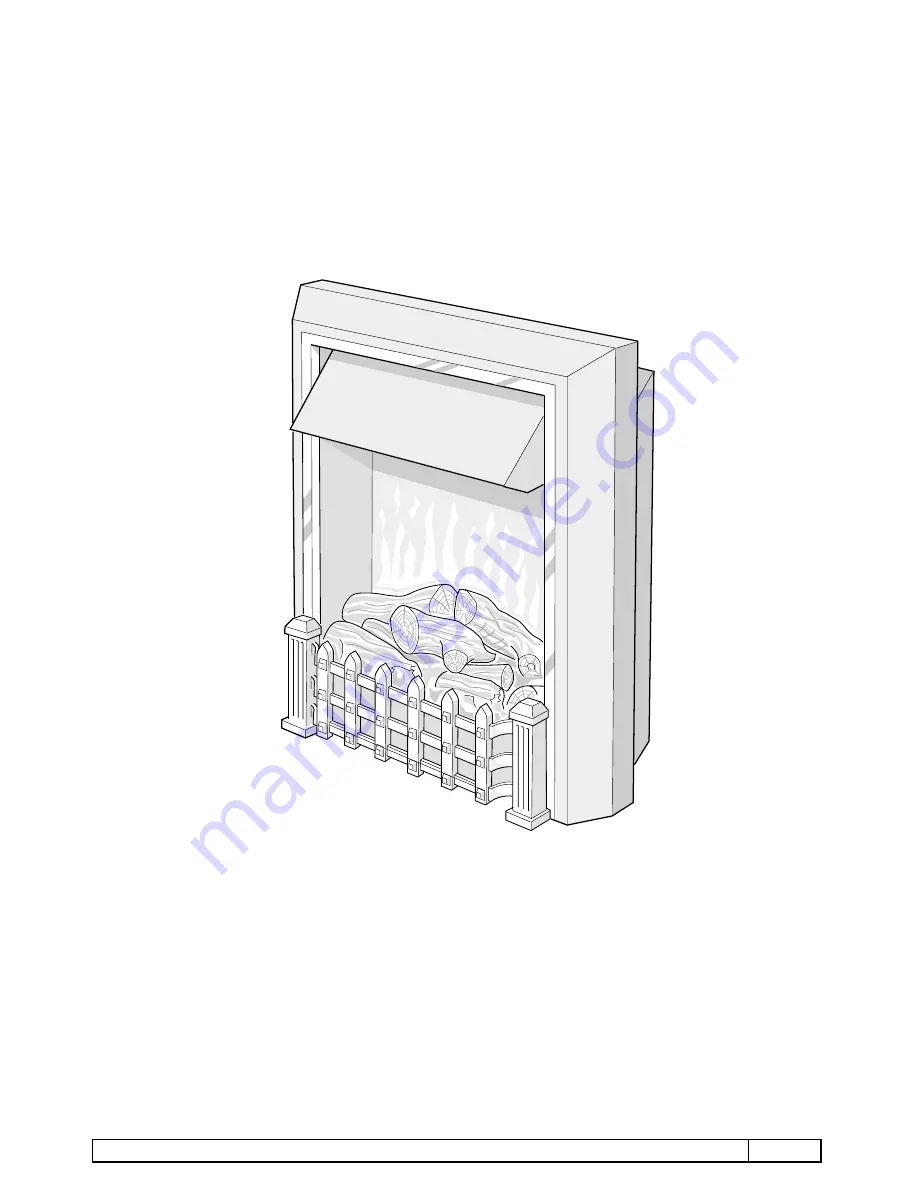
SHAFTSBURY SHA20

PAGE 1

Shaftsbury SHA20

Summary of Contents for Shaftsbury SHA20

Page 1: ...01 02 SHAFTSBURY SHA20 PAGE 1 Shaftsbury SHA20...

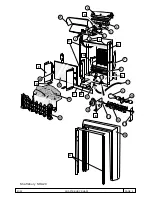
Page 2: ...01 02 SHAFTSBURY SHA20 PAGE 2 Dimplex SHAFTSBURY 18 20 3 4 5 19 7 2 16 17 11 21 F B C Shaftsbury SHA20 1 6 D 9 10 8 13 12 14 15 A E H 22 G Y X X X...

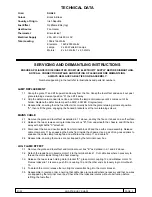
Page 3: ...INS CABLE 2 1 Remove the grate and fuel effect as detailed in 1 1 above and lay the fire on its back on a soft surface 2 2 Release the two screws securing terminal cover box B from underneath the chas...

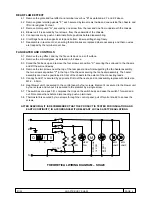
Page 4: ...above 5 3 Stand the fire back up and remove the four screws at position X securing the surround to the chassis and lift the surround away 5 4 Remove the two screws near the top of the rear panel and...

Page 5: ...2000 230 240 ELEMENT ASSY C W CUT OUT SER E 5 FB9402 CUT OUT SER A 6 BF9433 THERMOSTAT 7 FP01003 CLOTH FLAGS x 10 8 FP00003 BLOWER UNIT 9 BF7223 60 LAMPS RED 10 BF7226 LAMPHOLDER 11 FP9005 CABLE CLAMP...

Page 6: ...01 02 SOMERLEY SOM20 Somerley SOM20...

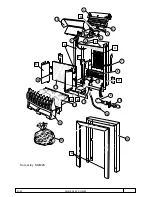
Page 7: ...01 02 SOMERLEY SOM20 Dimplex SOMERLEY 16 18 3 4 5 17 7 2 13 14 11 19 E Somerley SOM20 1 6 D 9 10 8 15 A 20 Y X X X F C 12 B...

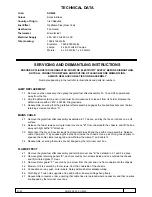
Page 8: ...uel effect assembly as detailed in 1 1 above and lay the fire on its back on a soft surface 2 2 Release the two screws securing terminal cover box B from underneath the chassis and lift the box away w...

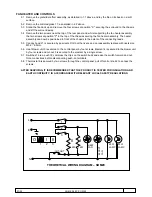
Page 9: ...can now be positioined in front of the chassis to the extent of the connecting leads 5 5 Canopy hood 21 is secured by pop rivets Drill out the rivets and on reassembly replace with rivets size M3 2 6...

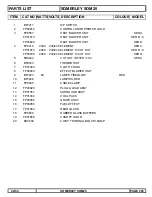
Page 10: ...OUT SER B C FP03030 2000 230 240 ELEMENT C CUT OUT SER D 5 FB9402 CUT OUT OTTER V 10 SER A 6 BF9433 THERMOSTAT 7 FP01003 CLOTH FLAGS 8 FP00003 EFFECT BLOWER UNIT 9 BF7223 60 LAMPS FIREGLOW RED 10 BF7...

Reviews: