【
6-17
】
ENGINE
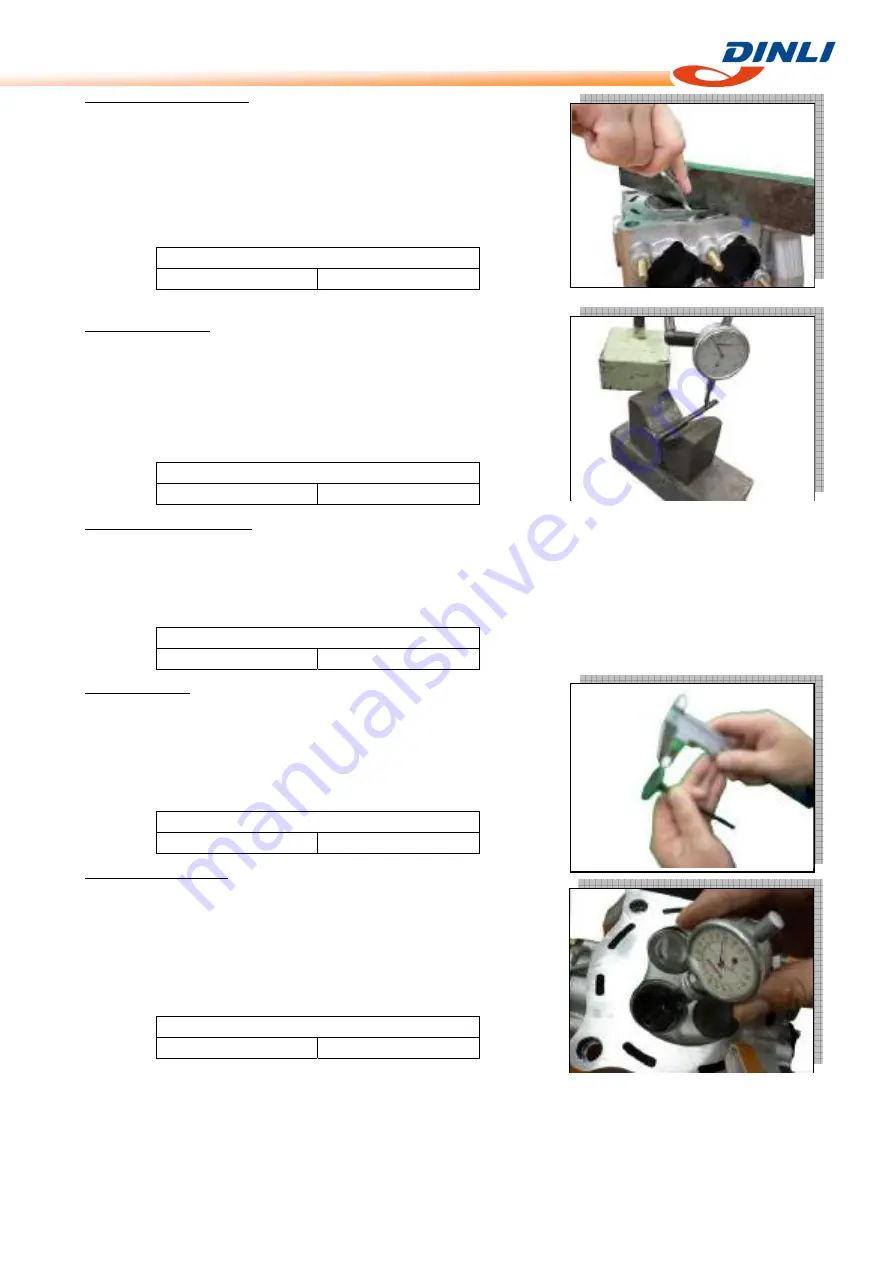
Cylinder head distortion
●
Clean and remove carbon deposits from the surface. Never damage
the surface when cleaning.
●
Place straight edge on the surface, and check with thickness gauge.
●
If the result is out of specifications, replace with new Cylinder
Head.
Cylinder Head Distortion
Service Limit
0.05 mm
Valve Stem runout
●
Remove carbon deposits.
Place on the V-block.
●
Measure the runout by means of dial gauge.
●
If the result is out of specifications, replace with new Valve.
Valve Stem runout
Service Limit
0.05 mm
Valve head radial runout
●
Place the dial gauge at right angles to the valve head face, and
measure the valve head radial runout.
●
If it measures more than the limit, replace the valve.
Service Limit of Valve head radial runout
IN & EX
0.03 mm
Valve face wear
●
Inspect each valve for wear of its seating face. Replace any valve
with an abnormally worn face.
●
Measure the thickness, and if it measures less than the limit, replace
the valve.
Service Limit of Valve head thickness
IN & EX
0.5 mm
Valve stem deflection
Lift the valve about 8mm from the valve seat. Measure the valve stem
deflection in two directions, perpendicular to each other, by
positioning the dial gauge.
If the deflection measured exceeds the limit, then determine whether
the valve or the guide should be replaces with a new one.
Service Limit of Valve stem deflection
IN & EX
0.35 mm
Summary of Contents for DL702
Page 1: ... 0 0 FOREWORD INDEX ...
Page 88: ... 7 13 ELECTRICAL SYSTEM Wiring Diagram ...
Page 89: ... 7 14 ELECTRICAL SYSTEM Wiring Diagram ...
Page 90: ... 7 15 ELECTRICAL SYSTEM NOTE ...


