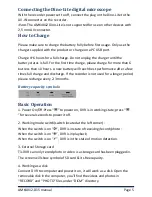
Connecting the Dino-Lite digital microscope
With the recorder power set to off, connect the plug on the Dino-Lite to the
AV-IN connector on the recorder.
Note:
The AMK4012 Dino-Lite is not supported for use on other devices with
2,5 mm AV connector.
How to Charge
Please make sure to charge the battery fully before first usage. Only use the
charger supplied with the product or charge on a PC USB port.
Charge 4~6 hours for a full charge. Do not unplug the charger until the
battery status is full. For the first time charge, please charge for more than 6
but less than 10 hours. A new battery will reach best performance after a few
times full charge and discharge. If the recorder is not used for a longer period,
please recharge every 2-3 months.
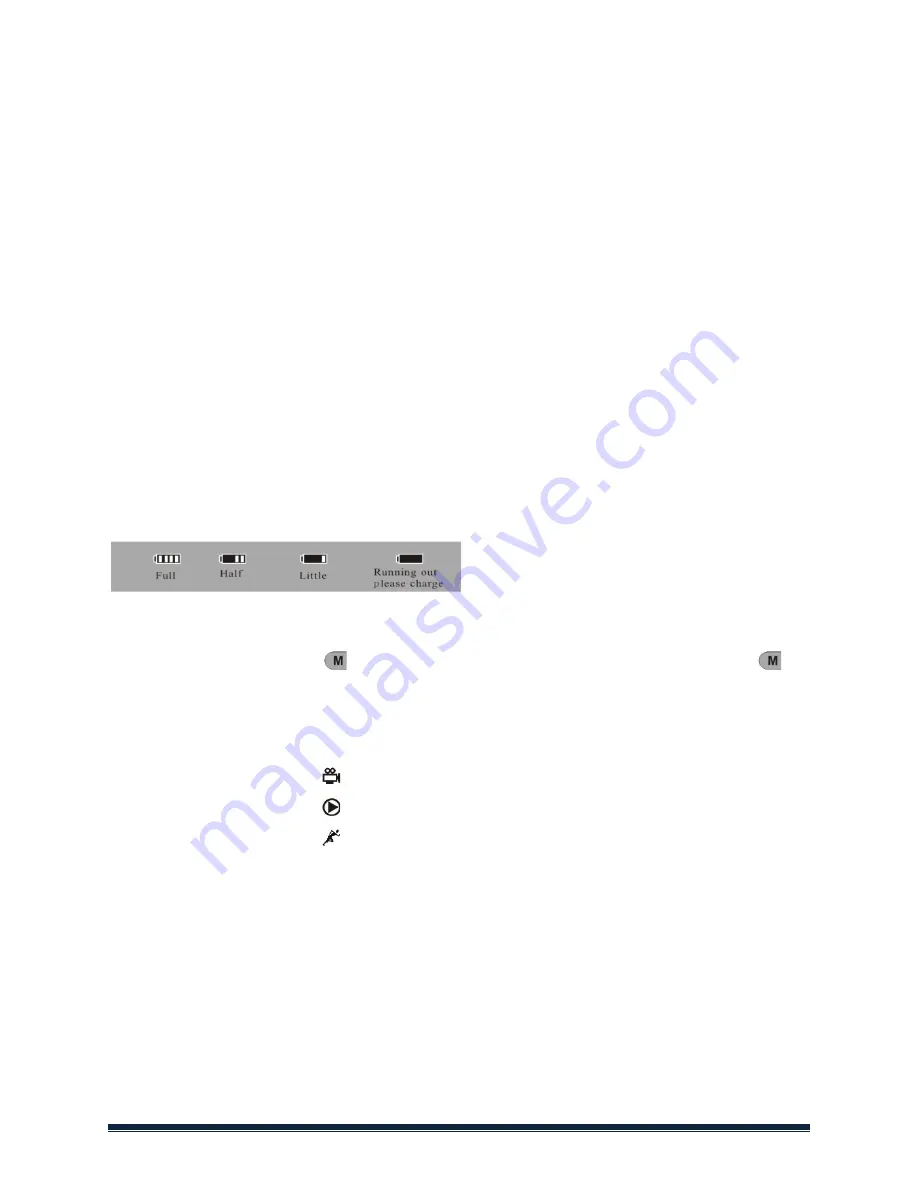
Battery capacity symbols:
Basic Operation
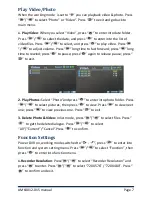
1. Power On/Off:Press “ ” to power on, DVR is in working state; press “
”for several seconds to power it off.
2. Working mode switch(switch located at the left corner):
When the switch is on “ ”, DVR is in state of receiving/record/photo
;
When the switch is on “ ”, DVR is in playback;
When the switch is on “ ”, DVR is in the state of motion detection.
3. External Storage card
Tis DVR can only recordphoto or video is a storage card has been plugged in.
The screen will show symbol of SD card & its freecapacity.
4. Working as a disk
Connect DVR to computer and power it on, it will work as a disk. Open the
removable disk in the computer, you’ll find the videos and photos in
“RECORD” and “ PHOTO” files under “DICM” directory.
AMK4012-D15 manual
Page 5
Summary of Contents for AMK4012T-D15
Page 3: ...Page 2 AMK4012 D15 manual ...


