B
o
o
s
te
r M
o
d
e
I
n
s
ta
lla
ti
o
n
50
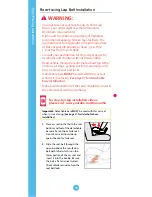
WARNING:
• Add-on child restraint systems should be securely
belted to the vehicle, even when they are not
occupied, since in a crash an unsecured child
restraint system may injure other occupants.
•
DO
NOT
use SuperLATCH™ if installation interferes
with vehicle seat belt.
•
DO
NOT
use as a booster with child under 50
pounds and under 40 inches tall and if child’s
shoulders are below the 4th harness position.
•
DO
NOT
use as a booster unless harness straps and
buckle are removed.
•
DO
NOT
use as a booster with only a vehicle lap belt.
• Warning! Use
ONLY
the vehicle's lap and shoulder
belt system when restraining the child in this
booster seat. Never use lap belt only as your child
will not be adequately restrained in a crash.
• If lap and shoulder belt portions of seat belt and
seat belt buckle are not all correctly positioned, car
seat is
NOT
properly installed as a booster.
• While crash testing indicates Belt Position Booster
mode meets all Federal Motor Vehicle Safety
Standards requirements, all vehicles
DO
NOT
simulate the crash test bench. Therefore, we
recommend to use Booster Mode only if the seat
belt retracts freely and fully on its own. If
NOT
,
continue to use the fi ve point harness system which
gives your child optimum protection.
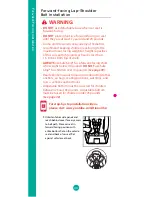
For step-by-step installation videos,
please visit: www.youtube.com/DionoUSA
This car seat may also be confi gured for use as a belt positioning booster.
Booster Mode Installation
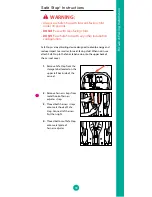
Remove harness
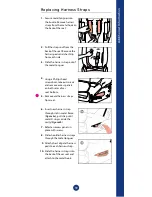
(See page 59, steps 1-5
), then remove buckle (
See
page 28, steps 1-4
).
Place car seat in forward-facing position with entire bottom fl at
on the vehicle seat and back of the car seat fl at against the vehicle
seat back.
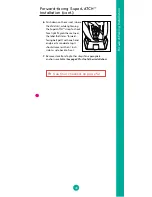
If available, secure car seat with SuperLATCH™ and/or top tether.
This provides a secure installation and keeps the seat secure when
not occupied.
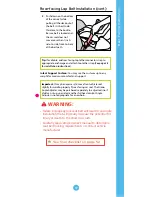
Properly position the child in the car seat: sitting upright and all
the way back in the car seat.
Unfasten
hook and loop tabs located above and below the head
rest. Adjust head rest to proper height
(see page 23-24).
Do NOT
refasten the top hook and loop tabs.
1.
2.
3.
4.
5.
Summary of Contents for Radian R120
Page 13: ...13 9 12 13 14 10 11 16 15 18 19 22 21 20 23 17...
Page 62: ...Notes 62...
Page 63: ...Notes 63...

