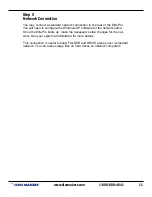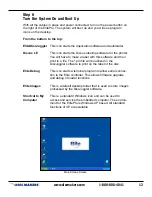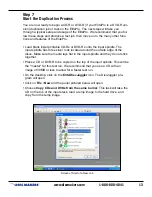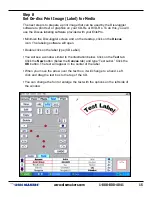
T
www.discmakers.com
1-888-800-4041
7
Step 1
Unpacking the Hardware
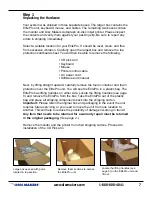
Your system was shipped in three separate boxes. The larger box contains the
ElitePro unit, keyboard, mouse, and cables. The remaining two boxes contain
the monitor and Disc Makers Autograph on-disc inkjet printer. Please inspect
the contents and verify them against your packing slip. Be sure to report any
errors in shipping immediately.
Select a suitable location for your ElitePro. It should be level, clean, and free
from excessive vibration. Carefully open the largest box and remove the top
protection cardboard sheet. You will then be able to remove the following:
• CD pick arm
• Keyboard
• Mouse
• Printer control cable
• AC power cord
• Software and manual
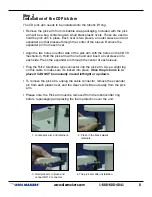
Next, by lifting straight upward, carefully remove the foam container and foam
protection over the ElitePro unit. You will see the ElitePro in a plastic bag. The
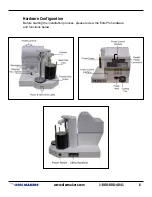
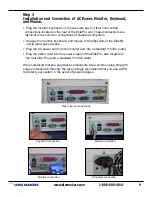
ElitePro has lifting handles on either side. Locate the lifting handles
(see page
6)
and remove the ElitePro from the box. Take the ElitePro out of the plastic
bag and place all shipping components back into the shipping carton.
Important: Please retain the original box and packaging in the event the unit
requires future servicing or you need to move the unit from one location to
another. This will help to reduce the possibility of damage occurring in transit.
Any item that needs to be returned for a warranty repair must be returned
in the original packaging.
(See page 2.)
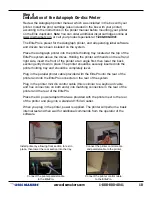
Remove the monitor and the printer from their shipping cartons. Proceed to
installation of the CD Pick arm.
Large box opened with parts
located in top section.
Remove foam sections to access
the ElitePro unit.
Locate the lifting handles (see
page 6) on the ElitePro unit and
lift out.


