8
9
Mounting
Note:
Before permanently mounting ensure that the STX7500 main unit is able to receive the WWVB signals from desired location. Also, extreme and sudden changes in temperature will decrease the
accuracy of the indoor weather station. To achieve true temperature readings, avoid mounting where direct sunlight can reach the remote temperature and humidity sensor or indoor weather station. While
the remote temperature and humidity sensor is weather proof, you should avoid setting up the sensor in an area that gets direct rain and also avoid submersion in water or snow. We recommend that you
mount the remote temperature and humidity sensor on an outside North-facing wall. Obstacles such as walls, concrete, and large metal objects can reduce the sensor range. Place both units in their desired
locations, and wait approximately 15 minutes before permanently mounting to ensure that there is proper reception. The main unit should display temperature readings within 5 minutes of setting up
both units.
The Remote Temperature and Humidity Sensor
1. Mounting with Screws
a. Fix the included screw into the desired wall, leaving approximately 3/16 of an inch (5mm) extended from the wall.
b. Place the remote temperature and humidity sensor onto the screw using the hanging hole on the backside.
The Wind Anemometer
1. Mounting with Screws
a. Place the wind anemometer near the remote temperature and humidity sensor. The two sensors will connect with the included cable.
b. Place the included screws through the holes at the base of the sensor and screw into the desired wall, making sure the wind anemometer is secure. It is recommended that you
mount the anemometer horizontally for best performance.
The Indoor Main Station
The indoor main station can be mounted in two ways:
• With the table stand or,
• On the wall with the use of a wall hanging screw (included).
1. Using the table stand
a. The indoor main station comes with a table stand already mounted. If you wish to use the table stand all that is required is to pull the stand out from the main unit and place
in an appropriate location.
2. Mounting with Screws
a. Fix the included screw into the desired wall, leaving approximately 3/16 of an inch (5mm) extended from the wall.
b. Place the indoor main unit onto the screw using the hanging hole on the backside.
Reading the weather, forecast and wind speed
Scrolling Forecasts
Once set up, your main station will continuously scroll your forecasts across the top of the screen in
a 420 dot matrix display.
Storm Tracker
The main station displays the pressure change over the last 3 hours – a good reading to determine
a coming storm. If the forecast is for a storm, you will see a storm forecast on the scrolling
message, and you will also see storm in the weather icon.
Wind Speed
Wind speed in your STX7500 is measured in two ways:
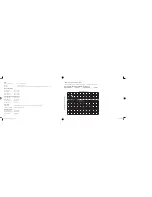
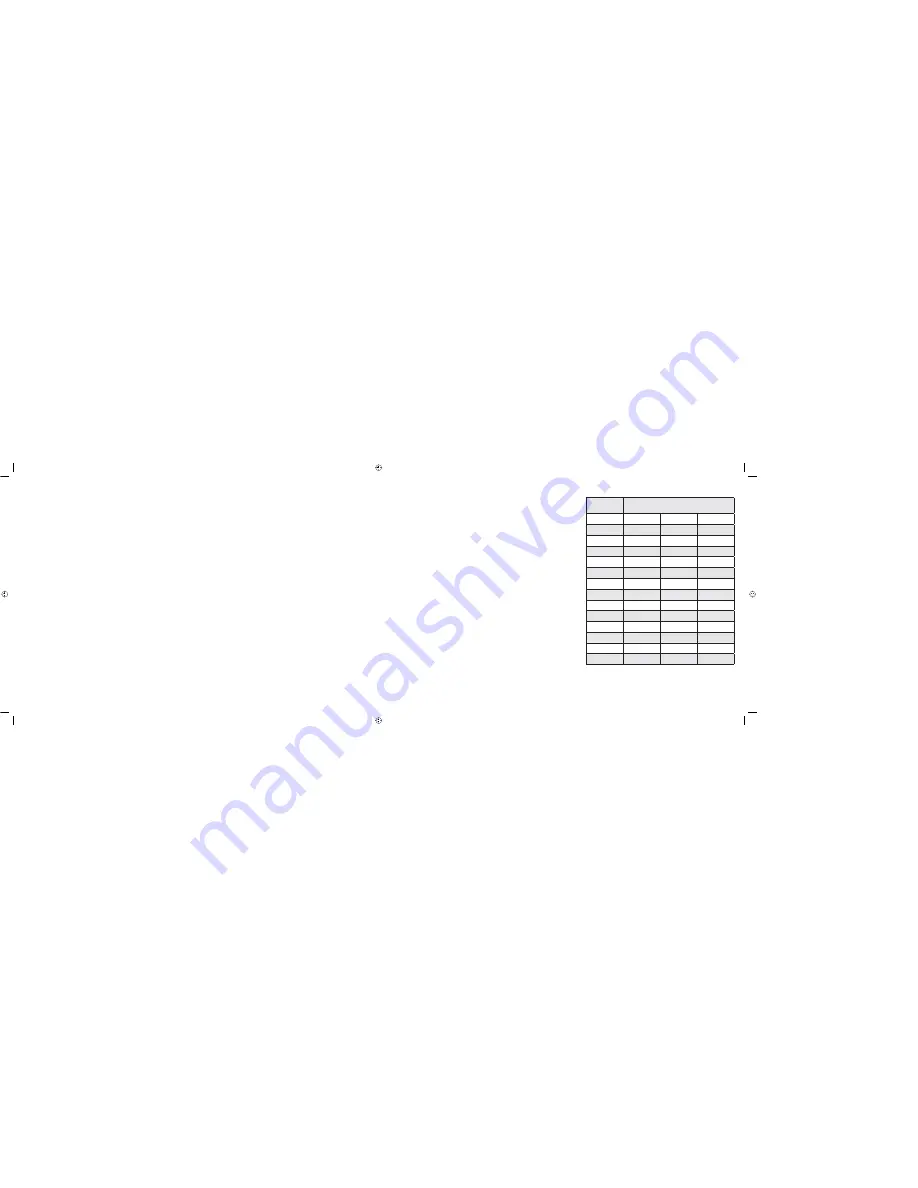
1. In a bar display showing from 1-12 bft (Beaufort Number of Force) units. At right is a reference
chart to better understand how a bft unit relates to conventional speed measurements.
2. In km/h just below the bar display.
Wind gust speed is shown when the “WIND” button on the back of the unit is pressed.
Wind Chill
Wind chill is measured in either Celsius or Fahrenheit and is displayed below the wind bar display.
It shows the actual feel of the temperature when exposed to the current wind conditions.
Beaufort Number
of Force
Wind Speed
MPH
KM/HR
KNOTS
0
<1
<1
<1
1
1-3
1-5
1-3
2
4-7
6-11
4-6
3
8-12
12-19
7-10
4
13-18
20-28
11-16
5
19-24
29-38
17-21
6
25
39-49
22-37
7
32-38
50-61
28-33
8
39-46
62-74
34-40
9
47-54
75-88
41-47
10
55-63
89-102
48-55
11
64-72
103-117
56-63
12
73+
118+
64+
DiscAdult_Weather 4_STX7500_inst8-9 8-9
2/2/07 2:49:24 PM


