Page 101
Running Coaxial Cable
Running Coaxial Cable
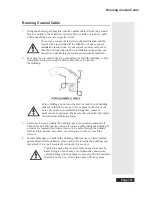
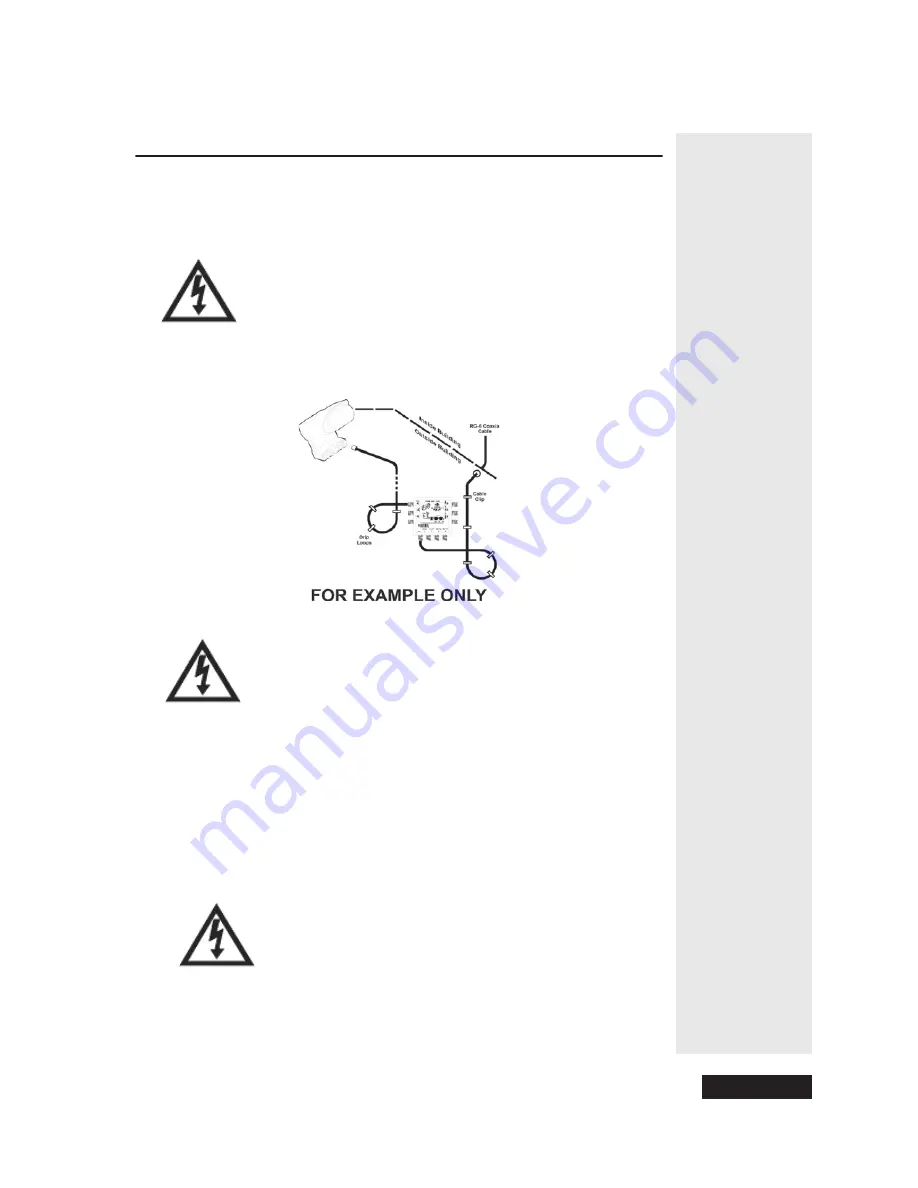
1. Using the shortest path possible, run the coaxial cable(s) from the ground
block or switch to the satellite receiver(s). Do
not
kink or pinch any cable.
Cables should be bent
only
in gentle curves.
Do
not
use a longer cable between the satellite dish and the
receiver than is specified in the DishPro or Legacy system
installation instructions. If your system requires more cable
than the limit specified in these installation instructions, you
should consider having the system professionally installed.
2. Put a drip loop in each cable at a point before it enters the building. A drip
loop allows moisture to drip from the cable before it runs into
the building.
Before
drilling any holes in the wall or roof of your building,
make sure that there are no wires or pipes in the area of the
holes. If you are not comfortable doing this, contact a
professional in your area. Make sure that you follow all safety
instructions and building codes.
3. Locate each receiver inside the building, against or near an outside wall.
Then drill a hole through the outer wall to pass a cable inside the building. If
a receiver is located in an interior room, run a cable through the outside
wall, and into an attic, basement, or crawl space in order to reach the
receiver.
4. Seal all holes that you drill in the building with silicone or other weather-
proof sealant after installation. Once each cable is inside the building, you
may attach it to a wall receptacle or directly to a receiver.
Tighten the back panel coaxial cable connections
only
by
hand. Using a wrench may over-tighten the connections,
causing damage. Such damage is
not
covered by the Limited
Warranty in the
User Guide
that came with the system.
Summary of Contents for Platinum DishPVR 501
Page 1: ...ATTENTION Be sure to review the Read Me First information on the first page ...
Page 36: ...Chapter 2 Page 30 Parts of the System Notes ...
Page 88: ...Chapter 3 Page 82 Using the System Notes ...
Page 110: ...Page 104 Chapter 4 Installation Instructions Notes ...
Page 130: ...Page 124 Chapter 5 Reference Notes ...
Page 148: ......

