Page 89
Installing a DISH 500 Antenna
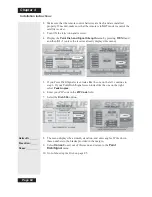
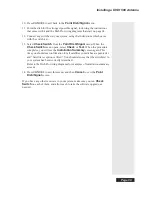
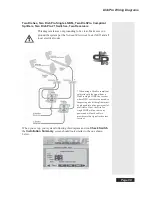
16. Select
Cancel
or
OK
to return to the
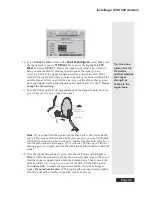
Point Dish/Signal
screen. Make sure
the check mark is next to
119 West
. If not, move the highlight to
119
West
and press
SELECT
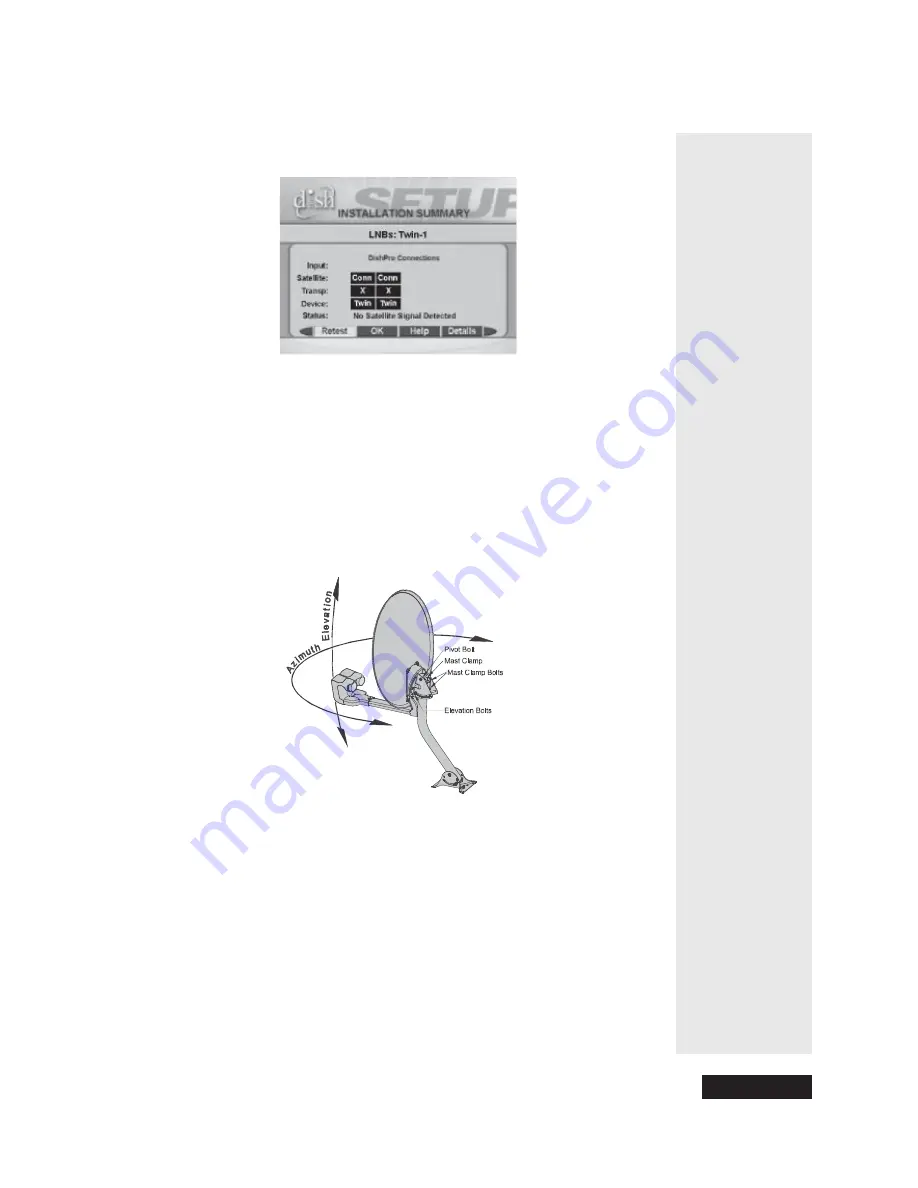
. Notice the signal strength bar. This is used to
help you aim the dish by showing the strength of the signal you are
receiving. Look at the signal strength bar while you aim the dish. Don’t
stand in front of the dish while you aim it, because your body will block the
satellite signal. After you adjust the aim, let go of the dish so that you can
get a good signal reading after the dish settles back in place by itself.
Do not
change the skew setting
.
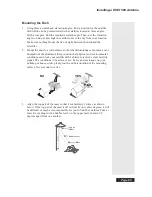
17. Turn the dish back and forth
very slowly,
until the signal strength bar turns
green
. This shows you’ve found the signal.
Note
: If you cannot find the signal, turn the dish back to the first azimuth
angle. Then, loosen both elevation bolts
just enough
so you can tilt the dish.
Tilt the dish elevation up by two degrees, and then tighten both bolts. Now,
turn the dish back and forth again.
If you still can’t find the signal
, tilt the
dish up again
very slightly
and turn the dish back and forth until you find the
signal.
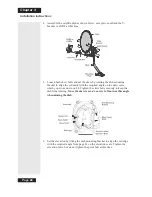
18. Once the signal strength bar is
green
, turn the dish back and forth
just a
little
, to where the signal strength bar shows the strongest signal. When you
find the strongest signal, tighten both mast clamp bolts. Then loosen both
elevation bolts,
just enough
so you can tilt the dish. Tilt the dish up and
down
just a little
, to where the signal strength bar shows the strongest
signal.
Do not adjust the skew
. When you find the strongest signal, tighten
all bolts in the dish assembly so the dish cannot be moved.
Tip: Have one
person aim the
dish while
another watches
the signal
strength or
listens to the
signal tone.
Summary of Contents for Platinum DishPVR 501
Page 1: ...ATTENTION Be sure to review the Read Me First information on the first page ...
Page 36: ...Chapter 2 Page 30 Parts of the System Notes ...
Page 88: ...Chapter 3 Page 82 Using the System Notes ...
Page 110: ...Page 104 Chapter 4 Installation Instructions Notes ...
Page 130: ...Page 124 Chapter 5 Reference Notes ...
Page 148: ......

