10
Getting Started
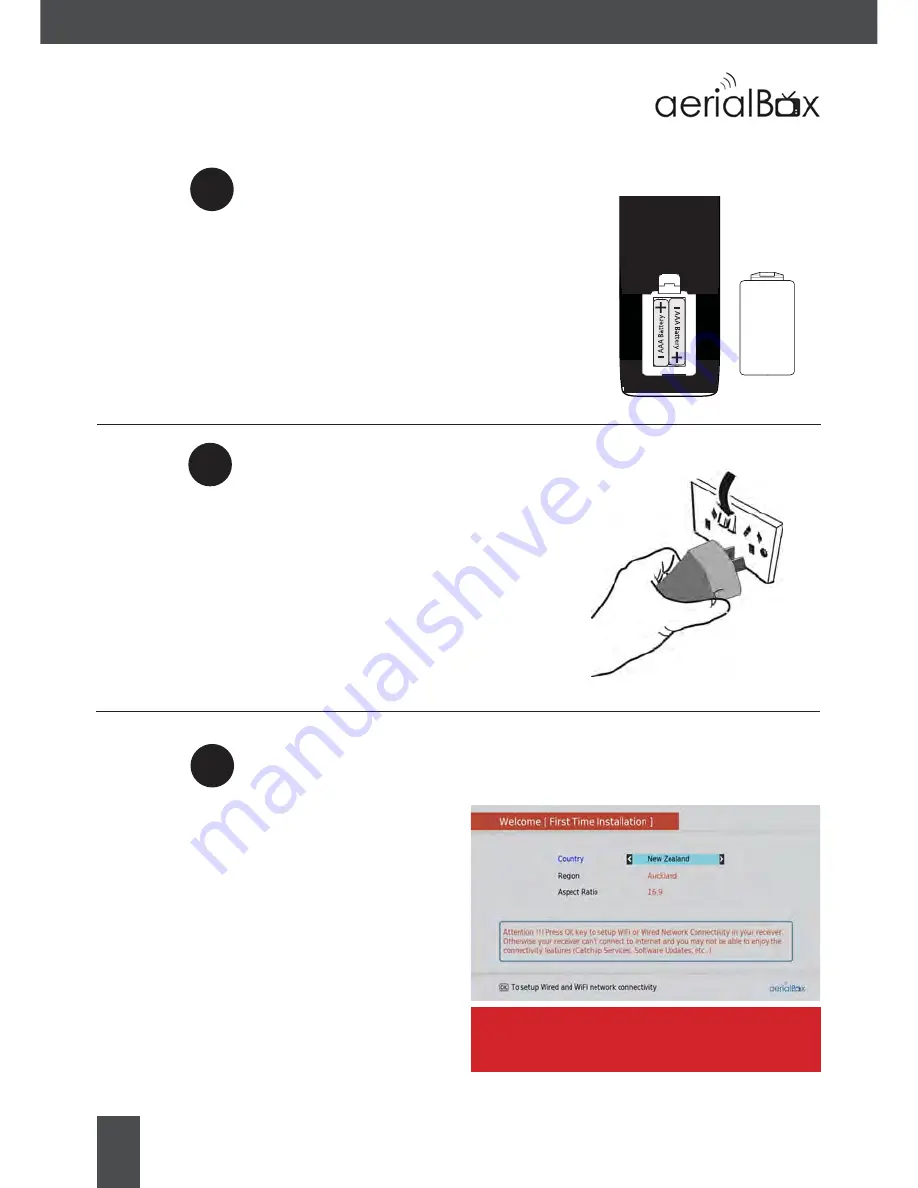
Open the battery cover of the remote control
and put two AAA size batteries so the ‘+’ and
‘-’ marks on the batteries match the ‘+’ and ‘-’
marks inside the remote control. Replace the
battery cover.
Install batteries in the remote control
Plug the AC adapter into the wall socket and
switch on, then switch your TV on and select
the correct video input (i.e. HDMI1 or AV)
The Receiver will take some time for it to
boot up as part of the initial installation.
Plug in and switch on
2
The welcome screen should appear on your
TV*
Ensure you have your Country, Region and
your Aspect Ratio correct then press OK
to
start a scan. The auto scan will start, please
do not push any buttons until it has finished.
Once the scan has been completed and
successful, you can start enjoying your unit.
First time installation screen
Step
1
Step
3
Step
*If the welcome screen does not appear, go to the
Menu select Admin
then
Factory Reset.
The
default password is 0000.


