User manual in Original
Doc. ref: 500A_GTS-E65_am_en_210608
DISPERATOR AB
Tel: 08-724 0160
E-mail: info@disperator.se
Mälarvägen 9, 141 71 Segeltorp
Web page: www.disperator.se
20 / 48
6. Installation Description for the Machine
6.1.1. Deployment of the Machine
Unless otherwise requested in your order, the machine comes with its legs on a pallet. To
minimize the risk of injury, at least two persons must be present when the machine is deployed.
The machine has a net weight as per section 3.2 above, page 14, so the lifting equipment (e.g.
forklift and pallet jack) to be used
must be checked to withstand this weight.
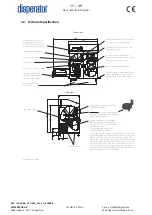
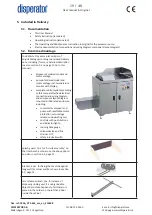
Lift the machine from the pallet at the socket positions in the cabinet bottom plate shown in the
“Front view” in section 3.2, page 11 in this manual. Then move the machine to the designated
place of installation.
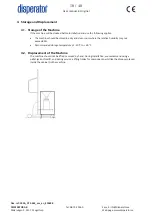
Before the machine is set down on the floor, adjust the four legs so that the desired machine
height is obtained. After the machine has been placed on the floor, check with a spirit level that it
is horizontal, and adjust the legs if necessary.
6.1.2. Fixation of the Machine
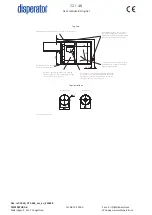
The machine must be fixed to the wall/bulkhead or floor/floor plate. When stopping quickly
(e.g. if cutlery mistakenly jams the grinding unit) the torque of the disposer motor will cause
the machine to turn. This can give undesirable forces on the pump’s connection to the drain
pipe that goes to the tank (see paragraph 6.3 below), which can cause leakage. To prevent this,
two adjustable brackets are included in the delivery for fixing the machine against a long wall or
alternatively using 1pc against long wall and 1pc against corner wall. See section 3.2 (page 12,
“Top view”) and section 5.2 above.
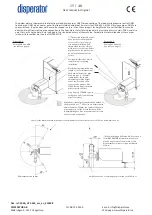
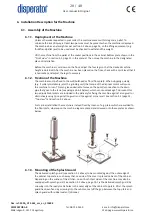
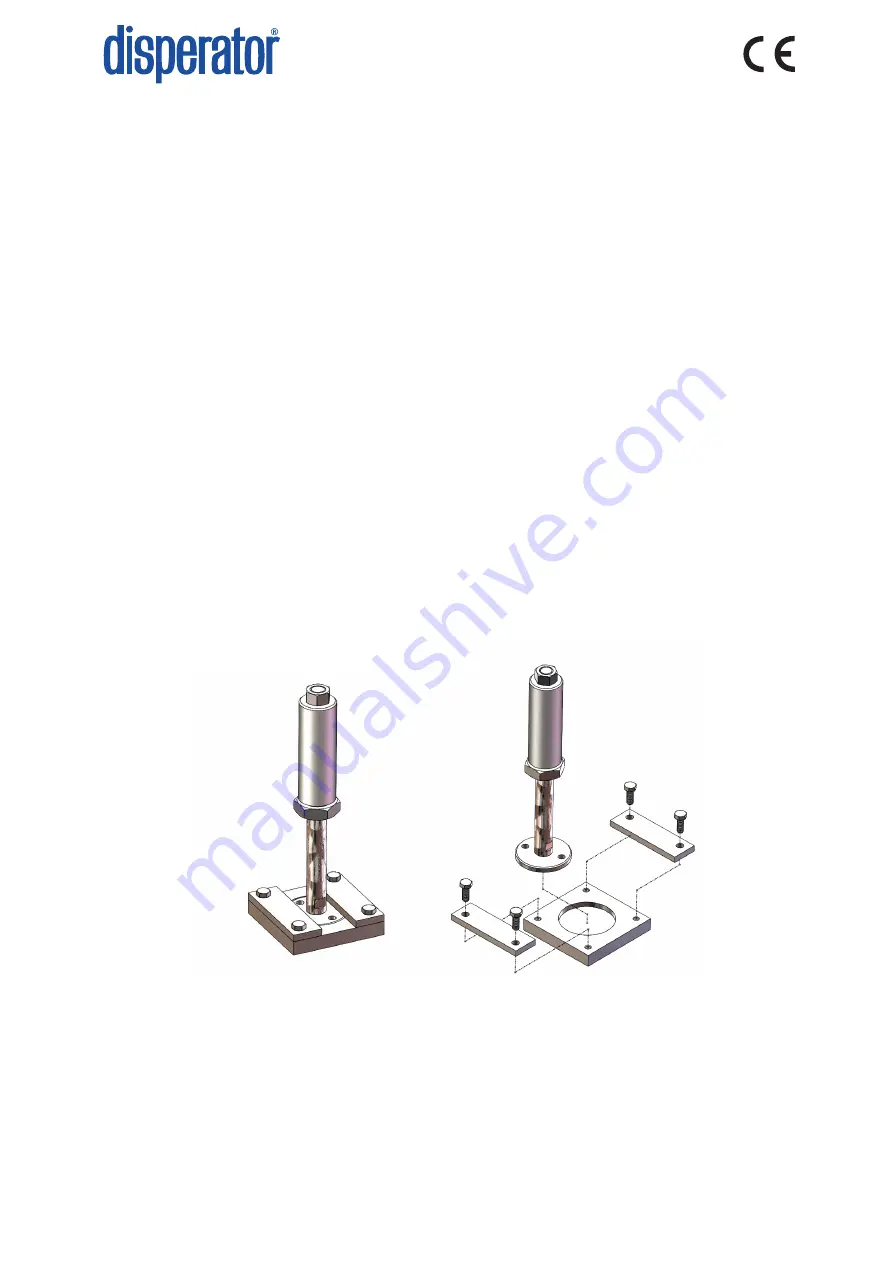
For marine installation the machine is instead fixed by means of e.g. plates which are welded to
the floor plate, whereupon the machine legs are placed and screwed onto these plates as shown
below.
6.1.3. Mounting of the Splash Guard
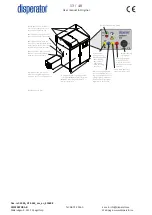
The delivered splash guard (see section 5.2 above) to be mounted against the outer edge of
the cabinet top plate in such a way that one side of the cover is placed on back of the cabinet.
Depending on the wishes of the kitchen, one or both short sides of the machine may also be
equipped with splash guard. See section 3.2 above, page 13. Fix the delivered splash guard by
screwing into the ready made holes in the outer edge of the cabinet top plate. After the splash
guard has been fixed by screwing into these holes, seal off the gap between the top plate and
splash guard with rubber sealant (silicone).
6.1. Assembly of the Machine
Summary of Contents for 500A-GTS-E65 EXCELLENT SERIES
Page 2: ......

