
www.ditting.com
S
ERVING THE
W
HOLE
-B
EAN
C
OFFEE
M
ARKET
S
INCE
1968 info@ditting.com
U.S. Distribution Center
8801-B Smiths Creek Rd, Wales, MI 48027
Tel 810-367-7125 Toll-Free 800-835-5992
Fax 810-367-7130
Serving the Whole-Bean
Coffee Market Since 1968
www.ditting.com
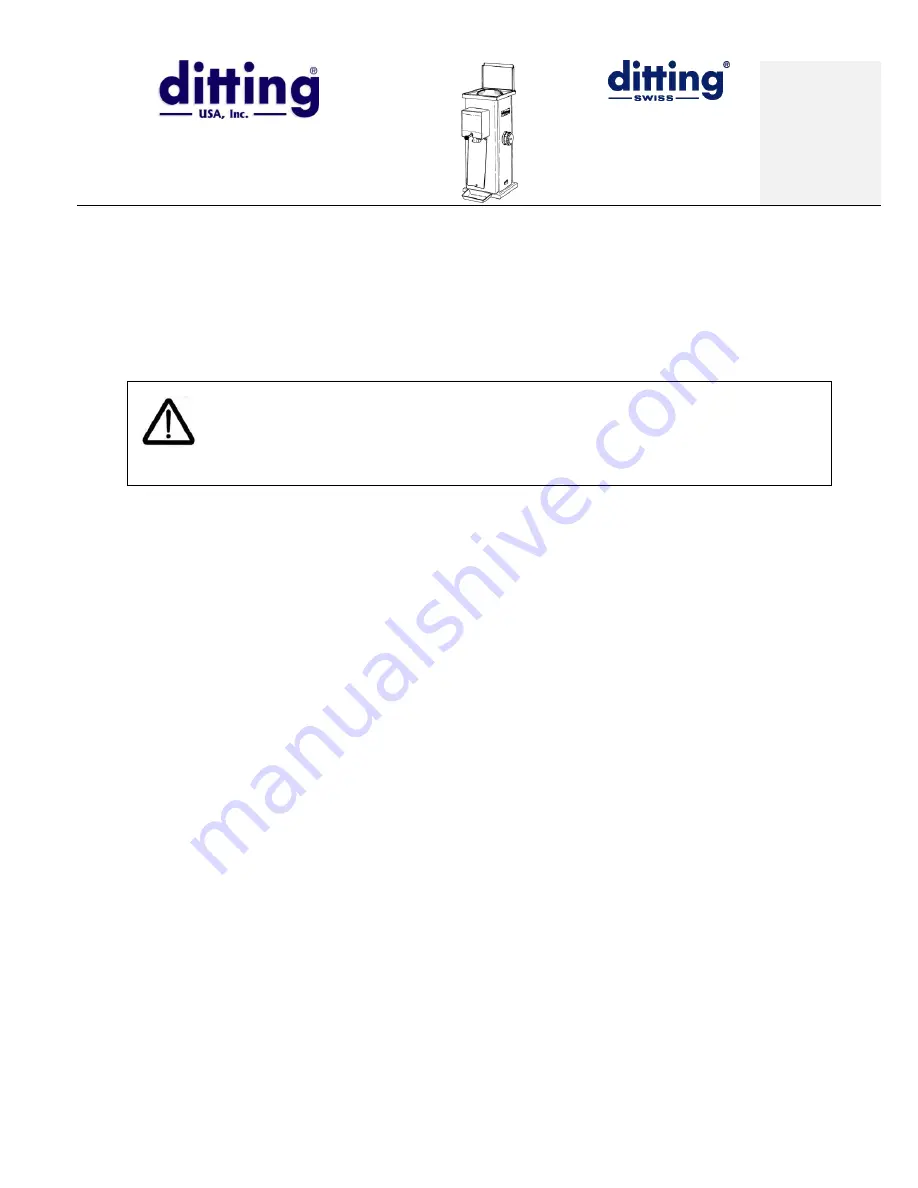
Ref. Models:
804 Series
805 Series
903 Series
1203 Series
1403 Series
1800 Series
S
ERVICE
T
IP
#R4
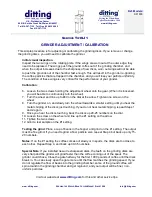
CLEANING THE GRINDER
The grinding discs and grinding chamber should be cleaned at least once a week, or every day for
stores grinding extremely oily coffee. For a store using oily, dark roast coffee, without regular and
frequent cleaning, the grinder may eventually jam until the grinding chamber has been cleaned.
The coffee grinder must only be cleaned with a dry cloth.
Do not use an alkaline cleaning agent.
Do not spray coffee grinder with water and/or steam.
Using anything other than a dry cloth can result in a short-circuit and may
damage the unit. The use of alkalis can affect the flavor of the coffee.
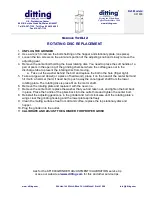
1.
Unplug the grinder
.
2. Clean the body of the grinder.
a. Use a paper towel and mild dishwasher detergent to clean the body shell, cover lid and
the inside of the hopper.
3. Clean the discharge tube.
a. Use a brush and paper towel to clean in and around the discharge tube. Be gentle
when inserting a brush into the discharge tube so as not to dislodge the rubber
transition tube joining the grinding chamber to the discharge tube.
4. Loosen the screws holding the cover lid and hopper, and remove them.
a. Use a paper towel or towel to wipe down the hopper of any accumulated oils.
b. Use a brush to clear the built-in magnet on the underside of the hopper.
5. Remove the screws that hold the top stationary plate and pull the plate up. One of the grinding
discs is installed on the bottom of this plate.
a. Use a vacuum with an extension hose to vacuum up any coffee particles that may be
in the grinding chamber.
b. Use a paper towel and a brush to clean the grinding chamber and grinding discs of any
leftover coffee particles. The teeth of both grinding discs and the “wings” of the rotating
plate (to which the second grinding disc is installed) must be completely free of coffee
and oils.
Do not remove the grinding discs from their positions.
c. Once the grinding chamber has been thoroughly cleaned and there is no more coffee
dust or oil visible, reassemble the grinder, making sure all screws are replaced and
tightened.
Note:
For the KF1800 light industrial model, the hopper will remain on the stationary plate.
Remove the bolts from the stationary plate, remove the hopper and the stationary plate as
one unit and place the hopper upside down on a clean surface, and the grinding chamber
will be exposed.
Visit our website at
www.ditting.com
for this and other service tips.


