
www.ditting.com
S
ERVING THE
W
HOLE
-B
EAN
C
OFFEE
M
ARKET
S
INCE
1968 info@ditting.com
U.S. Distribution Center
8801-B Smiths Creek Rd, Wales, MI 48027
Tel 810-367-7125 Toll-Free 800-835-5992
Fax 810-367-7130
Serving the Whole-Bean
Coffee Market Since 1968
www.ditting.com
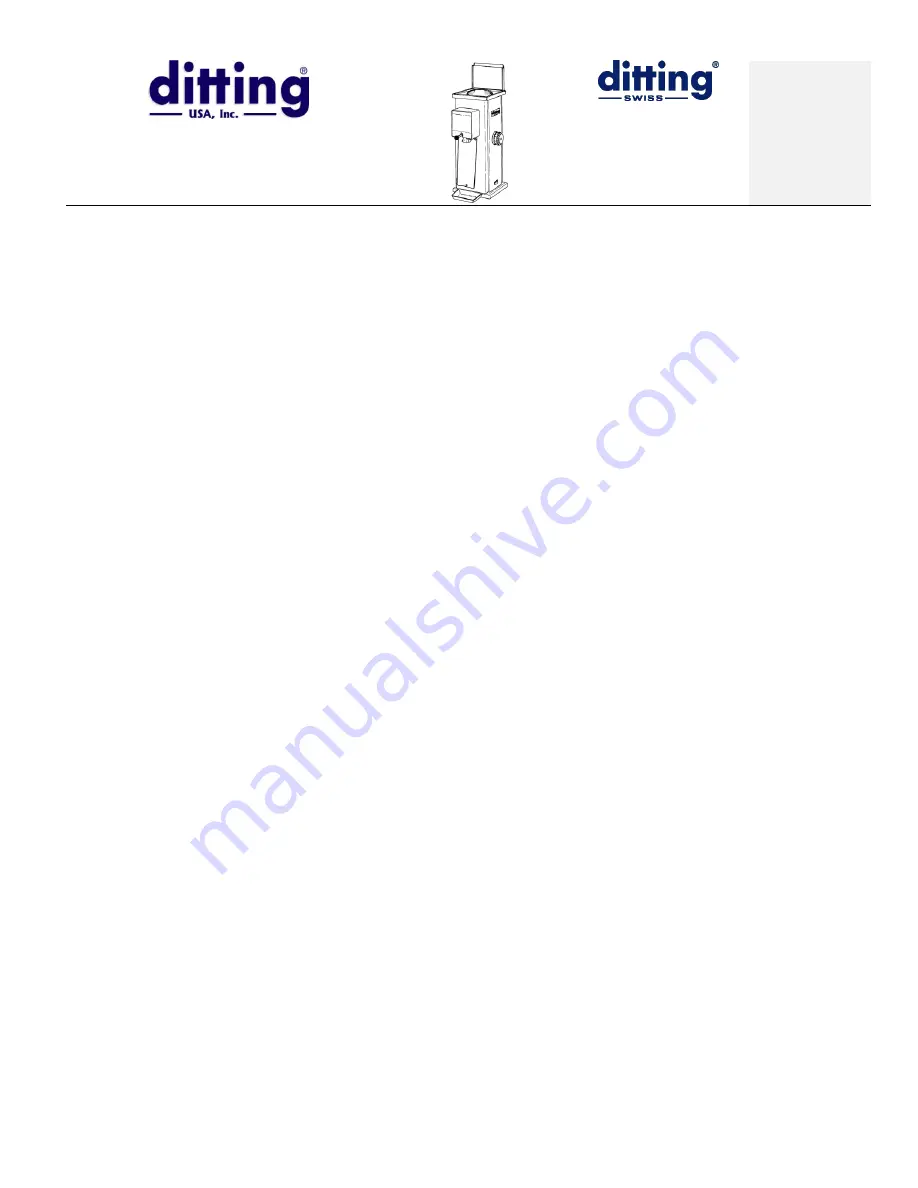
Ref. Models:
KF1800
S
ERVICE
T
IP
#LI2
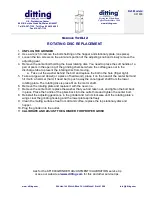
ROTATING DISC REPLACEMENT
1.
UNPLUG THE GRINDER
.
2. Use a wrench to remove the bolts holding on the hopper and stationary plate (one piece).
3. Loosen the two screws on the aluminum portion of the adjusting knob and slowly remove the
adjusting gear.
4. Remove the center bolt holding the lower rotating disc. You need to place the soft handle of a
pair of pliers in the opening of the grinding chamber where the coffee goes out to the
discharge tube to prevent the rotating disc from moving.
a. Take out the washer behind the bolt and replace the bolt in the hole (finger tight).
5. Take a large wood dowel (or a piece of hard wood), place it on the head of the center bolt and
hit it with a hammer (hard, if need be) to push away the cone tipped shaft from the lower
rotating plate. The rotating disc is press-fit on the motor shaft.
6. Remove the rotating plate and replace it with the new one.
7. Remove the center bolt, replace the washer that you had taken out, and tighten the bolt back
in place. Place the handle of the pliers back into the outlet hole and tighten the center bolt.
8.
Reinstall the adjusting gear/cone in the grinder and turn it clockwise until the rotating plate’s
wings clear the grinding housing and the lower plate spins freely.
9. Clean the mating surfaces free from dirt and coffee, replace the top stationary disc and
hopper.
10. Plug the grinder into the outlet.
11.
CALIBRATE AND ADJUST THE GRINDER FOR PROPER GRIND
.
Ask for the KF1800 GRINDER ADJUSTMENT/CALIBRATION service tip
or see our website at
www.ditting.com
for this and other service tips.


