30
Cleaning method
Direct method:
Scrubbing and vacuuming in one pass.
Indirect working method:
Apply the cleaning solution (only scrubbing), afterwards scrubbing and
vacuuming.
The cleaning methods are described in detail in the ”Method Card”. You can
obtain this from your TASKI partner.
Refilling the solution tank
When the tools are no longer sufficiently supplied with the solution, the tank
containing the solution is empty.
End of operation
Drain the recovery tank / solution tank
The disposal of the dirty water or the cleaning solution must be carried out in
accordance with the appropriate national regulations.
Proceed as follows for both tanks:
Clean the recovery tank / solution tank
Clean solution tank filter
Cleaning the tool
Removing and cleaning the squeegee
Under certain circumstances, the driving of the machine can be
impaired by a special combination of surface/soiling and cleaning
product.
This effect can be reduced by special wheel options.
Caution:
Do not clean without solution, as it could cause floor damage.
• Stop cleaning.
• Refill the tank, see Page 29.
• Stop the flow of solution.
• Drive a few metres so that the tool rotates further for a short time. You will
avoid dripping by doing this.
Very important when using contact pads!
• Release the operating lever.
• Press down the pedal and lock it in place to
raise the tool.
• Drive on a few metres further in order to pick up the remaining dirty water.
• Raise the squeegee.
Allow the suction unit to continue running until
the rest of the dirty water has been sucked into
the hose.
• Switch off the suction unit first, and then the
keyswitch.
Always drain and clean the recovery tank every time you use the
machine.
If the dirty water is allowed to stand, unpleasant smells and
deposition of the dirt will take place after a few hours.
• Switch the machine off.
• Remove the drainage hose from its holder.
Open the red or blue cap situated near the handle and lower the
end of the hose slowly to drain the solution out.
• Switch the machine off.
• Lift the tank lid.
• Remove the coarse dirt sieve (yellow), empty and clean it.
• Remove the recovery tank and clean it and the
hose with water.
The tank can be completely drained via the
drain opening.
• Replace the recovery tank on the machine.
• Then thoroughly rinse out the solution tank with clean water.
• Check the float is functioning correctly and that the suction filter (yellow) is
clean.
In case of damage or soiling of the float and suction filter, please refer to
page 31.
• After draining and cleaning, screw the red and blue caps on again, and hang
the hoses from their holders again.
Caution:
Clogged filters reduce the flow of the cleaning solution. As a
consequence you may damage the floor coating.
• Switch the machine off.
• Once the solution tank has been drained, screw
the yellow cap from the solution tank filter and
pull it away from its holder.
• Rinse the filter under running water.
If necessary, the filter should be descaled with a 10% TASKI calcacid
solution.
The filter is lower than the tank outflow. A residual amount of
solution will flow out once the filter cap has been unscrewed.
• Refit the solution filter.
• Switch the machine off using the keyswitch and remove the key.
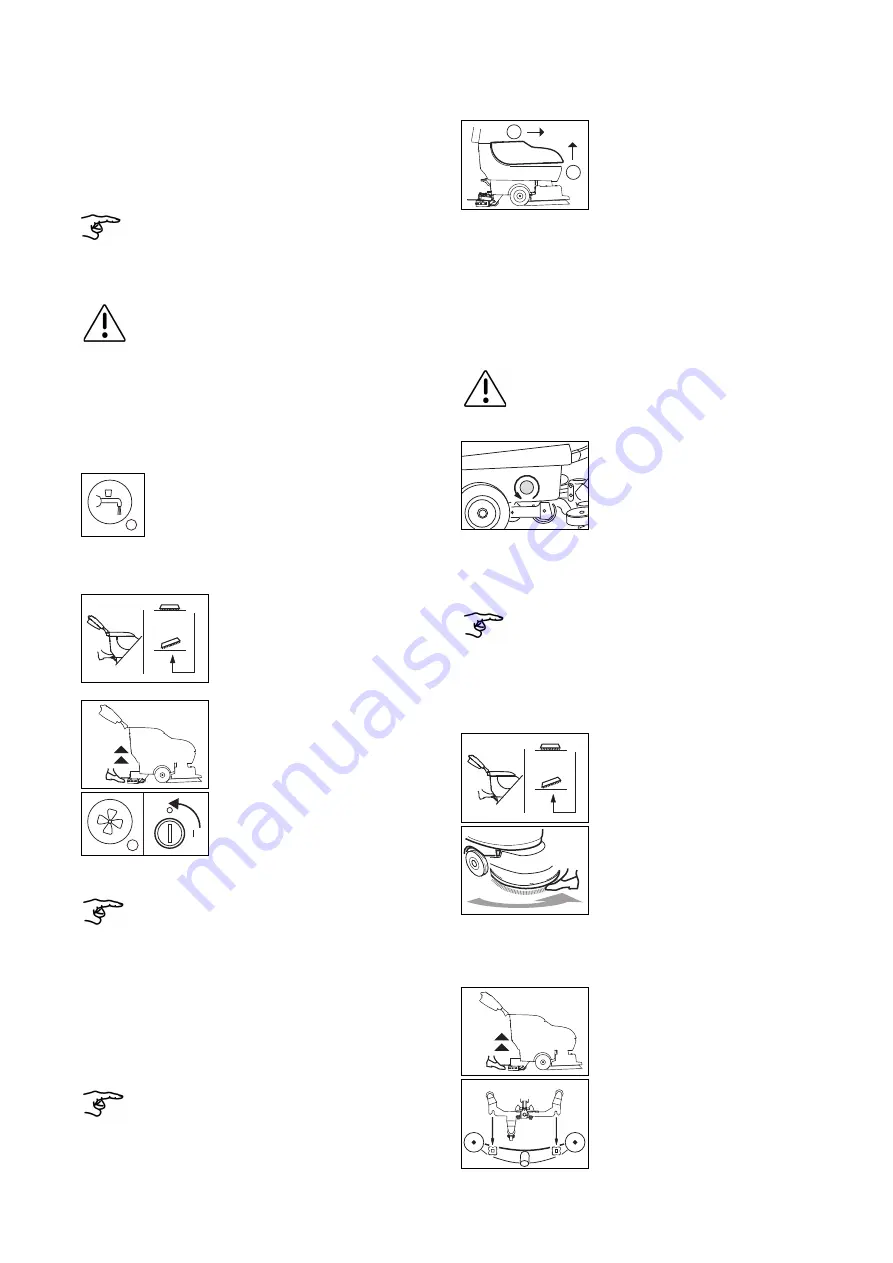
• Press down the pedal and lock it in place to
raise the tool.
• Turn the tool anticlockwise away from the tool
coupling using your foot.
• Clean the tool with water.
• Switch the machine off.
• Pull the suction hose away from the squeegee support.
• Raise the squeegee and loosen the fixing
screws on the squeegee.
The squeegee support wheel must be in the
direction of movement.
• Remove the squeegee from the squeegee
support.
• Clean the squeegee with water using a brush.
1
2


