background image

Page  23

CARE AND MAINTENANCE

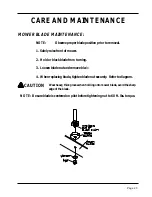
MOWER BLADE MAINTENANCE:

NOTE:

  Observe proper blade position prior to removal.

1. Safely raise front of mower.

2. Hold or block blade from turning.

3. Loosen blade nut and remove bla

de.

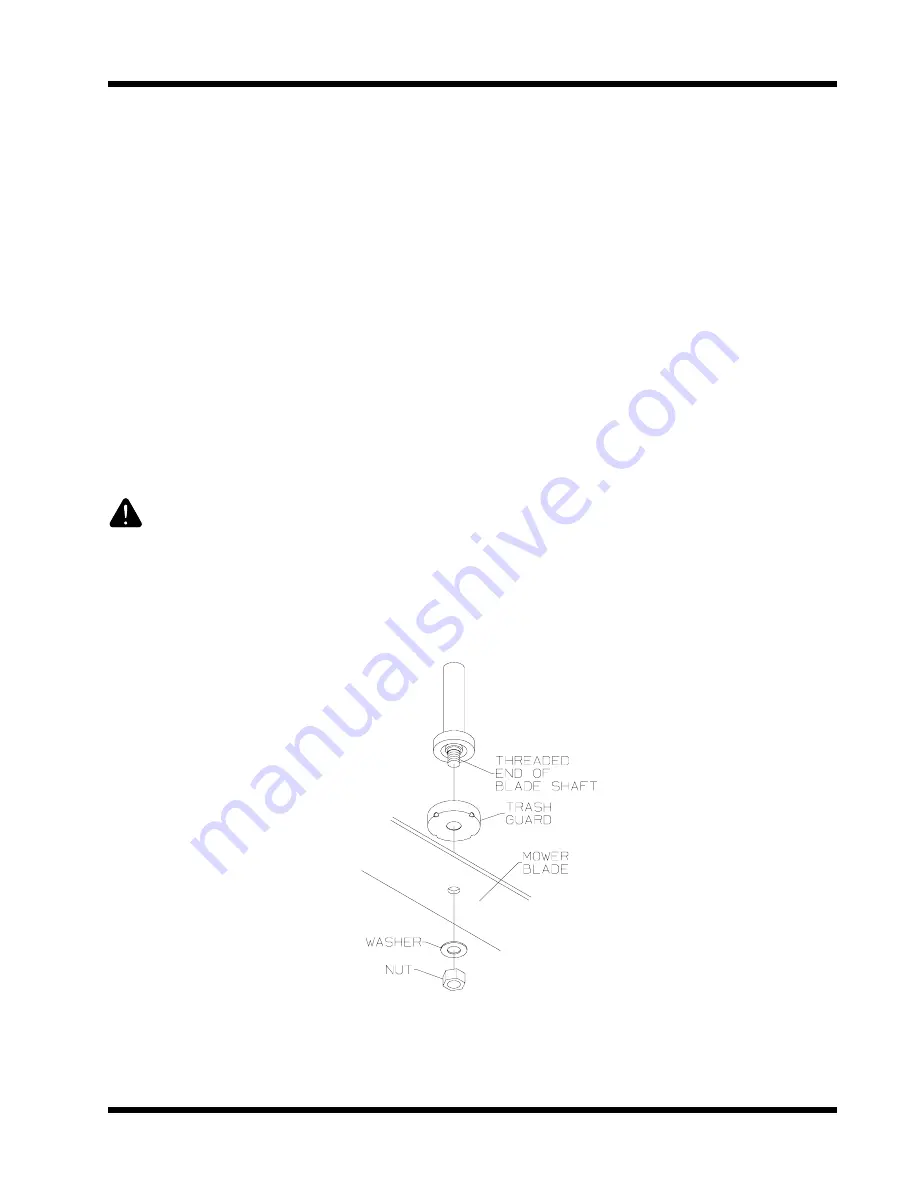
4. When replacing blade, tighten blade nut securely.  Refer to diagram.

CAUTION

     Wear heavy, thick gloves when holding onto mower blade, avoid the sharp
     edge of the blade.

   NOTE:  Be sure blade is centered on pilot before tightening nut to 60 ft. lbs. torque.

Summary of Contents for ZTR 4500 Series

Page 1: ...4500 SERIES ZTR MOWERS Operator s Manual 2001...

Page 2: ...to use the mower read the operator s manual carefully and become completely familiar with the controls The information in this operator s manual applies to all Dixon ZTR 4500 Series Model Mowers Your...

Page 3: ...OLICY Page 10 SPECIFICATIONS Page 11 SEATADJUSTMENT Page 12 CONTROLS Pages 13 15 OPERATIONINSTRUCTIONS Pages 16 21 CAREANDMAINTENANCE Pages 22 31 STANDARD PARTS LIST Page 32 TROUBLESHOOTING Pages 33 3...

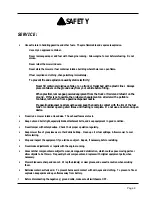
Page 4: ...tand this manual to prevent injuries TIP OVER BACK OVER RUN OVER BLADE CONTACT SAFETY RIDING LAWNMOWERS IF IMPROPERLY OPERATED CAN CAUSE SERIOUS INJURY OR DEATH The most common causes of injury to the...

Page 5: ...indicates an imminently hazardous situation which if not avoided will result in death or serious injury Warning indicates a potentially hazardous situation which if not avoided could result in death...

Page 6: ...t operate the mower without either the entire grass catcher or the deflector in place Slow down before turning Never leave a running mower unattended Always turn off blades set parking brake stop engi...

Page 7: ...ers or other attachments These can change the stability of the mower Keep all movement on the slopes slow and gradual Do not make sudden changes in speed or direction Avoid starting or stopping on a s...

Page 8: ...ep children out of the mowing area and under the watchful care of another responsible adult Be alert and turn mower off if a child enters the area Before and during backing look behind and DOWN for sm...

Page 9: ...or container opening at all times until fueling is complete Do not use a nozzle lock open device Never run a mower inside a closed area The exhaust fumes are toxic Keep nuts and bolts tight especially...

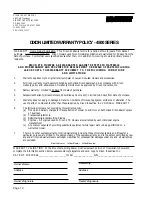
Page 10: ...L WARRANTY 6 The following items are not covered by this warranty policy a Pick up and delivery charges for transportation of mower to and from an Authorized Dixon dealer s place of business b Transax...

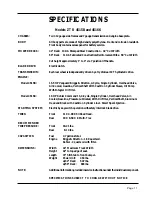
Page 11: ...Shaft With Cast Iron Cylinder Sleeve Oil Pump With Integral Oil Filter Model 4516K 16 HP Kohler Command 16 4 Cycle Single Cylinder Overhead Valve Air Cooled Gasoline Pressure Lubricated With Oil Filte...

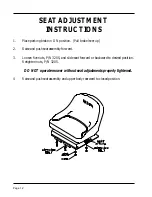
Page 12: ...r up 2 Raise and push seat assembly forward 3 Loosen five nuts P N 3205 and slide seat forward or backward to desired position Retighten nuts P N 3205 DO NOT operate mower without seat adjustments pro...

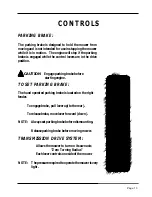
Page 13: ...NG BRAKE The hand operated parking brake is located on the right fender To engage brake pull lever up to the rear To release brake move lever forward down NOTE Always set parking brake before dismount...

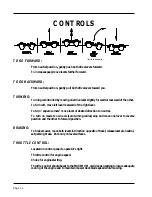
Page 14: ...e lever of desired direction to neutral To turn on mower s own axis zero turning radius stop and move one lever to reverse position and the other to forward position BRAKING To brake mower move both l...

Page 15: ...l system is by 1 15 amp circuit breaker If circuit breaker trips push button to reset If this condition repeats consult dealer for inspection and repair MOWER DECK CUT HEIGHT LIFT LEVER Located to the...

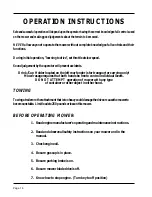
Page 16: ...rt or carrying only Mower usage requires that both hands be free to control individual levers DO NOT ATTEMPT operation of mower with any type of container or other object in either hand TOWING Towinga...

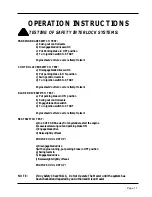
Page 17: ...N position b Swing out control levers c Engage blade drive switch d Turn ignition switch to START Engine should not turn over or attempt to start SEATSWITCHTEST a In a SAFE AREA away from bystanders s...

Page 18: ...While mowing throttle control must be set to the MAXIMUM or wide open setting to insure adequate cooling of the engine and to maintain mower deck bladespeed 7 Operate the mower per the CONTROL instruc...

Page 19: ...y on first cuttings or if the lawn is heavily fertilized 4 Do Not Attempt To Cut Grass When It Is Wet Mulching performance will be very poor under wet grass conditions 5 Maintain A Sharp Blade Through...

Page 20: ...Underside Of The Mower Deck Clean Frequent removal of dried grass and dirt will greatly assist in bagging of the clippings 6 Maintain Sharp Blades Throughout The Cutting Season Some grass catching att...

Page 21: ...The Underside Of The Mower Deck Clean Frequent removal of dried grass and dirt will allow the clippings to discharge correctly 5 Maintain Sharp Blades Throughout The Cutting Season GRASS HEIGHT SUGGE...

Page 22: ...belts and controls 2 Mower deck belts 3 Tirepressures 4 Tightness of all nuts and bolts 5 Battery fluid level 6 Engine Oil ENGINE For engine operating and maintenance information refer to the engine o...

Page 23: ...of mower 2 Hold or block blade from turning 3 Loosen blade nut and remove blade 4 When replacing blade tighten blade nut securely Refer to diagram CAUTION Wear heavy thick gloves when holding onto mo...

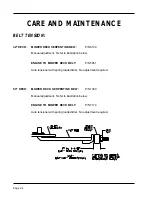
Page 24: ...to illustration below ENGINE TO MOWER DECK BELT P N 5861 Auto tensioner with spring loaded idler No adjustment required 50 DECK MOWER DECK SERPENTINE BELT P N 1300 Manual adjustment Refer to illustra...

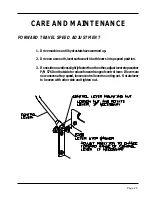
Page 25: ...ve on a smooth level surface with both levers in top speed position 3 Ifonesidenowdrivesslightlyfasterthantheother adjustleverstopwasher P N5760onthatsidetoreduceforwardrangeofcontrollever Ifleversare...

Page 26: ...s on ends of the coupler P N 7736 c If right wheel is creeping forward turn coupler counter clockwise until neutralisachieved clockwiseforleft side If right wheel is creeping backward turncouplerclock...

Page 27: ...and check to see if that measurement is the same If adjustment is required turn nut on one or both of the rear L rods until both measurements are equal 4 Turn each outer blade tip to align with the d...

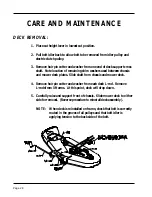
Page 28: ...mower deck plates Slide shaft from chassis and mower deck 4 Remove hair pin cotter and washer from each deck L rod Remove L rods from lift arms At this point deck will drop down 5 Carefully raise and...

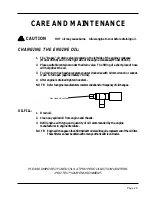
Page 29: ...g of a short piece of hose will help direct the oil 3 To drain turn hex head valve stem counter clockwise with 10mm wrench or socket Open to full open approximately 7 turns 4 After engine is drained t...

Page 30: ...SERVICEINTERVALS Every 50 hours of operation RECOMMENDEDGREASE Name brand wheel bearing or multi purpose grease Once per season or every 50 hours of operation 3 pumps each LUBRICATION CARE AND MAINTE...

Page 31: ...iodically Clean above and below deck NOTE Allow mower to cool before washing If bearings are hot they will draw moisture inside as they dry and cause corrosion SERIALNUMBERS The serial number is locat...

Page 32: ...PART NUMBERS Please refer to Briggs Stratton Engine Operators Manual for correct service intervals for engine oil changes and air filter maintenance Protect your engine investment use only original e...

Page 33: ...ality cut TheTroubleshootingChartsuggestspracticesandadjustmentsthatmaybehelpfulinimprovingcutquality Your Dixon ZTR dealer is also available to provide assistance to you Reduce mowing speed Refer to...

Page 34: ...ebelt Replace spring Remove cause of seizure and lubricate Consult your dealer for repairs Replacebelt Replace spring Remove cause of seizure and lubricate Consult you dealer for repairs REMEDY Neutra...

Page 35: ...ine RPM Contact your dealer for information REMEDY Circuit breaker disengaged Dead Battery Poor connections on battery Battery water low Wrong battery installed in mower Engine electrical system not f...

Page 36: ...Page 36 NOTES...

Page 37: ...Page 37 NOTES...

Page 38: ...Page 38 NOTES...

Page 39: ...UMBER MOWER SERIAL NUMBER PURCHASED FROM OWNER INFORMATION DATE OIL CHANGED DATE ENGINE TUNED DM Address Name DIXON INDUSTRIES INC A BLOUNT International Inc Co PO BOX 1569 COFFEYVILLE KS 67337 0945 3...

Page 40: ...4516K Part No 13088 1100A DIXON INDUSTRIES INC A BLOUNT International Inc Co PO BOX 1569 COFFEYVILLE KS 67337 0945 316 251 2000 The Engine Exhaust from this product contains chemicals known to the Sta...

Reviews: