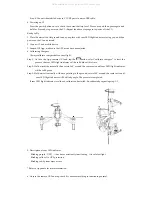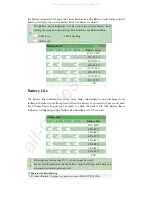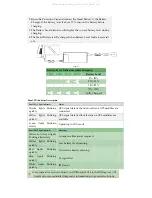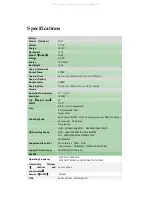
Step
3:
Insert
the
gimbal
into
the
Gimbal
Lock.
Ensure
the
white
mark
on
the
gimbal
is
aligned
with
the
white
mark
on
the
left
of
the
Gimbal
Lock.
Refer
to
the
picture
below
for
details:
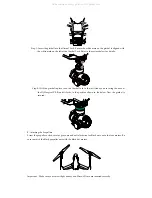
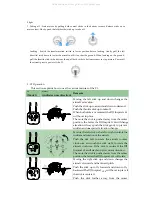
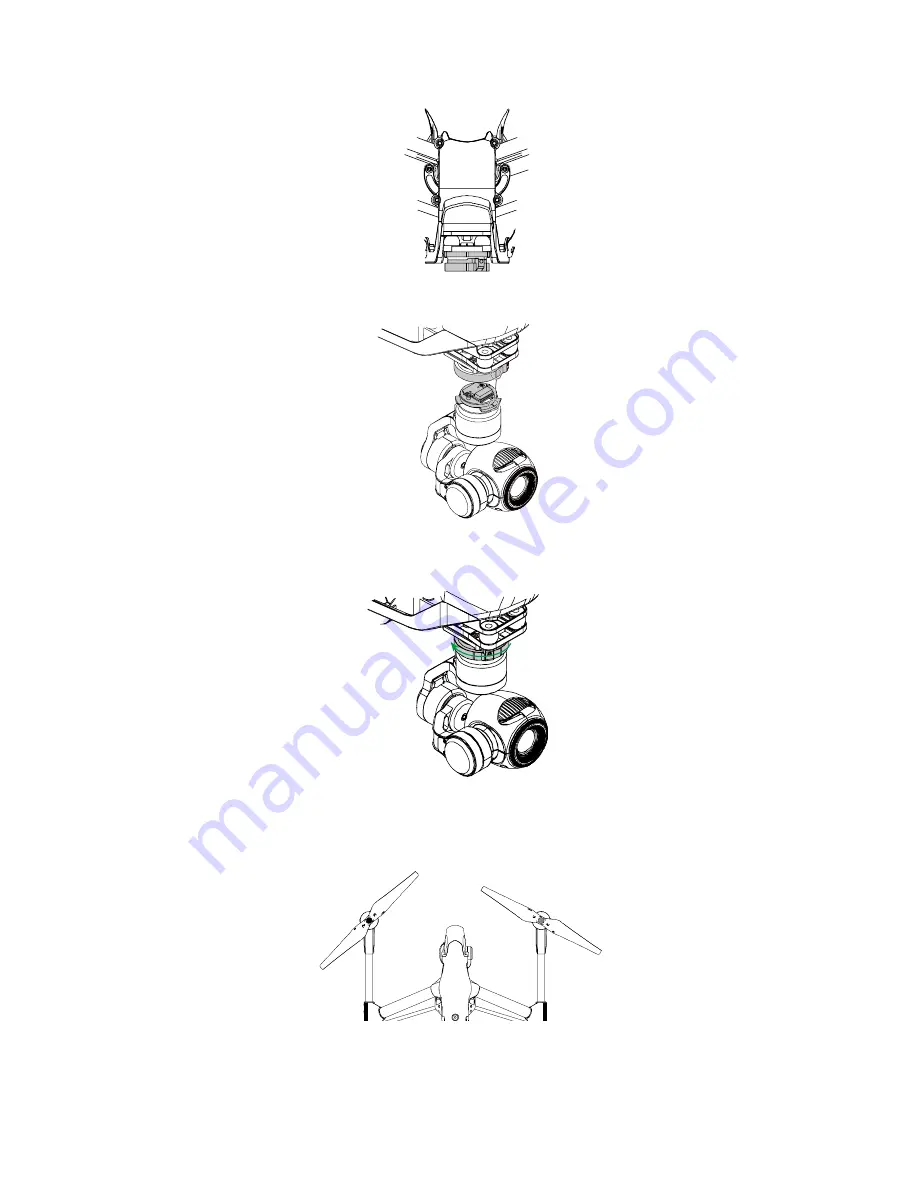
Step
4:
With
the
gimbal
in
place,
turn
the
Gimbal
Lock
to
the
left
(when
you
are
facing
the
nose
of
the
DJI
Inspire
1
until
it
locks
in
the
position
shown
in
the
below.
Now
the
gimbal
is
secured:
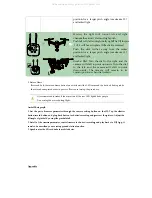
2.
Attaching
the
Propellers
Screw
the
propellers,
clockwise
for
grey
nuts
and
anti
‐
clockwise
for
black
nuts,
onto
the
four
motors.
Be
sure
to
match
the
black
propeller
nuts
with
the
black
dot
motors.
Important
:
Make
sure
your
smart
flight
battery
and
Micro
‐
SD
care
are
inserted
correctly.
V2.0
)
All manuals and user guides at all-guides.com


