10
©
2021
DJI All Rights Reserved.
DJI MIC
User Manual
Audio File
The recorded audio can be exported or deleted after connecting to a computer and can be
formatted via the receiver.
Updating Firmware
When there is new firmware available, update the firmware by connecting the transmitter and the
receiver to the computer separately.
How to update firmware:
1. Download the firmware on the product page at www.dji.com/mic/downloads.
2. Connect the transmitter or receiver to the computer using the USB-C cable provided.
3. Place the downloaded firmware update package .bin file under the root directories of the
transmitters and receiver.
4. The transmitters and receiver firmware updates will start automatically after disconnecting from
the computer.
If the firmware update fails, download the firmware again, reboot the receiver or transmitter, and
repeat the steps above. After the firmware update is completed, check the firmware version on the
receiver to ensure the firmware is updated successfully.
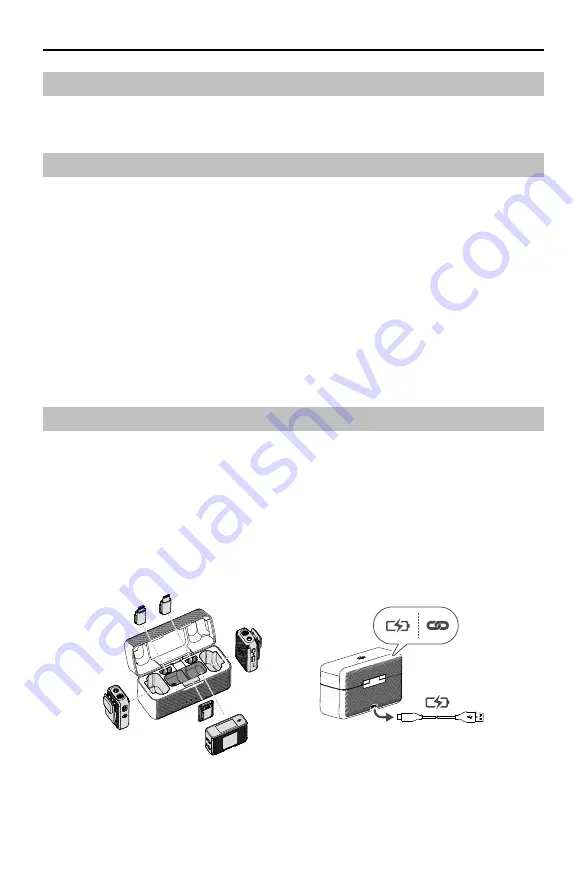
Charging Case Operations
It is recommended to charge the charging case using a 5V/2A charger. The charging case has
a built-in battery with a 2600 mAh. Place the transmitter and receiver into the charging case to
begin charging. With the charging case opened, the receiver displays the battery level of the three
devices and the remaining recording time of the transmitter. The transmitter and receiver will be
powered on once removed from the charging case. The total operating time is approximately 15
hours when using the transmitters, receiver, and the charging case together.
A mobile phone adapter and the hot shoe adapter can be placed into charging case either
mounted to the receiver or not.