©
2021
DJI All Rights Reserved.
3
DJI MIC
User Manual
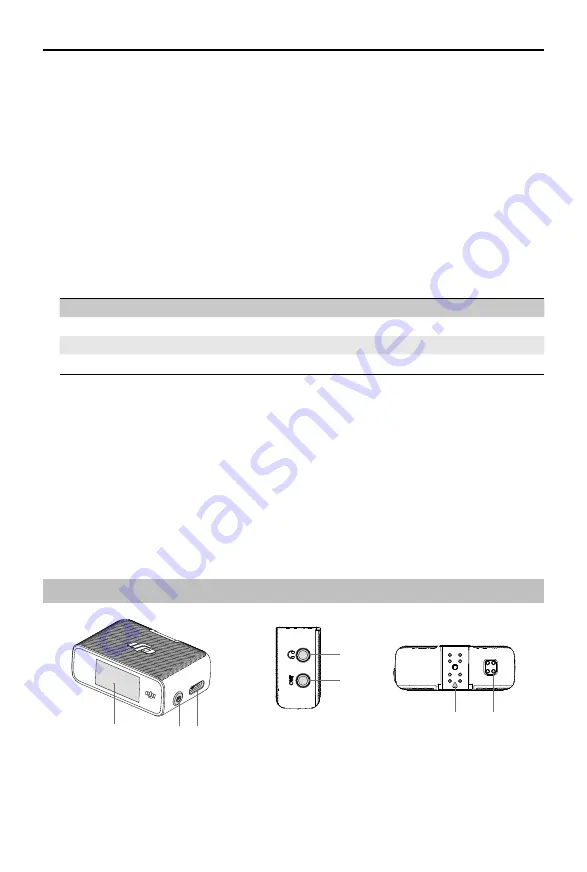
2. Data Port (USB-C)
For copying audio or updating firmware after connecting to a computer. Can also be used for
charging.
3. Power Button
Press and hold to power on or off. Press twice to mute.
4. Internal Microphone
For recording audio.
5. 3.5 mm TRS Input
For connecting external microphone. DO NOT connect a microphone with a power supply of 24 V
or 48 V.
6. Recording Status LED
Indicates the record status of the transmitter.
Blinking Pattern
Descriptions
Solid red
Recording
Pulses red
Mute
Off
Not recording
7. Linking Button
Press and hold to start linking to the receiver. Once the receiver is attached to a mobile phone
and the receiver and transmitter are linked, press once to take a photo or start or stop recording
on the mobile phone (only supports mobile phones where the volume button can be used to take
a photo or start or stop a video).
8. Record Button
Press once to start or stop recording.
9. Charging Pad
Charging will begin after connecting the transmitter to the charging pad of the charging case
and the transmitter will automatically link with the receiver in the charging case.
DJI Mic Receiver
2
6
1
3
7
4
5
1. OLED Touchscreen
Displays information such as the real-time volume, battery level of the receiver and transmitter,
charging status, wireless signal strength, gain, and recording modes. Slide down or up on the
screen to access settings.


