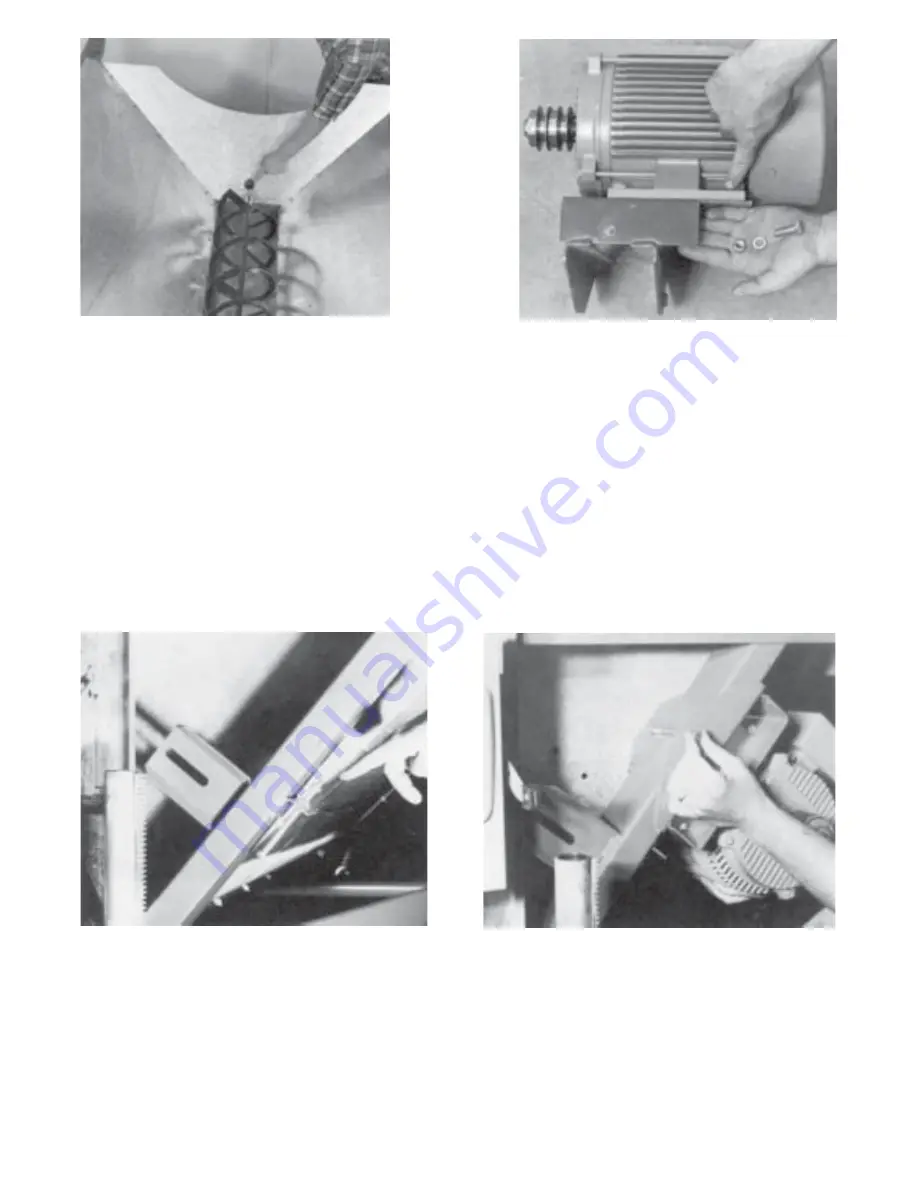
Photo 18
Photo 16
Photo 17
Photo 15
Step 16.
Slide 10” ribbon auger into rear trash pan bearing. See Photo 15.
Step 17.
Bolt three-horsepower motor to motor mount bracket using four 3/8” x 1-1/4”
hex bolts, lock washers and hex nuts. See Photo 16. For units equipped
with hydraulic drive, see separate instructions on page 31.
Step 18.
Thread one 3/8” x 5-1/2” full-thread hex bolt into belt tightener angle about
4-1/2”. Then thread one 3/8” hex lock nut to the full-thread bolt
approximately 3/4”. Continue by placing motor and motor mount channel
to front brace. Secure with one 3/8” x 5” hex bolt. Do not tighten 5” bolt
at this time. Slide motor mount down front brace to the tightener bolt.
Finish by putting 3/8” lock nut to tightener bolt. See Photos 17 and 18.
Step 19.
To install the main drive shaft, remove six 5/16” x 3/4” carriage bolts which
hold the bearing flanges together. Place shaft into “U” bearing support
brackets with single pulley to the rear. Using two 5/16” x 3/4” carriage bolts,
lock washers and hex nuts, bolt rear bearing so that the flanges are outside
of the bearing support. See Photo 19.
5
Summary of Contents for Hi Cap 54
Page 1: ...OWNER S MANUAL Hi Cap 54 Grain Cleaner PNEG 1147 PNEG 1147 Date 3 1 02...
Page 43: ...MODEL 54 HI CAP DRUM 34...
Page 45: ...36...
Page 46: ...37...
Page 47: ...38...
Page 48: ...39...
Page 53: ...44...
Page 55: ...46...
Page 57: ...48...
Page 58: ...49...


