Apendix
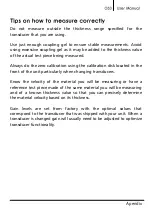
Do not measure outside the thickness range specified for the
transducer that you are using.
Use just enough coupling gel to ensure stable measurements. Avoid
using excessive coupling gel as it may be added to the thickness value
of the actual test piece being measured.
Always do the zero calibration using the calibration disk located in the
front of the unit particularly when changing transducers.
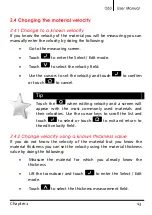
Know the velocity of the material you will be measuring or have a
reference test piece made of the same material you will be measuring
and of a known thickness value so that you can precisely determine
the material velocity based on its thickness.
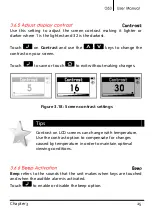
Gain levels are set from factory with the optimal values that
correspond to the transducer that was shipped with your unit. When a
transducer is changed gain will usually need to be adjusted to optimize
transducer functionality.
Summary of Contents for QS3 B
Page 1: ...I ...
Page 2: ...P N QSD 301 ENG Rev 3 2012 ...
Page 43: ...33 Capitulo 4 P N QSD 501 ENG Rev 3 2012 2012 dmq ...

