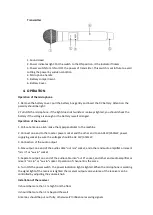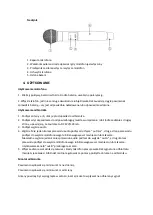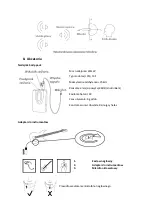
Transmitter
1. Sound Head
2. Power indicates light:Put the switch to the ON position, it the indicator flickers.
3. Power switchiTum ON or OFF the power of transmitter. This switch is set in flute to avoid
cutting the power by sudden condition.
4. Microphone handle
5. Battery compartment.
6. Battery Cover.
4.
OPERATION
Operation of the microphone
1 .Remove the battery cover, pull the battery box gently and insert the 9V battery. Attention: the
polarity should be right.
2.Turn ON the microphone .if the light does not twinkle or is always lighted ,you should check the
battery if the voltage is enough or the battery is well arranged
Operation of the receiver
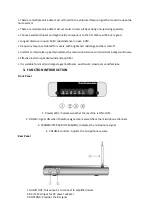
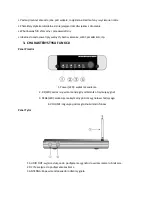
1. Pull-out antenna a & b .make them perpendicular to the machine
2. Connect one end to the local ac power socket and the other end to an AC12V/350mW power
supplying socket ,be sure the voltages should be AC 12V/350mW
3. Connection of the audio output
4. Mix output: one end of the audio cable "out mix" socket, and other end audio amplifier or mixer's
"mic in" or "aux in" socket.
5. Separate output: one end of the audio cable into "out A" socket, and other end audio amplifier or
mixer's "mic in" or "aux in" socket. Operation of channel B is the same
6. Turn ON the power switch ,the power indication light is lighted .When the microphone is working
the signal light of the receiver is lighted the receiver output voice volume of the receiver can be
controlled by adjusting the volume knob.
Installation of the receiver
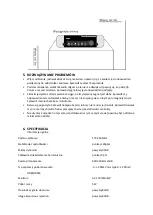
It should be more than 1 m high from the floor
It should be more than 1 m beyond the wall
Antennas should be put out fully, otherwise it'll influence receiving signals


