- 7 -
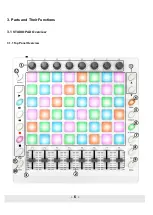
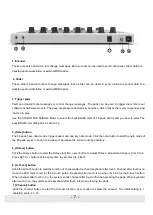
1. Encoder
These encoders transmit control change messages. Each encoder can be used to send continuous control data to a
desktop audio workstation or external MIDI device.
2.
Slider
These sliders transmit control change messages.
Each slider can be used to send continuous control data to a
desktop audio workstation or external MIDI device.
3. Trigger pads
Pads can transmit note messages or control change messages. The pads can be used to trigger drum hits to our
software or hardware module. The pads are pressure and velocity sensitive, which makes them very responsive and
intuitive to play.
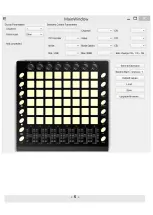
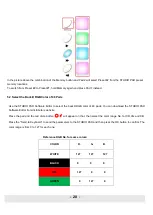
Use the STUDIO PAD Software Editor to select the backlit RGB color of 48 pads.
We’ll show you how to select the
backlit RGB color of48 pads in section 5.2.
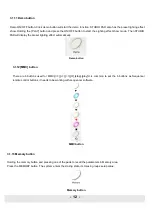
4. [Note] button
The 48 pads have dual modes: trigger pads mode and key note mode. Click the note button to start the note mode of
the 48 pads, press +/-button to increase or decrease the current note by semitone.
5. [Octave] button
Click the Octave button to start the Octave function, use+/-button to adjust Octave. Adjustment range is from 0 to 4.
Press DATA +/- buttons at the same time to set octave to initial 0
6. [A.Touch] button
Click the A.touch button to start the function of channel after touch and keyboard after touch. Channel after touch is on
when the LED color is red for the A.touch button. Keyboard af
ter touch is on when it’s blue for the A.touch button.
When channel after touch in on, the system sends channel after touch info when pressing the pads. When keyboard
after touch in on, the system sends keyboard after touch info when pressing the pads.
7. [Channel] button
Click the channel button to start the channel function, use+/-button to select the channel. The initial setting is 1,
adjusting scale is 1~16.

