background image

Dobinsons Springs and Suspension                                                                                  

www.dobinsonsprings.com


17.


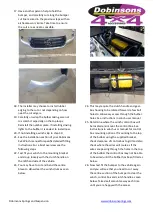
Have another person help to hold the 
bumper, and carefully cut along the bumper 
cut line marked in the previous steps with an 
air hacksaw or similar. Take time to ensure 
the cuts are as neat as possible.  


18.


The installer may choose to install rubber 
edging to the cut or not depending on how 
neat the cut edge is. 

19.


Carefully un-wrap the bulbar taking care not 
to scratch it especially on the top loops. 
Reinstall the number plate. If installing driving 
lights to the bullbar it is easiest to install now. 

20.


If not installing a winch skip to step 30. 

21.


See the Installation section of your Dobinsons 
4x4 Winch manual for specific detailed fitting 
instructions. For a brief overview see the 
following steps.  

22.


Test fit your winch to the mounting bracket 
and do up loosely with the clutch handle on 
the left hand side of the vehicle.  

23.


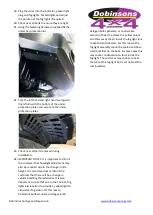
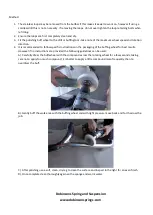
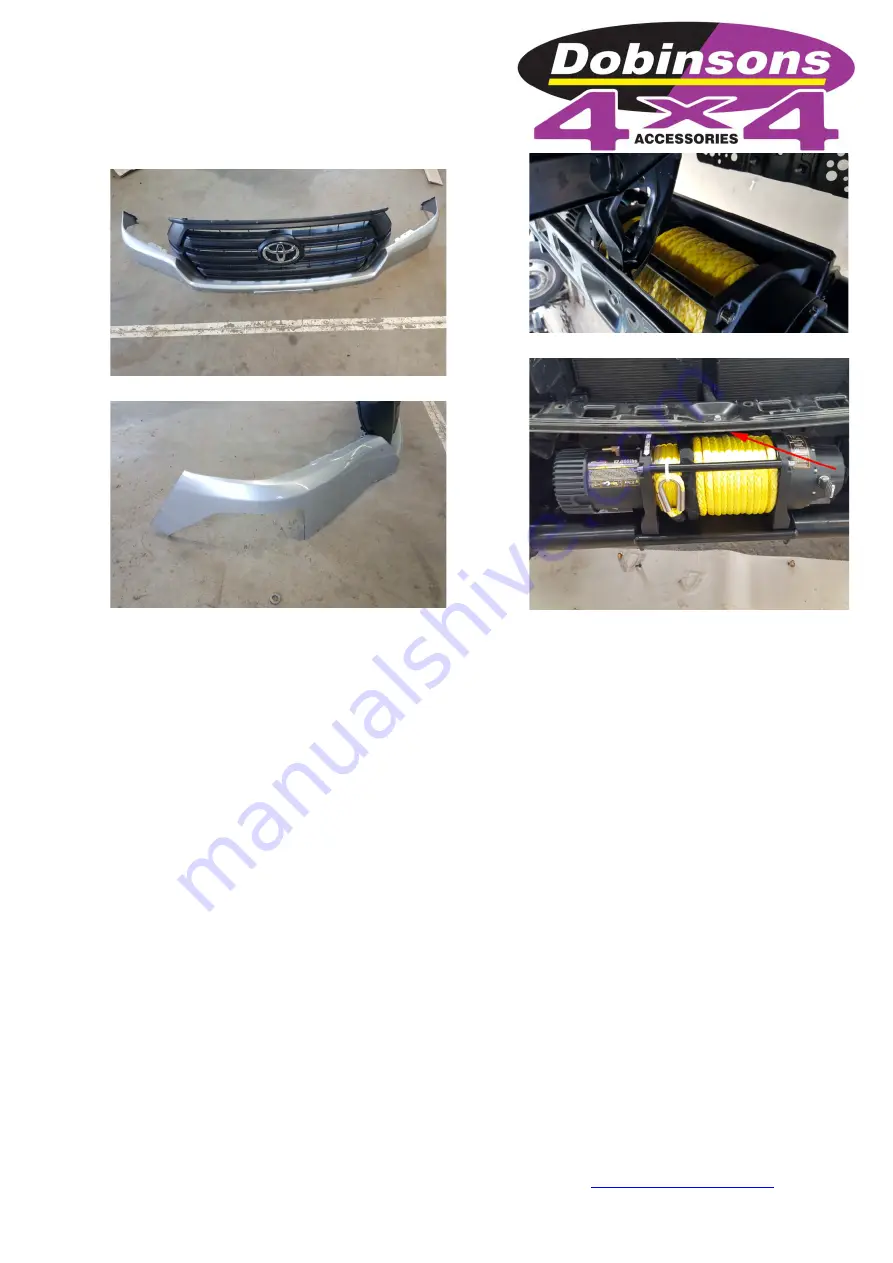
You may have to cut and bend the centre 
brace to allow clear the winch drum as seen 
below. 


24.


This may require the clutch handle and gear-
box housing to be rotated forward a few bolt 
holes to allow easy access through the bulbar 
holes. See instructions in winch user manual.  

25.


Determine where the winch control box will 
be located and mount the control box. See 
instructions in winch user manual for control 
box mounting options. If mounting to the top 
of the bullbar using the supplied bracket, 
check clearance of control box to grill and also 
check where the wires will route as if the 
wires are passing through the holes in the top 
of the bullbar the control box may not be able 
to be wired until the bullbar has been fitted as 
below. 

26.


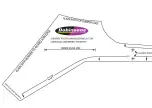
Now test fit the bumper to the vehicle again 
and you will see that you need to cut away 
the centre section of the bumper to clear the 
winch, control box and clutch handle as seen 
below. Take small amounts away each time 
until you are happy with the access. 

Summary of Contents for BU59-3545

Page 1: ...Fits Toyota Landcruiser 200 Series Mid 2015 on This Bullbar will take approximately 4 hours to install Tools required are Spanners and socket set Pneumatic hacksaw Screwdrivers Pliers and side cutters...

Page 2: ...is support 4 Remove all the fasters along the wheel arch edge of the bumper and the bottom of the bumper that attach the bumper to the vehicle Reach in behind the bumper and disconnect the fog lights...

Page 3: ...centralise the bracket and tighten all fasteners 9 The longer flat plates can be fitted later these are the outer bulbar winch supports as seen in the picture above It is best to leave these off for...

Page 4: ...ep it straight and align the template to the bumper fold edge and also align the inner bottom corner with the top of the recess in the bumper 14 Tape the template down mark the cut edge and remove the...

Page 5: ...ch handle on the left hand side of the vehicle 23 You may have to cut and bend the centre brace to allow clear the winch drum as seen below 24 This may require the clutch handle and gear box housing t...

Page 6: ...es on each side of the bullbar drilling through both the pinning holes predrilled in the bulbar bracket into the bulbar mounting plates Fit bolts and nyloc nuts to keep the bullbar in its position 35...

Page 7: ...headlight adjustment may also be required due to the change in ride height It is also important to inform the customer that there will be a change in vehicle handling characteristics It is also import...

Page 8: ...P E R E D G E A L I G N W I T H W H E L A R C H E D G E A L I G N W I T H B U M P E R T O G U A R D J O I N E D G E A L I G N ME N T MA R K S 2 0 0 S E R I E S T O Y O T A L A N D C R U I S E R MI D2...

Page 9: ...U MP E R R E C E S S T O P E D G E C U T C U T C U T A L I G NWI T HB U MP E R F O L DE D G E A L I G N ME N T MA R K S 2 0 0 S E R I E S T O Y O T A L A N D C R U I S E R MI D2 0 1 5 O N C H E C K S...

Page 10: ......

Page 11: ...dried regularly to prevent build up of dust and contaminants This is especially important in coastal and high dust areas The loops can simply be cleaned with most regular car cleaning items like a so...

Page 12: ...g of the buffing wheel for best results However if no instructions are provided the following guidelines can be used A Carefully dress the buff wheel with the compound across the rotating wheel for a...

Reviews: