319
e16_dv50_7e.fm
Data
Disp
lay/Edit/Man
ag
eme
n
t
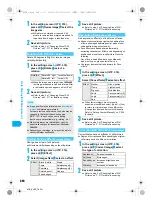
Paste preset and downloaded image stamps
such as stars, flowers and kiss marks.
Image quality may deteriorate when Image stamps
are added to trimmed or resized still pictures.
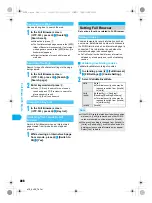
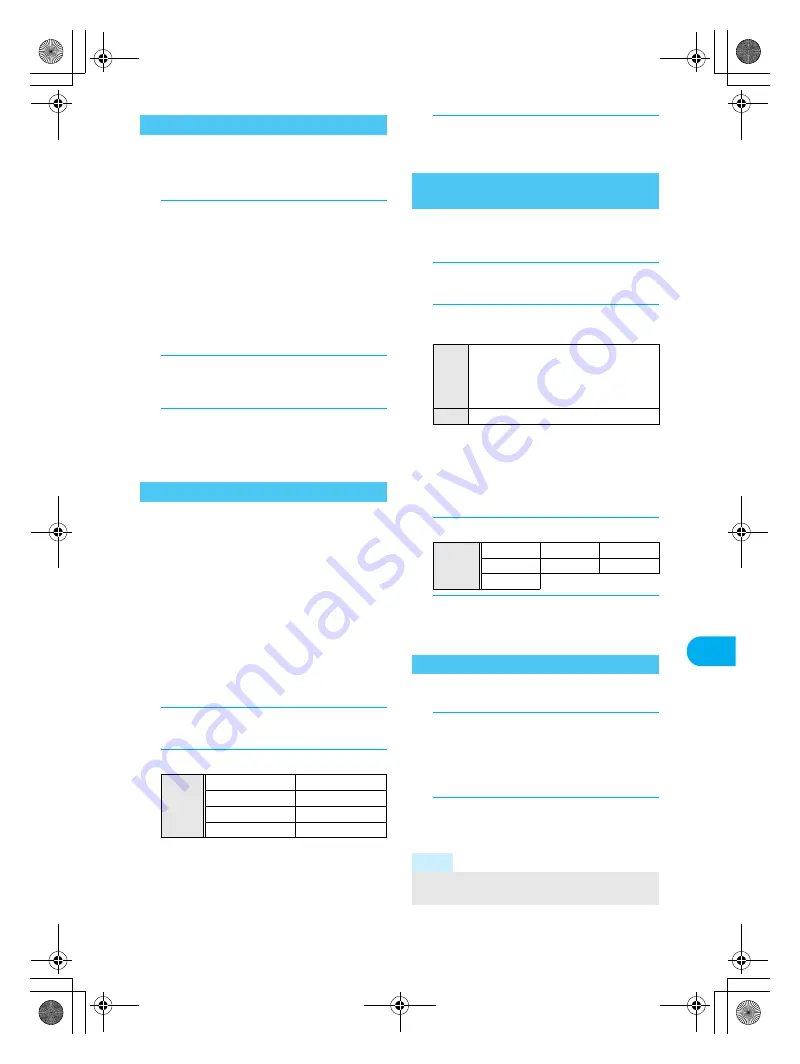
1
In the editing screen (
n
P. 316),
press
C
?
[Stamp]
?
[Image stamp]
?
select folder
?
select stamp and
press
i
(OK).
To check a stamp, select an image stamp. Press
c
and the previous screen reappears.
Press
w
to adjust location.
Press
c
to re-select image stamp. Stamp
selected is deleted and the editing screen
reappears.
2
Press
t
.
Adjust location and press
t
to paste same
stamp.
3
Press
i
(Complete)
?
save still
picture.
Refer to step 3 of “Changing Size of Still
Pictures” on P. 317 for details on saving.
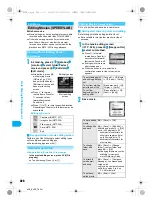
Add decorations such as tears, sunglasses and
swirly cheeks.
Respect personal image rights when adding face
stamps, sending edited images via i-mode mail or
setting edited images to stand-by.
Use larger portraits that face forward for Face
stamp.
Face stamps are added after automatically
extracting face contour. Effects vary depending on
position and size of face in still picture. Note the
following.
Out of focus, head tilted, dark, eyes hidden by
hair, mouth open, glasses, facial hair, etc.
Image quality may deteriorate when Face stamps
are added to trimmed or resized still pictures.
1
In the editing screen (
n
P. 316),
press
C
?
[Stamp].
2
Select [Face stamp]
?
select a stamp.
When facial contours are not properly
extracted, press
C
and select [Undo]
b
[Yes] to return to original image. Press
C
,
select [Change face pos] and set contour
manually. Refer to “Setting Contour Manually”
on P. 320 for details.
3
Save still picture.
Refer to step 3 of “Changing Size of Still
Pictures” on P. 317 for details on saving.
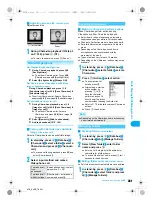
Paste entered characters and date/time.
Image quality may deteriorate when Character
stamps are added to trimmed or resized still pictures.
1
In the editing screen (
n
P. 316),
press
C
?
[Stamp].
2
Select [Character stamp]
?
select a
stamp.
Press
w
to adjust location.
Press
m
(Size
▼
)/
a
(Size
▲
) to change the
font size. The font size changes in the order of
40 dots
⇔
48 dots
⇔
60 dots
⇔
80 dots
(double height size)
⇔
24 dots
⇔
32 dots
⇔
40 dots.
3
Press
C
?
select font color.
4
Press
t
?
save still picture.
Refer to step 3 of “Changing Size of Still
Pictures” on P. 317 for details on saving.
Frames for
QCIF: 176×144
,
Stand-by: 480×854
,
CIF: 352×288
are preset in the FOMA terminal.
1
In the editing screen (
n
P. 316),
press
C
?
[Frame]
?
select folder
?
select frame and press
i
(OK).
To preview, select a frame. Press
c
and the
previous screen reappears.
2
Save still picture.
Refer to step 3 of “Changing Size of Still
Pictures” on P. 317 for details on saving.
Pasting Image Stamps
<Image Stamp>
Pasting Face Stamps
<Face Stamp>
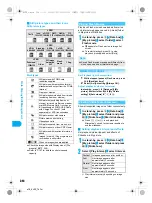
Stamp
Anger
Sunglasses
Tears
Brainy glasses
Swirly cheeks
Mosaic (eyes)
Puppy dog eyes
Mosaic (face)
Pasting Character Stamps
<Character Stamp>
Free
word
[Free word]
b
enter text and press
t
Enter up to 22 single-byte (11
double-byte) characters. Text that
exceeds display width is cut. Line
breaks are not available.
Date
[Date]
Font
color
Orange Red
Green
Black
Yellow
Blue
White
Adding a Frame
<Frame>
Note
Image quality may deteriorate when frames are
added to trimmed or resized still pictures.
dv50_e.book 319 ページ 2007年10月29日 月曜日 午前10時38分
Summary of Contents for Foma SH905i
Page 88: ...LMEMO9 86 e03_dv50_7e fm dv50_e book 86...
Page 120: ...LMEMO9 118 e05_dv50_7e fm dv50_e book 118...
Page 208: ...LMEMO9 206 e09_dv50_7e fm dv50_e book 206...
Page 312: ...LMEMO9 310 e15_dv50_7e fm dv50_e book 310...
Page 513: ...511 e24_dv50_7e fm Index Quick Manual Index 512 Quick Manual 522 dv50_e book 511...
Page 574: ..._dv50_E fm Kuten Code List 07 11 1st Edition _dv50_E fm 0...


