27
TESTING
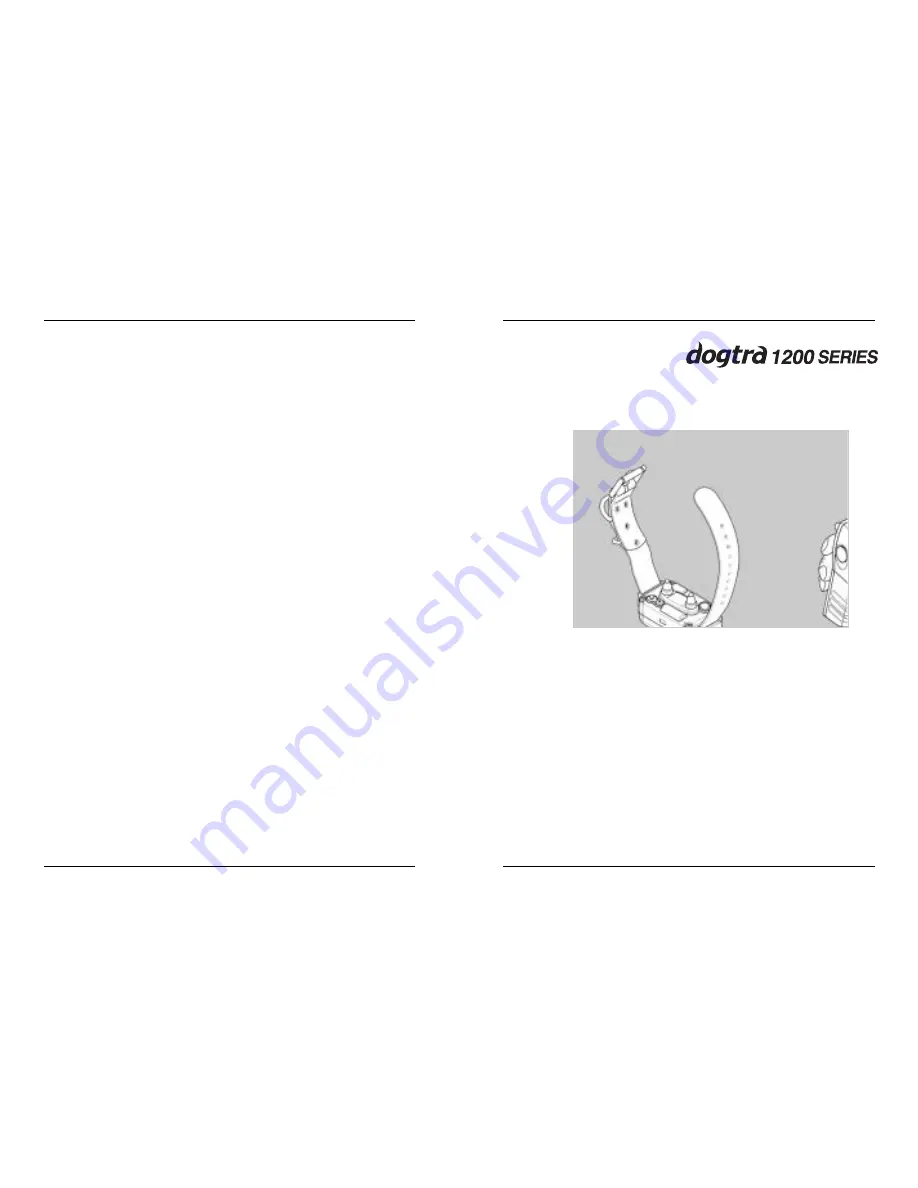
1. Turn the power switch on by pressing the
button on the end of the collar receiver for one
second. The indicator light will come on for a
moment then blink once every two seconds,
showing that the collar is ready to use. (If the
red indicator light emits a double blink every
two seconds, the batteries need to be charged.)
TESTING YOUR
COLLARS
26
CHARGING THE BATTERIES
Battery charging procedure
1. Attach the charging cables to both the
transmitter and receiver(s), as shown on page 24.
2. Plug the charger into a 110-volt wall outlet as
if using the accessory field charger plug into a
cigarette lighter.
(Use 220-volt European charger for Europe)
When properly plugged in, all indicator lights
should glow red.
The receiver automatically turns off when you
insert the charging cable into the battery
charging receptacle on the receiver.
3. After charging, cover the battery charging
receptacles with the rubber plugs on the
transmitter and receiver.
4. Battery is fully charged with a 14-hour charge.
Summary of Contents for 1200 NC
Page 22: ...MEMO ...


