18
999803902 - 06/2014
User Information
Dokaflex
30
tec
Instructions for assembly and use
Closing the formwork
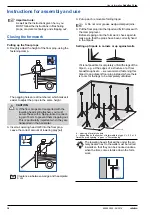
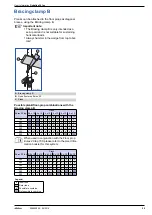
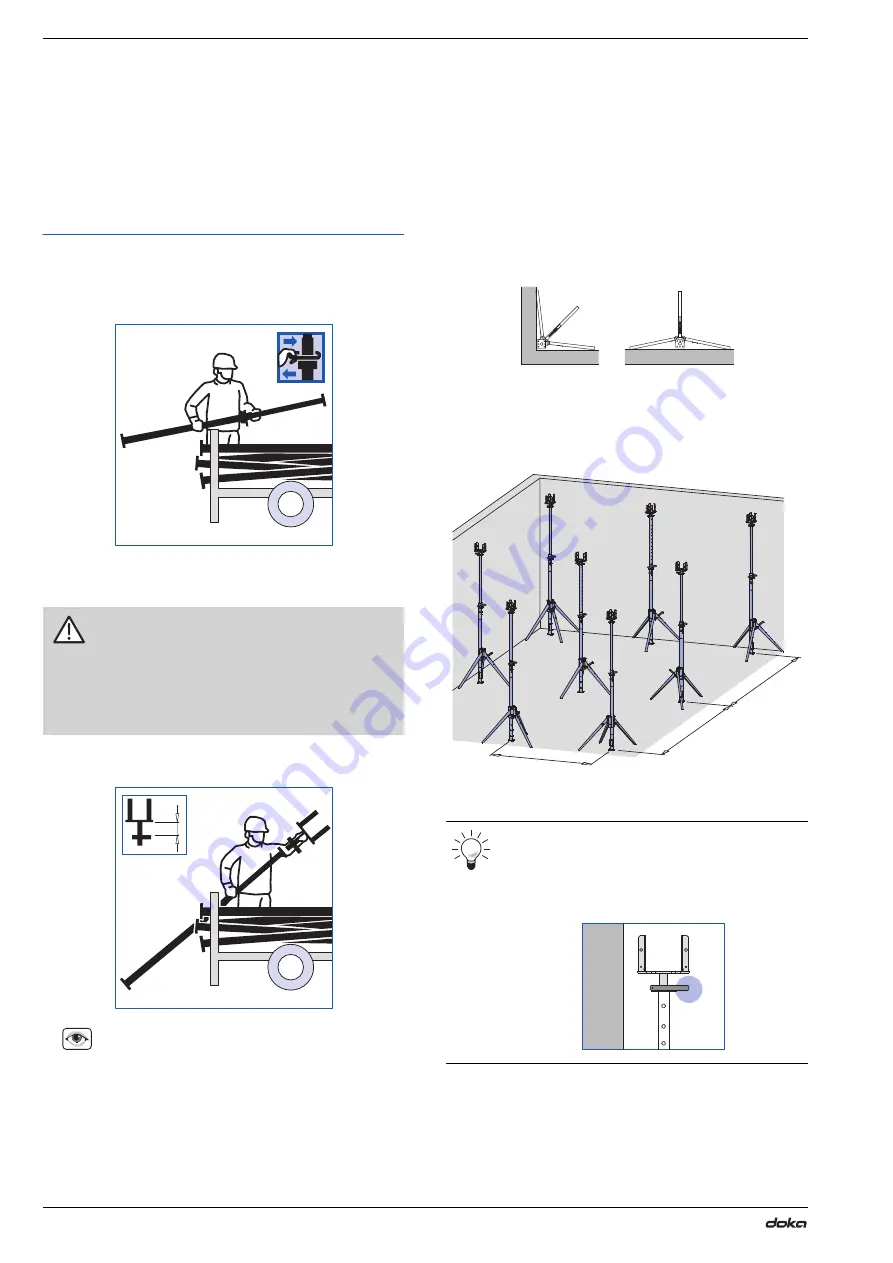
Putting up the floor props
➤
Roughly adjust the height of the floor prop, using the
fastening clamp.
The pegging holes are all numbered, which makes it
easier to adjust the props to the same height.
➤
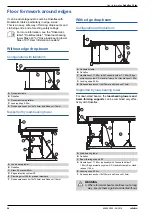
Insert a Lowering head H20 into the floor prop.
Leave the correct amount of lowering play
(a)
!
➤
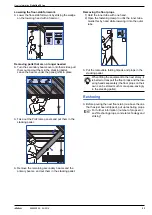
Put up each removable folding tripod.
➤
Put the floor prop into the tripod and fix it in place with
the clamping lever.
Before stepping onto the formwork, check again to
make sure that the props have been correctly fixed
in the tripods.
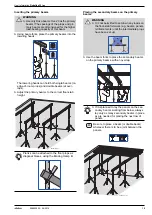
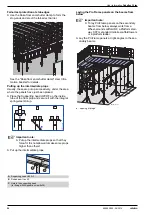
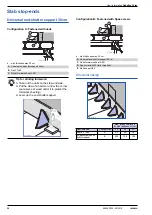
Setting up tripods in corners or up against walls
If it is not possible to completely unfold the legs of the
tripod – e.g. at the edges of a structure or at floor
breakthroughs etc. – we recommend fastening this
tripod to an adjacent floor prop instead, where there
is room for the legs to be completely unfolded.
b ... spacing of primary beams
x ... depending on the number of intermediate props, 'x' = 2, 3 or 4
times the prop spacing 'a' given in "Dimensioning"
☞
Important note:
As well as the instructions given here, you
MUST follow the instructions in 'Reshoring
props, concrete technology and stripping out'.
CAUTION
➤
If the floor props are transported with the
lowering heads still attached, you must
secure these with a Spring-locked connect-
ing pin 16
mm to prevent them dropping out.
This is particularly important when they are
transported in the horizontal.
Clearance
a
between wedge and head-plate:
6 cm
9720-006
a
9720-006
☞
➤
Do not oil or grease wedge-clamped joins.
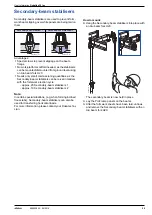
The lowering heads that will be under the pri-
mary beams next to the walls must be turned
inwards so that they can be knocked undone
when the time comes to take down the form-
work.
9720-240-01
9720-241-01
b
x
x
98039-209-01
9720-335-01


