background image

Quick Reference Guide CMT-30 (r2)

DOKKi

.eu

POSITIONING

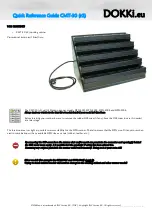
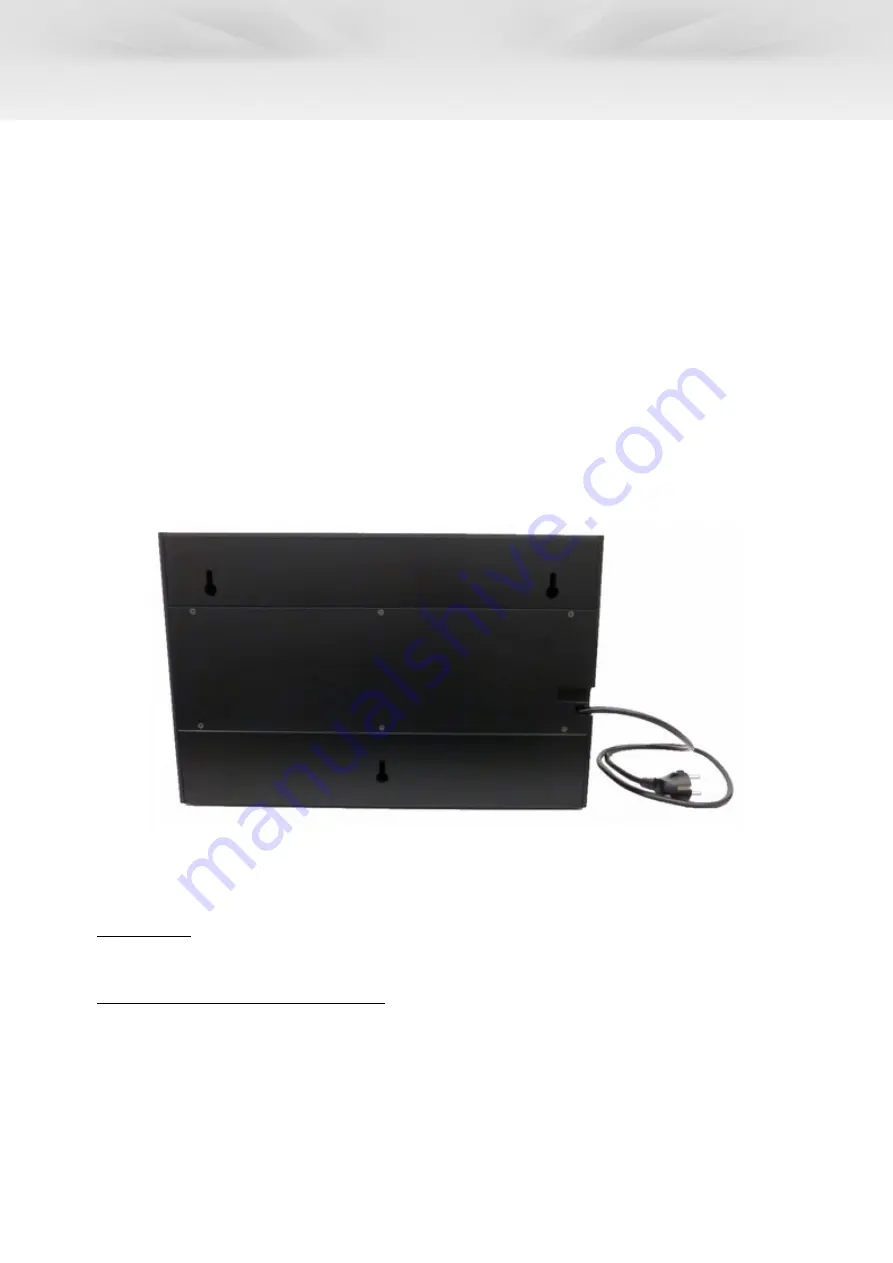
The CMT-30 has rubber feet on the bottom and can be used as a desk-stand , or it can be wall-mounted with the 'Wall Mount KIT' 
which is separately available as an accessory.

Desk-stand
Please make sure the CMT-30 is positioned on a firm background which is level.

Wall-mounted
The Wall Mount KIT consists of:

CMT-30 Mount Instruction

CMT-30 Drill Template 1:1 scale (A3 format)

M6 x 35mm universal nylon plugs, gray (3x)

M5 x 40mm screws, galvanized (3x)

POWER AND CONNECTION

Input: 100–240V~, 50/60Hz

After unpacking and positioning, simply plug the power connector (type: Shuko F) in the wall outlet.
The docking cabinet is now ready for use.

CMT-30 USAGE SAMPLES

CHARGE ONLY
You can use the CMT-30 as a 'charge only dock'. For this you only need to plug the power cord.
This way all thirty ports are powered and can be used to charge your scanner.

COMMUNICATION AND CHARGING (MIXED)
You can use all ports to communicate with the PC as well. For this connect the USB port situated at the back to a PC.
Remember: each scanner connection to the PC will generate it's own VCP (Virtual Comm Port), so make sure your software is 
able to handle this!

DRIVER INSTALLATION – ONLY NECESSARY WHEN USING COMMUNICATION ON THE CMT-30

The CMT-30 itself does not need a separate driver. The only driver that needs to be installed on your PC is the appropriate 
driver for your scanner OPN-model that you wish to use on the CMT-30. If not already done so, please follow the instructions 
for driver installation in the corresponding manual that belongs to your scanner model as provided by Opticon.

DOKKi.eu is a trademark of JNC Service B.V. ('JNC'). Copyright JNC Service B.V. All rights reserved.

CMT-30_QRG-003 / December 2014

CMT-30 (r2) rear view

Summary of Contents for CMT-30

Page 1: ... Guide may be revised or withdrawn at any time without prior notice This document provides basic instructions for setting up your DOKKi docking cabinet UNPACKING Do NOT use a knife to open the package or contents as this may result in damaging the product s Open the outer box on the top side indicated by the this way up sign on the labels Carefully lift the docking cabinet from it s box and remove...

Page 2: ...ner That also means that the OPN won t fit any more when used in combination with any available OPN sleeve or case rubber leather etc By removing the USB cover from the scanner dust and or moist can penetrate the connector and opening s behind the USB cover more easily It is possible that the products IP rating has been altered too Removing any original part from the scanner could void warranty Do...

Page 3: ...nly need to plug the power cord This way all thirty ports are powered and can be used to charge your scanner COMMUNICATION AND CHARGING MIXED You can use all ports to communicate with the PC as well For this connect the USB port situated at the back to a PC Remember each scanner connection to the PC will generate it s own VCP Virtual Comm Port so make sure your software is able to handle this DRIV...

Page 4: ... over the dock to align the connectors When aligned press the scanner down to secure the connection Press firmly but never use excessive force when pressing down as this might damage the connectors Check for obstructions on both connectors and retry connection ACCESSORIES Wall Mount Kit to securely mount the CMT 30 to a wall All other available accessories can be found on our website DOKKi eu is a...

Page 5: ...OF THIS PRODUCT YOU AGREE TO BECOME BOUND BY THE LIABILITY AND WARRANTY CONDITIONS Limited Warranty Liability and Disclaimers This Limited Warranty and Disclaimer extends only to products purchased directly from DOKKi eu or a DOKKi eu Authorized Dealer as stated on our website http www dokki eu dealers Under no circumstance JNC will be liable for any direct indirect incidental special consequentia...

Reviews: