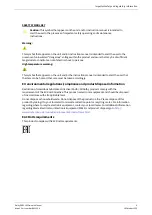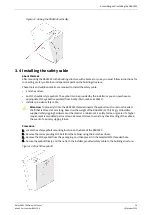
Important: Size all hardware to allow at least a 5:1 safety factor, and remove slack from the safety
cable. Consult building plans and a licensed professional engineer, and follow all local laws for
overhead mounting.
3.5 Connecting and configuring the DSR1090
About this task
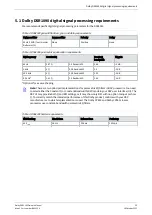
After mounting the DSR1090 to the building structure and connecting a safety cable, you must follow
instructions for connecting and configuring the DSR1090.
Required tool:
Wire stripper
Caution: Turn off all amplifiers when connecting speaker wiring.
Note: The input terminals are marked with indicators to show their polarity. Per IEC standards, a
positive voltage on the positive marked input causes the transducers to move outward.
Procedure
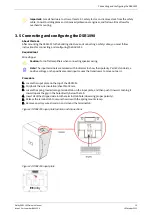
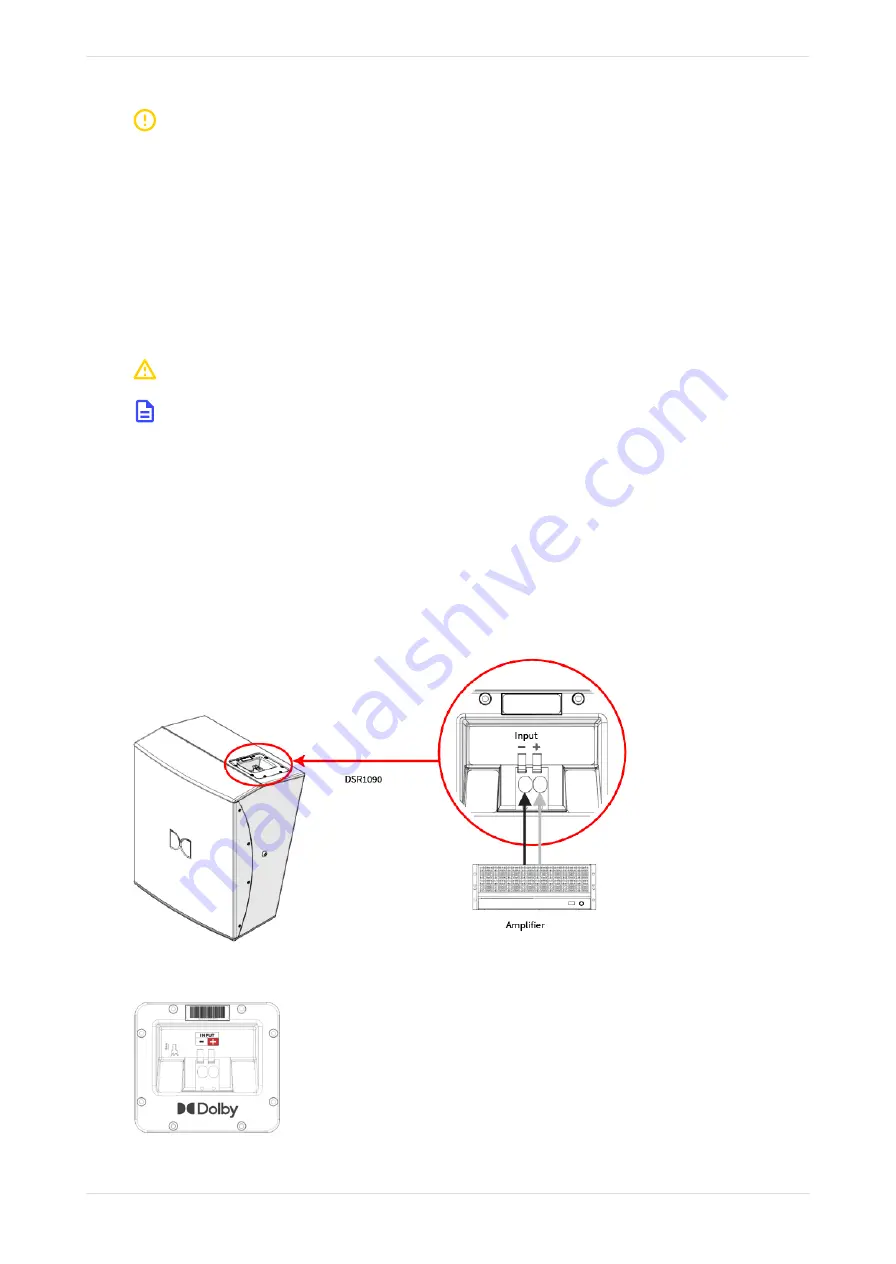
1. Locate the input plate on the top of the DSR1090.
2. Strip back the wire insulation/sheath to 18 mm.
3. Locate the spring-loaded orange terminal tab on the input plate, and then push it inward. Pushing it
inward opens the gap in the hole directly below the tab.
4. Insert all of the stripped wire into the terminal tab hole (observing proper polarity).
5. Release the terminal tab to secure the wire with the spring mount clamp.
6. Remove any stray wire strands in and around the terminal tab.
Figure 13: DSR1090 input plate location and connections
Figure 14: DSR1090 input plate
Connecting and configuring the DSR1090
Dolby DSR1090 Owner's Manual
19
Issue 1 Part number: 8800304
16 October 2022


