


Page 5
Door/Window Sensor Advanced User Manual
Specifications
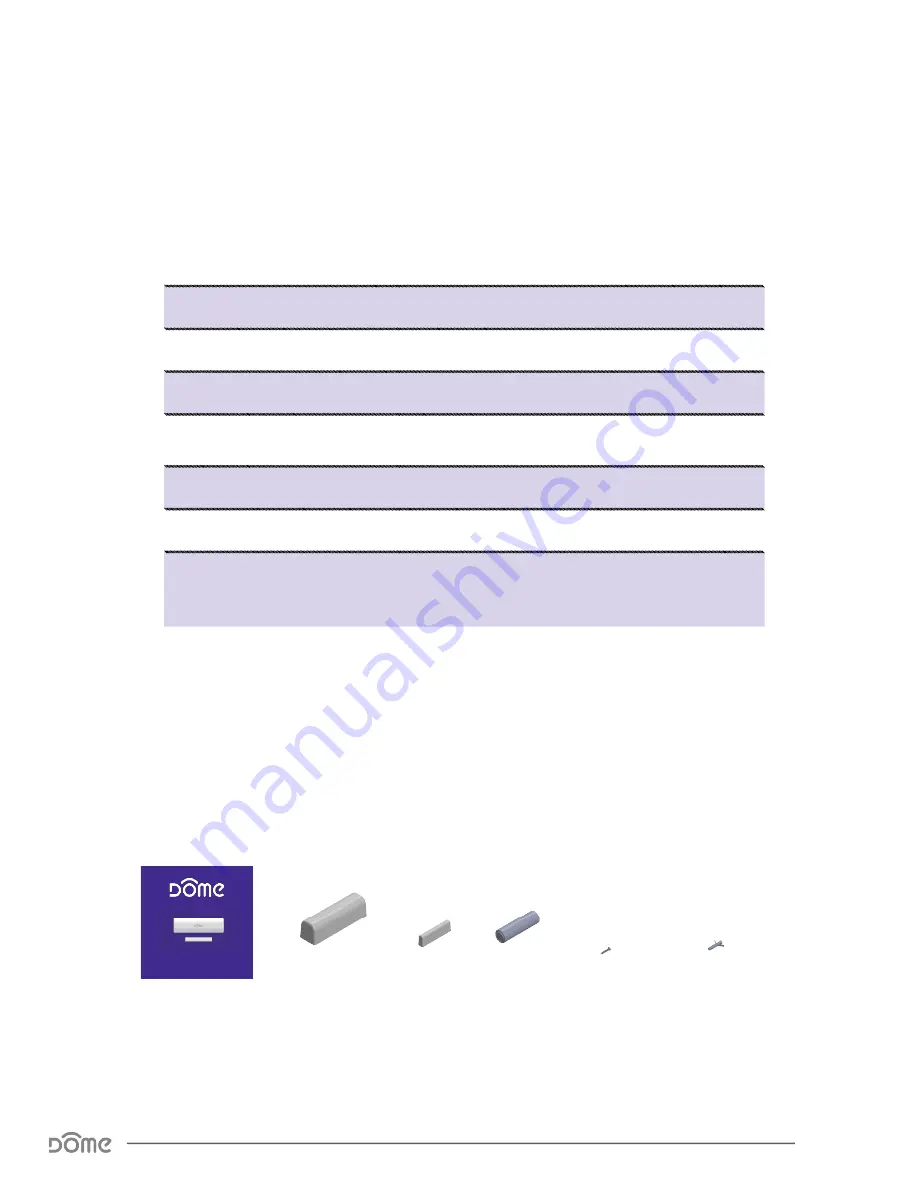
Package Contents:
Technical Specifications
Radio protocol
Z-Wave(500 series)
Power supply
Single ER14505 (AA) 3.6V battery
Standby current
7uA
Working current
35mA
Operating temperature
32 - 104 °F (0 - 40 °C)
Radio frequency
908.4 MHz US
Range
Up to 250’ depending on environment
Dimensions (L x W x H)
Sensor: 2.9” x 0.85” x 0.87” (75 x 21 x 22 mm)
Magnet: 1.6” x 0.25” x 0.5” (40 x 6.35 x 12
mm)
Table 1 -
Technical Specifications
User Manual
Sensor
Magnet
4x Screws
4x Wall Anchors
WINDOW/DOOR SENSOR
Thank you for your purchase of the DOME
Window/Door sensor, a device which allows you
to monitor the activity of windows, doors, garages
and more.
QR Code
Underneath
LED
Indicator
Follow the instructions for your Z-Wave certified
Controller to include the Window/Door sensor.
When prompted by the Controller:
1. Remove the cover of the Window/Door sensor.
2. Remove the Battery Tab.
3. Press the Connect button quickly 3 times in
a row.
A red LED will flash five times indicating inclusion.
Set Up:
Note:
Door/Window sensor should be within 10 feet of the Controller to include
properly. After inclusion, the device can then be moved to any desired location.
Follow the instructions for your Z-Wave certified
Controller to exclude the Window/Door sensor.
When prompted by the Controller:
1. Remove cover of the Window/Door sensor.
2. Press the Connect button quickly 3 times in
a row.
Excluding/Disconnecting from the
Z-Wave Network:
A red LED will flash five times indicating
exclusion/disconnection.
Open/Close
Button
Door Sensor
Magnet
Non-Dome System
Set Up:
DOME System
1. Pull up the DOME App on your Smart Phone.
2. Press the Menu button ( ), then select the
option “Add New Device.” The App will then take
you step-by-step connecting the Window/Door
sensor to the system.
CR14520
BATTERY
BATTERY
TAB
Connect
Button
Remove
Plastic Tab
LED
Inside of Door sensor
Open/Close
Button
Elexa Consumer Products, c/o Promac,
1153 Timber Dr., Elgin, IL 60123
ECP will repair or replace the defective parts and
return them at ECP’s cost by a shipping method
selected by ECP. When contacting ECP to obtain
an RMA, Purchaser may request expedited
return shipping at Purchaser’s expense.
THIS WARRANTY IS NOT TRANSFERABLE, AND,
TO THE MAXIMUM EXTENT PERMITTED BY
APPLICABLE LAW IS IN LIEU OF ALL OTHER
WARRANTIES, REPRESENTATIONS AND
CONDITIONS, EXPRESSED OR IMPLIED,
STATUTORY OR OTHERWISE, INCLUDING BUT
NOT LIMITED TO THE IMPLIED WARRANTIES OF
MERCHANTABILITY AND FITNESS FOR A PAR-
TICULAR PURPOSE. NO OTHER PERSON OR
REPRESENTATIVE IS AUTHORIZED TO MAKE
ANY OTHER WARRANTY ON BEHALF OF ECP
OR ASSUME FOR ECP ANY OTHER LIABILITY IN
CONNECTION WITH THE SALE OF THIS PRO-
DUCT. IN NO EVENT WILL ECP BE LIABLE FOR
ANY DAMAGES, INCLUDING BUT NOT LIMITED
TO INCIDENTAL, SPECIAL OR CONSEQUENTIAL
DAMAGES ARISING OUT OF THE USE OR
INABILITY TO USE THE PRODUCT, INCLUDING
DAMAGES DUE TO ECP’S NEGLIGENCE.
THIS WARRANTY GIVES YOU SPECIFIC LEGAL
RIGHTS, AND YOU MAY ALSO HAVE OTHER
RIGHTS WHICH VARY FROM STATE TO STATE
AND COUNTRY TO COUNTRY.
©2016 Elexa Consumer Products, Inc.
2275 Half Day Rd., Suite 333
Bannockburn, IL 60015
www.domeHA.com
Elexa Consumer Products, Inc. (”ECP”) warrants
to the original retail purchaser (”Purchaser”)
that the DOME Window/Door sensor (the “Product”)
will be free of defects in materials or workmanship
under use for one (1) year from the date of
purchase (the “Warranty period”).
For the Purchaser only, if the Product fails to
perform as specified during the Warranty Period
due to defective parts or faulty workmanship,
ECP will repair or replace the defective or
damaged parts of the Product. Normal wear and
tear is not covered nor is abnormal use, misuse,
mishandling, faulty installation, improper
shipping, damage caused by disasters such as
fire, flood or earthquake, neglect, accident or
tampering. This warranty covers only normal use
in the United States or Canada.
To obtain warranty service during the Warranty
Period, call Dome Customer Service
(1-855-249-1754) or email:
support@domeHA.com for instructions
on sending damaged parts and documentation
for a Return Material Authorization (RMA).
Products returned to ECP for repair or replace-
ment without authorization will be returned at
the sender’s expense. All warranty claims must
be accompanied by a legible copy of the original
receipt showing date and details of purchase.
The RMA number must be clearly written on the
side of the shipping container in which you return
the Product or defective parts. Unless otherwise
instructed by ECP, the Product must be sent
freight pre-paid to the following address:
1 Year Limited Warranty
NEED HELP? CONTACT DOME CUSTOMER SERVICE
If you have questions, our trained Customer Service Department is happy to assist you 24
hours a day, 7 days a week. Contact Dome Customer Service as follows: • In North America
dial: 1-855-249-1754 • Email Dome at support@domeHA.com
DO NOT RETURN THIS PRODUCT TO THE STORE OR WEBSITE FROM WHICH IT WAS PURCHASED
If you believe the product is defective, has a missing or broken part or are having difficulty
with it please contact Dome as listed above for a quick and efficient solution to the problem.
Legal Notices: This device complies with part 15 of the FCC rules. Operation is subject to the
following two conditions (1) This device may not cause harmful interference, and (2) this
device must accept any interference received, including interference that may cause
undesired operation.
Note: This equipment has been tested and found to comply with the limits for a Class B digital
device, pursuant to part 15 of the FCC Rules. These limits are designed to provide reasonable
protection against harmful interference in a residential installation. This equipment generates,
uses and can radiate radio frequency energy and, if not installed and used in accordance with
the instructions, may cause harmful interference to radio communications.
However, there is no guarantee that interference will not occur in a particular installation. If
this equipment does cause harmful interference to radio or television reception, which can be
determined by turning the equipment off and on, the user is encouraged to try to correct the
interference by one or more of the following measures: Reorient or relocate the receiving
antenna; increase the separation between the equipment and the receiver; connect the
equipment into an outlet on a circuit different from that to which the receiver is connected.
Consult the dealer or an experienced radio/TV technician for help.
This device complies with Industry Canada license-exempt RSS standard(s). Operation is
subject to the following two conditions: (1) this device may not cause interference, and (2)
this device must accept any interference, including interference that may cause undesired
operation of the device.
The Window/Door sensor can be installed by
either using the pre-applied double-stick tape
or by removing the covers from the Door
sensor and Magnet to expose the drill holes
and attach with the hardware included. (To
access the drill holes in the Door sensor half,
the battery needs to be removed.)
Installation:
Door/Window
CORRECT DISPOSAL OF BATTERIES IN THIS PRODUCT
This marking on the product, accessories or literature indicates that the product and its
electronic accessories should not be disposed of with other household waste.
To prevent possible harm to the environment or human health from uncontrolled waste
disposal, please separate these items from other types of waste and recycle them
responsibly to promote the sustainable reuse of material resources.
Household users should contact either the retailer where they purchased this product, or
their government office, for details of where and how they can take these items for
environmentally safe recycling.
Business users should contact their supplier and check the terms and conditions of the
purchase contract. This product and its electronic accessories should not be mixed with
other wastes for disposal.
This marking on the battery, manual or packaging indicates that the batteries in this product
should not be disposed of with other household waste. Where marked, the chemical symbols
Hg, Cd or Pb indicate that the battery contains mercury, cadmium or lead above the
reference levels in EC Directive 2006/66. If batteries are not properly disposed of, these
substances can cause harm to human health or the environment.
#
Z52NAS-DS01Z
Door Sensor
Magnet
For proper operation,
when closed,
the lines on
the sides of
the Door
sensor and
Magnet must
align. Also
there should
be no more
than a ½”gap
between the Magnet and Door sensor.
Mount one part of the sensor on the half of the
door, window or cabinet that opens and closes
and the other piece on the fixed half.
Note:
Requires the DOME Hub or any other Z-Wave certified Hub for use.
Door/Window
Magnet
Door Sensor
Align
These
½”
A
A
B
B
C
C
D
D
E
E
F
F
G
G
H
H
J
J
K
K
L
L
M
M
N
N
P
P
R
R
T
T
24
24
23
23
22
22
21
21
20
20
19
19
18
18
17
17
16
16
15
15
14
14
13
13
12
12
11
11
10
10
9
9
8
8
7
7
6
6
5
5
4
4
3
3
2
2
1
1
DRAWN
CHK'D
APPV'D
MFG
Q.A
UNLESS OTHERWISE SPECIFIED:
DIMENSIONS ARE IN MILLIMETERS
SURFACE FINISH:
TOLERANCES:
LINEAR:
ANGULAR:
FINISH:
DEBURR AND
BREAK SHARP
EDGES
NAME
SIGNATURE
DATE
MATERIAL:
DO NOT SCALE DRAWING
REVISION
TITLE:
DWG NO.
SCALE:1:1
SHEET 1 OF 1
A0
WEIGHT:
dw gen 2 parts list
Battery
Specifications


