9
Semi-automatic defrosting
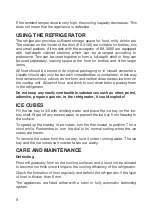
Press the defrosting button in the thermostat dial with a toothpick. On no
account alter the position of the thermostat but leave it at its usual setting
and close the door.
When the defrosting process is complete the defrosting button is released
and the refrigerator will return to normal operation.
Defrosting time is dependent on the thickness of the frost layer and the room
temperature.
Defrost water
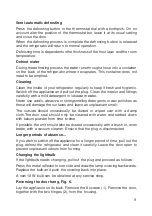
During the defrosting process the water runs through a hose into a container
on the back of the refrigerator where it evaprates. This container does not
need to be emptied.
Cleaning
Clean the inside of your refrigerator regularly to keep it fresh and hygienic.
Switch off the appliance and pull out the plug. Clean the interior and fittings
carefully with a mild deteergent in lukewarm water.
Never use acidic, abrasive or strongsmelling detergents or wax polishes as
these will damage the surfaces and leave an unpleasant smell.
The outside should occasionally be dusted or wiped over with a damp
cloth.The door seal should only be cleaned with water and rubbed down
with talcum powder from time to time.
If possible, the unit should also be dusted occasionally with a brush or, even
better, with a vacuum cleaner. Ensure that the plug is disconnected.
Longer periods of absence...
If you wish to switch off the appliance for a longer period of time, pull out the
plug, defrost the refrigerator and clean it carefully. Leave the door open to
prevent unpleasant odours from forming.
Changing the lightbulb
If the lightbulb needs changing, pull out the plug and proceed as follows:
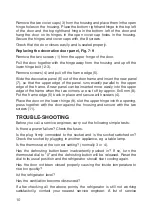
Press the metal reflector to one side and draw the lamp covering backwards.
Replace the bulb and push the covering back into place.
A new 10 W bulb can be obtained at any service shop.
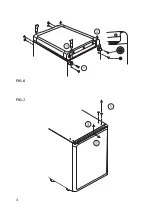
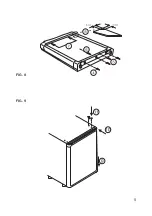
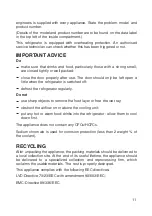
Reversing the door hang, Fig. 6.
Lay the appliance on its back. Remove the 8 screws (1). Remove the door,
together with the two hinges (2), from the housing.

