5-9
EN
5.3.4
Harness connection to actuator
1.
Remove the shipping caps from the harness connector and the
Electric Actuator.
2.
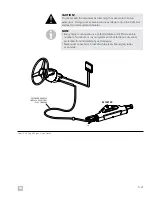
Apply a light coat of the supplied dielectric grease to the connector
seal and the pin slots at the end of the harness. See figure 5-5.
3.
Plug the connector into the actuator. The connector is keyed so that it
can only be inserted one way.
4.
Tighten all four screws until they are just snug, then torque to 18–22 in-lb
(2.0–2.5 Nm).
There are four helm styles available. Different helms may be used at
different stations. Mounting templates are in Appendix A.
5.4 Electronic helm
NOTE
The EPS helm contains an electromagnet which may affect a magnetic
compass. For less than one degree of effect, the helm and compass must
be at least 24” (61cm) apart.
EPS Front Mount Helm
Part No. EH1512
EPS Classic Tilt Helm
Part No. EH1552
EPS Sport Plus Tilt Helm
Part No. EH1532
EPS Rear Mount Helm
Part No. EH1572
Figure 5-6.
Summary of Contents for OPTIMUS 360
Page 36: ...4 6 EN This page left intentionally blank ...
Page 68: ...5 32 EN This page left intentionally blank ...
Page 80: ...A 2 EN This page left intentionally blank ...
Page 82: ...A 4 EN This page left intentionally blank ...
Page 84: ...A 6 EN This page left intentionally blank ...
Page 86: ...A 8 EN This page left intentionally blank ...
Page 88: ...A 10 EN This page left intentionally blank ...


