background image

Connecting the Device to the Electricity Supply

Ÿ

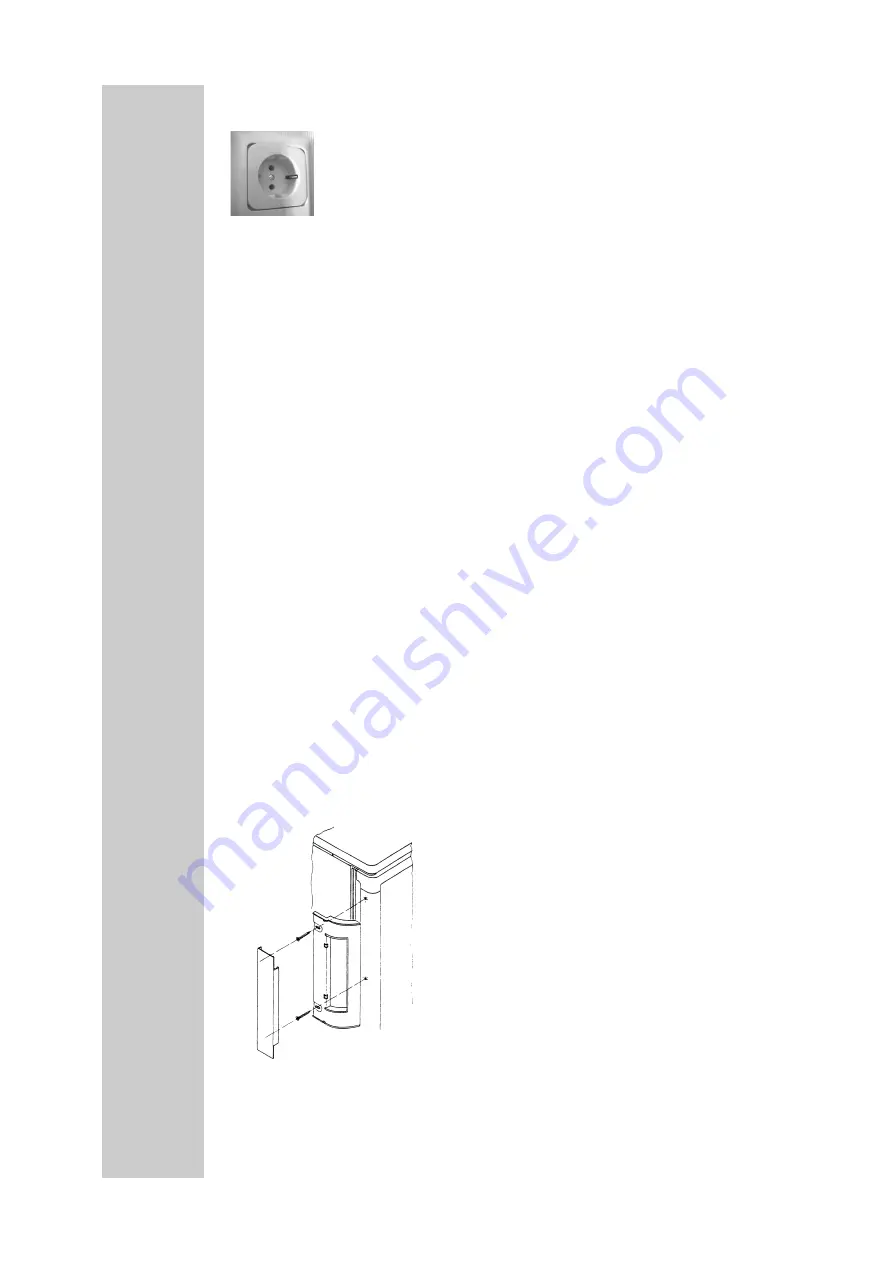
The device must be connected to a properly earthed socket in line 

with the relevant valid country regulations.  

Ÿ

Check prior to initial operation that the voltage noted on the model label 

corresponds to the mains voltage.

If this is not the case, do not connect the device and contact your dealer!

Changing the Doorhang  

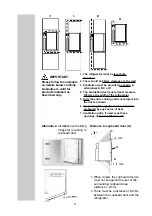
1. Remove the lower hinge pin.

2. Take off the door by moving it upwards.

3. Unscrew the upper hinge pin and mount it on the opposite side hinge.

4. Fit the door on the upper hinge pin and mount the lower hinge pin.

5. Check that the door closes properly and seals all round.

6.  If the door handle is mount, fix the door handle of the opposide side

Changing the Decor Panel

The door panel can easily be mounted or changed. The dimensions of the panel
must be:
Hight 

724,0 mm 

Width 

492,5 mm

Thicknes max.           3,2 mm
1. Remove the door, see 

Changing the Doorhang

.

2. Unscrew the door strip and then withdraw the panel by sliding it downwards.
3. Fit the new panel in place and slide it up as far as possible.
4. Fit the door strip back in place. 

Mount the Door Handle

6

4.5

4.4

4.6

4.7

Summary of Contents for RH 303L

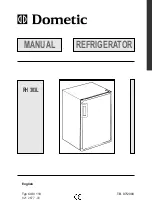
Page 1: ...MANUAL RH 303L Typ C40 110 821 2677 03 T B 07 2003 English REFRIGERATOR...

Page 2: ...ging the Doorhang 6 4 6 Changing the Decor panel 6 4 7 Mount the Door Handle 6 5 0 INSTRUCTION FOR USE 5 1 Initial Operation 7 5 2 Regulating the Temperature 7 5 3 Ice Making 7 5 4 Defrosting 8 5 5 In...

Page 3: ...The appliance has to be connected to a properly earthed socket in line with the relevant valid country regulations Servicing must only be carried out by authorised service personnel Coolants Ammonia i...

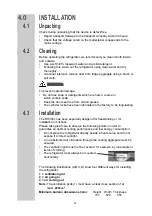
Page 4: ...ave been lubricated in the factory to be long lasting Installation The RH303L has been especially desigend for freestanding or for installation in kitchens Please take great care to observe the follow...

Page 5: ...ails below carefully Guarantee is valid for products installed as described only IMPORTANT 1 The refrigerator must be level both directions 2 There sould be 20mm clearance to the wall 3 Ventilation mu...

Page 6: ...in and mount it on the opposite side hinge 4 Fit the door on the upper hinge pin and mount the lower hinge pin 5 Check that the door closes properly and seals all round 6 If the door handle is mount f...

Page 7: ...o a properly earthed socket The refrigerator achieves its operating temperature after several hours INSTRUCTION FOR USE Regulating the Temperature The refrigerator is fitted with an thermostat control...

Page 8: ...d any sharp objects be used to scrape off the ice The defrost water runs from a collector channel to a receptacle at the rear of the refrigerator where it evaporates When the ice has melted wipe the r...

Page 9: ...handed over to a disposal company or local council which will guarantee the correct use of recyclable materials and the proper disposal of the rest Energy Saving Tips At an average room temperature o...

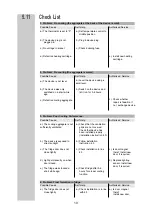
Page 10: ...e If not exchange device 3 Problem Poor Cooling Performance Possible Cause Self Help Authorised Service a The cooling aggregate is not sufficiently ventilated b The device is exposed to direct sunligh...

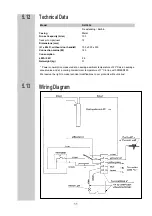
Page 11: ...535 Connection mains W 125 Consumption kWh 24h 2 6 Netweight kg 31 Wiring Diagram Model RH 303L 5 12 5 13 Power consumption measured at an average ambient temperature of 25 C as an average annual val...

Page 12: ...Dometic GmbH In der Steinwiese 16 D 57074 Siegen Tel 49 0 271 692 0 Fax 49 0 271 692 300 www dometic de www dometic com Dometic GmbH 2002 Subject to change without notice Printed in Germany...

Reviews: