20
EN
Service Procedures
I
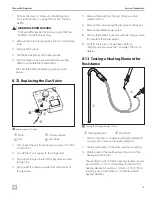
Consult the operating manual for the multi-meter
for specific device function.
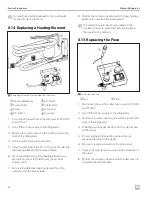
8.14 Replacing a Heating Element
q
w
r
e
y
i
u
t
13
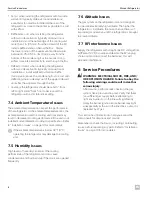
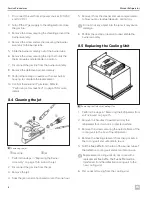
Removing a Heating Element from the Flue Stack
q
Heating Elements
t
AC Switch
w
Burner Tube
y
Thermostat
e
Screw
u
Gas Valve
r
DC Switch
i
Gas Line
1. Disconnect the unit from all power sources (120 VAC
and 12 VDC).
2. Turn off the LP gas supply to the refrigerator.
3. Remove the screws securing the switch panel to the
back of the refrigerator.
4. Pull the switch panel out of position.
5. Trace the wiring from the AC or DC switch to identify
the heating element of the same voltage.
6. Disconnect the wiring of the heating element you
are replacing from the thermostat, ground and
power switch.
7. Remove the defective heating element from the
pocket within the burner tube.
8. Perform these steps in reverse with the new heating
element to complete the replacement.
I
The element should be securely seated in the
pocket. It is easy to place the heating element in
the insulation by mistake.
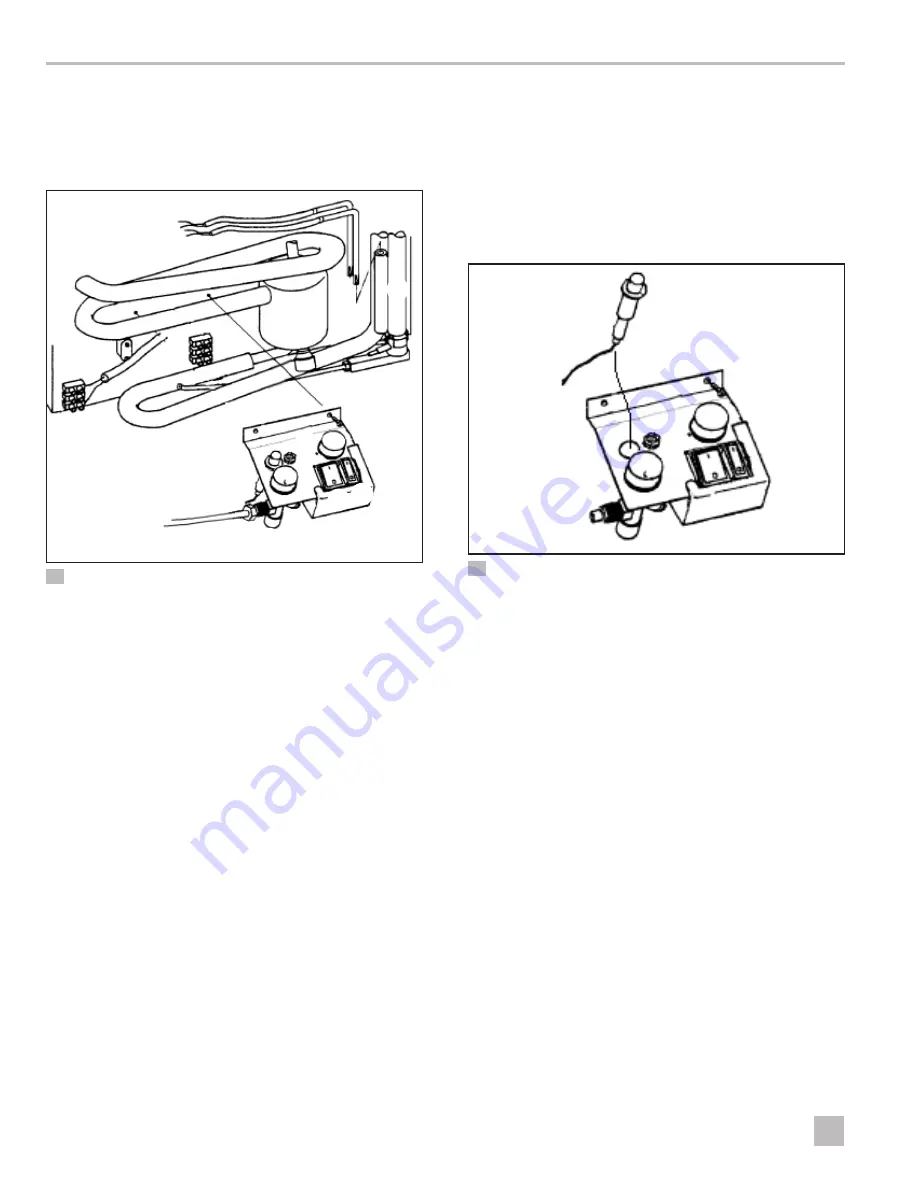
8.15 Replacing the Piezo
q
w
14
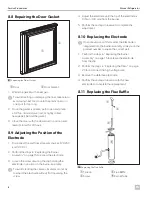
Removing the Piezo
q
Nut
w
Piezo
1. Disconnect the unit from all power sources (120 VAC
and 12 VDC).
2. Turn off the LP gas supply to the refrigerator.
3. Remove the screws securing the switch panel to the
back of the refrigerator.
4. Slide the switch panel out of position to gain access
to the wiring.
5. From underneath the panel, unscrew the nut
securing the piezo to the panel.
6. Remove the piezo and washer from the panel.
7. Unplug the high-tension wire from the underside of
the piezo.
8. Perform these steps in reverse with the new piezo to
complete the replacement.


