19
EN
Service Procedures
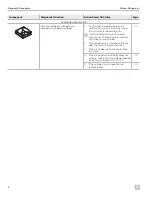
1. Perform the steps in “Removing the Refrigerator
from an Enclosure” on page 15 to access the flue
baffle.
WARNING: BURN HAZARD.
The flue baffle may be hot. Allow time for the flue
baffle to cool before touching.
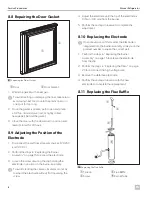
2. Remove the screw securing the T-piece to the burner
tube.
3. Remove the T-piece.
4. Pull the flue baffle out of the burner tube.
5. Perform these steps in reverse with the new flue
baffle to complete the replacement.
The new flue baffle should hang just above the
burner.
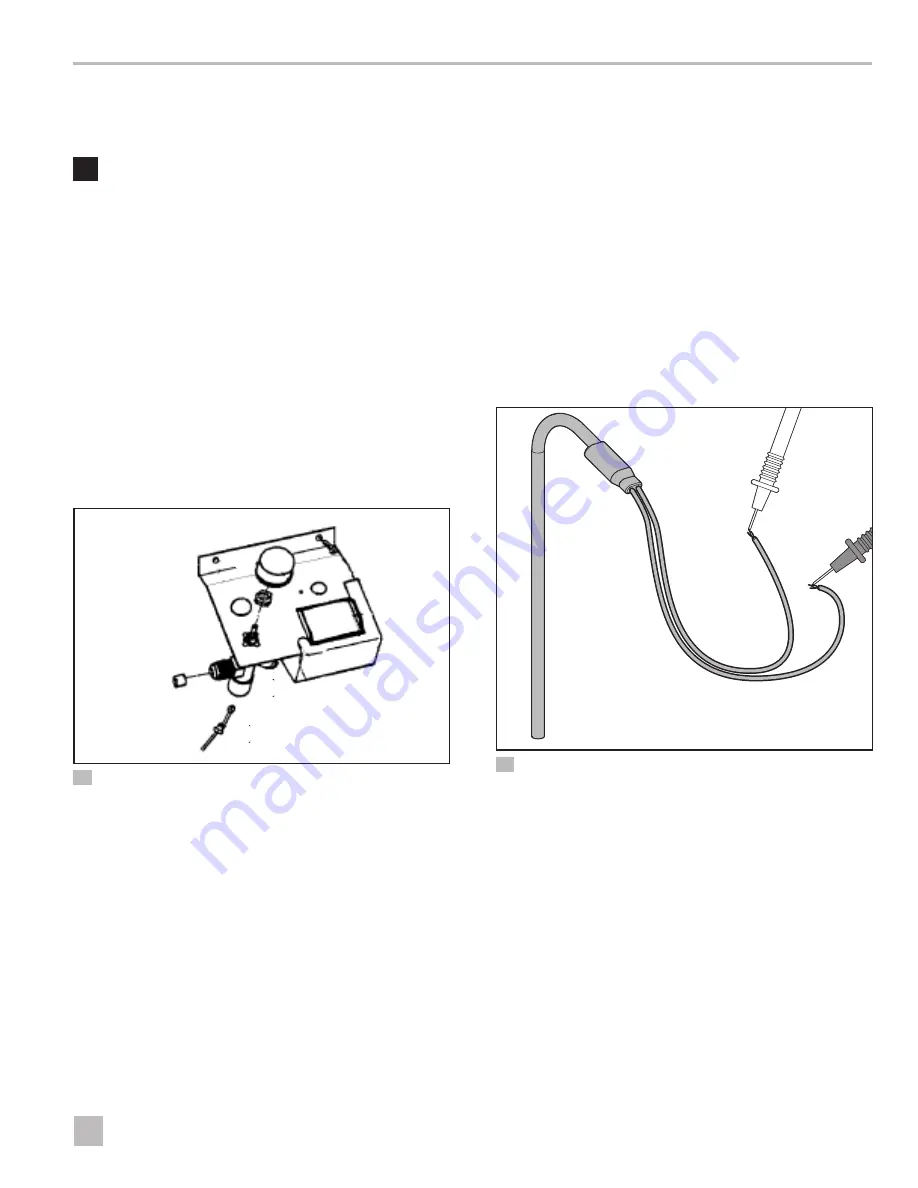
8.12 Replacing the Gas Valve
q
w
e
r
11
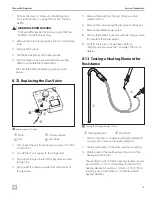
Replacing the Gas Valve
q
Knob
e
Thermocouple
w
Nut
r
Gas Valve
1. Disconnect the unit from all power sources (120 VAC
and 12 VDC).
2. Turn off the LP gas supply to the refrigerator.
3. Disconnect the gas line from the gas valve and cap
the gas line.
4. Disconnect the thermocouple from the bottom of
the gas valve.
5. Remove the knob from the top of the gas valve
selector switch.
6. Remove the nut securing the gas valve to the panel.
7. Remove the defective gas valve.
8. Perform these steps in reverse with the new gas valve
to complete the replacement.
9. Confirm there are no LP gas leaks. Refer to
“Performing a Gas Leak Test” on page 15 for more
details.
8.13 Testing a Heating Element for
Resistance
q
w
12
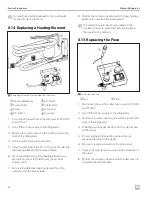
Testing the Heating Element Wires
q
Heating Element
w
Wire Ends
1. Perform the steps in “Replacing a Heating Element”
on page 20 to remove the heating element.
2. Set the multi-meter to the Ohms resistance setting.
3. Attach a lead of the multi-meter to the ends of the
heating element wires.
The reading for the 120 VAC heating element should
be 104 Ohms (± 10%). The reading for the 12 VDC
heating element should be 1.3 Ohms (± 10%). If the
reading is out of specification, it indicates a faulty
heating element.

