7
Check that the gas supplied to the refrigerator is at
the correct pressure.
CAUTION
CONNECTIONS
LP gas connection
The gas installation and servicing must be carried out by an
authorised person and conform to all relevant local authori-
ties.
The refrigerator is
not
designed for operation on town gas or
natural gas but for operation on LP gas, the pressure of which
must be 2,72 kPa for Propane. Check that this is stated on
the data plate. The gas supply system must incorporate an
approved gas pressure regulator to maintain a supply pressure
of 2,7 kPa.
Hook up to the gas supply line is accomplished at the manual
gas valve, which is furnished with a ISO 7/1 -Rp 1/8 internal
pipe thread connection. All completed connections should be
checked for leaks with soapy water.
The gas supply system must incorporate an approved gas
pressure regulator to maintain a supply pressure of 2,72 kPa .
When testing the gas supply system at test pressures in excess
of 1/2 psi, the refrigerator and its individual shutoff valve
must be disconnected from the gas supply piping system.
When testing the gas supply system at pressures less than or
equal to 1/2 psi, the appliance must be isolated from the gas
supply piping system by closing its individual manual shutoff
valve.
If detailed instructions on the installation and connection to
the gas supply are required, contact your dealer or distributor.
Testing LP gas safety shut off
The gas safety shut off must be tested after the refrigerator is
connected to the LP gas supply.
To test the gas safety shutoff, proceed as follows:
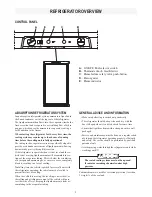
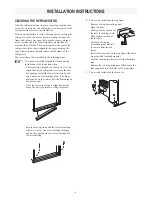
Start the refrigerator and check that the gas flame
is lit. This can be observed on the flame indicator
E
. The red indicator is in the green field (ON).
Close the gas valve by turning knob
A
back to
“OFF” position.
Wait for one minute.
Remove protection cover.
Open the gas valve by turning knob
A
to position
“GAS” without pressing buttons
C
and
D
.
Apply a non-corrosive commercial bubble solution
to the burner jet. Be careful not to damage the
burner jet.
1.
2.
3.
4.
5.
6.
INSTALLATION INSTRUCTIONS
No bubbles should appear at the opening of the
burner jet. The presence of bubbles indicates a de-
fective gas safety shutoff, and service is required.
If no bubbles were present at the burner jet, the gas
safety valve is working properly.
Rinse jet thoroughly with fresh water before pro-
ceeding. Be careful not to damage the burner jet.
Replace the protection cover and turn the main
switch OFF and back ON.
Normal operation of the burner should return.
Allow the burner to operate for a minimum of 5
minutes.
Electrical connection
230-240 v AC connection
The electrical installation must be carried out in a proper and
durable manner, taking into account all relevant regulations
and codes of practice.
Check that the voltage stated on the data plate is the same as
the main voltage in use (230-240 V). Electrical leads must be
routed and secured so that they cannot come into contact with
hot or sharp parts of the refrigerator.
For mains voltage operation, it is important that the cir
-
cuit to and in the caravan is effectively earthed
.
The refrigerator is equipped with a three-prong (grounding)
plug for your protection against shock hazards and should
be plugged directly into a properly grounded threeprong
receptacle.
Note!
Do not cut or remove the grounding prong
from this plug.
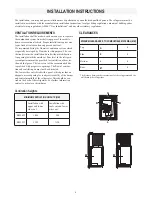
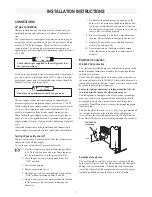
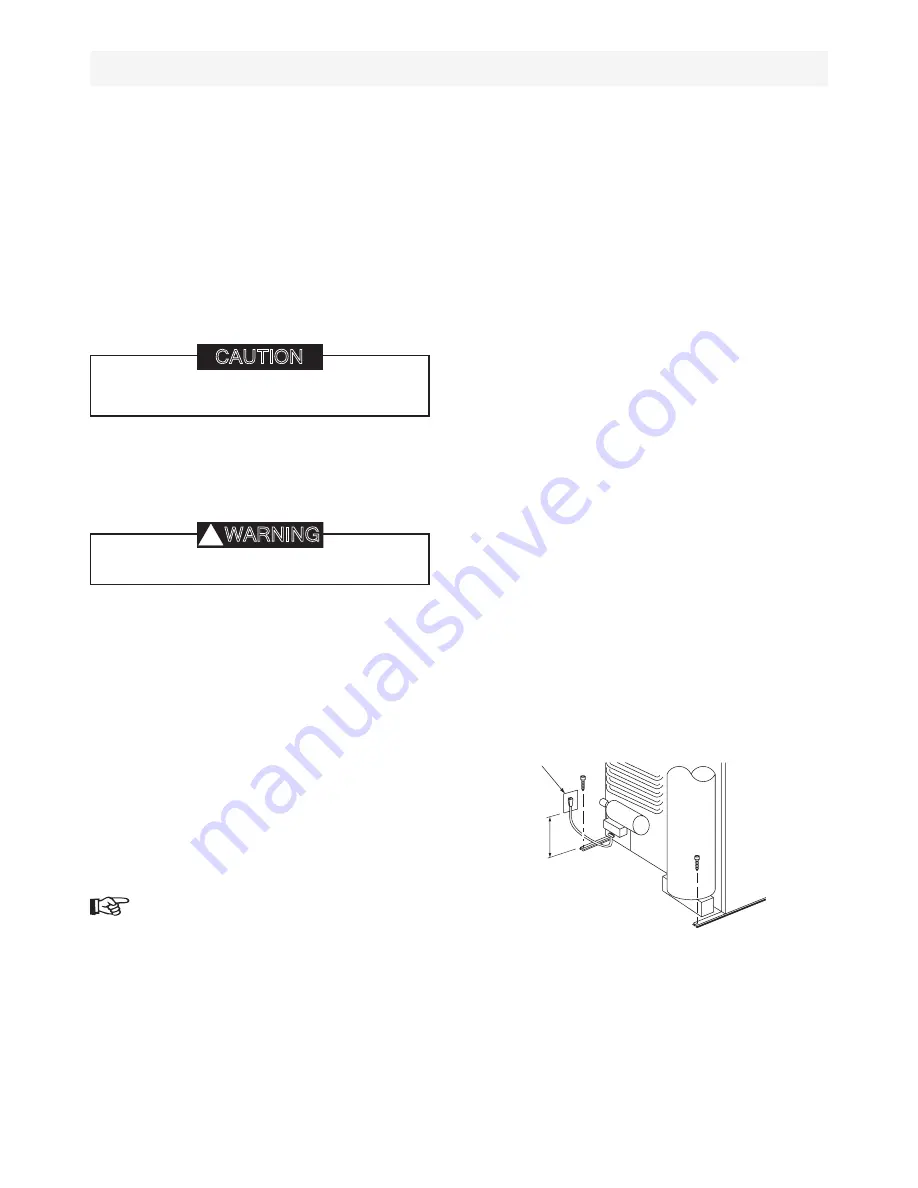
The free length of the cord is 6 ft. (1,8 m). It is recommended
the receptacle placed on the left side of the refrigerator
(viewed from the rear) and approximately 150 mm from the
floor. This will allow easy accessibility through the vent door.
Exchange of supply cord
The cord should be routed to avoid direct contact with the
burner cover, flue cover or any other components that could
damage the cord insulation. If the supply cord is damaged,
it must be replaced by the manufacturer, its service agent or
similarly qualified persons in order to avoid a hazard.
7.
8.
9.
10.
230-240 VAC
receptacle
150 mm
Do not use an open flame to check for gas leaks.
WARNING
!
Summary of Contents for RM2453 and
Page 15: ...15 Appendix B wiring diagram...
Page 16: ......

