13
Donaldson Company, Inc.
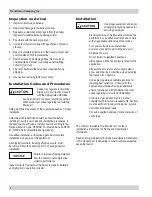
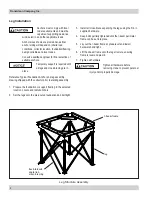
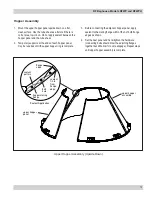
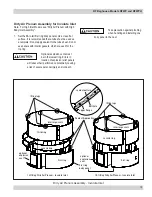
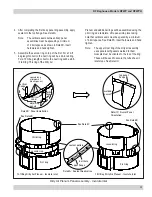
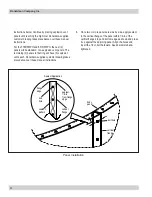
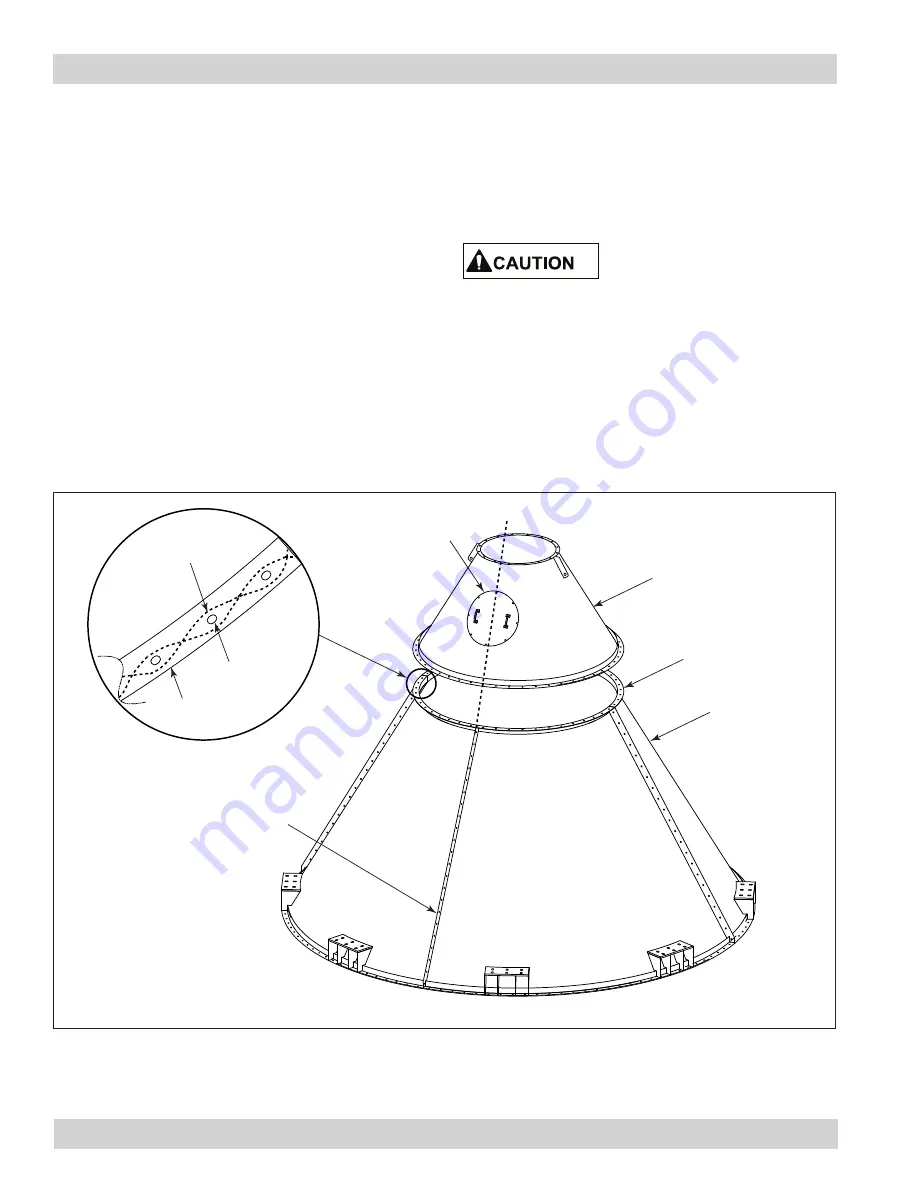
5. After the upper hopper is assembled, apply sealant to the
top of the upper flange as shown to prepare for the lower
hopper to be set.
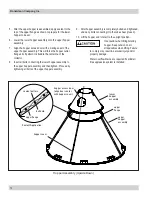
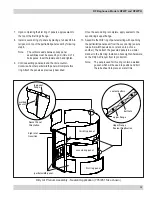
6. Lower the lower hopper assembly onto the upper hopper
assembly.
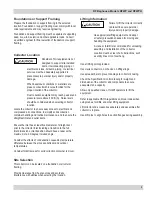
7. Align the hopper access door with a mating seam of the
upper hopper assembly. This will force the hopper outlet
flange’s bolt pattern to straddle the centerline of the
collector.
8. Insert all bolts connecting the lower hopper assembly to
the upper hopper assembly and then tighten. Proceed by
tightening all bolts of the upper hopper assembly.
sealant pattern
upper flange
Sealant Application
bolt hole
upper
hopper
assembly
lower
hopper
assembly
upper
flange
hopper access door
(align door center
with hopper seam)
hopper seam
Hopper Assembly (Upside Down)
9. After hopper assembly is completely bolted and tightened,
undo any bolts connecting it to the tube sheet (if used).
10. Lift the hopper and rotate it to the upright position.
Use caution when lifting/rotating
hopper. Keep tension on all
straps/cables when lifting. Failure
to comply may result in personal injury and/or
property damage.
Water overflow drains are required if sprinkler/
fire suppression system is installed.

