background image


ST mode 

1. ST1 mode: 

Speed: 1 

The appliance will be stop working after 10 minutes when the when the mixing 

bowl„s temperature exceeds 60°C   

3. ST2 mode: 

Speed; 1 

Operating time: 5 s On / 5 s Off   

The appliance will be stop working after 10 minutes when the when the mixing 

bowl„s temperature exceeds 100°C   

4. ST3 mode: 

  Speed; 1 

Operating time: 10 s On / 30 s Off   

The appliance will be stop working after 3 minutes when the when the mixing 

bowl„s temperature exceeds 100°C   


Trouble-Shooing 

The appliance has self-diagnostic function, namely when the fault happens, the fault   

information will be shown. if the fault still cannot be solved by unplugging the plug 

and connecting it again, Please contact our customer service department

And tell 

us the Fault code displayed on the screen. 

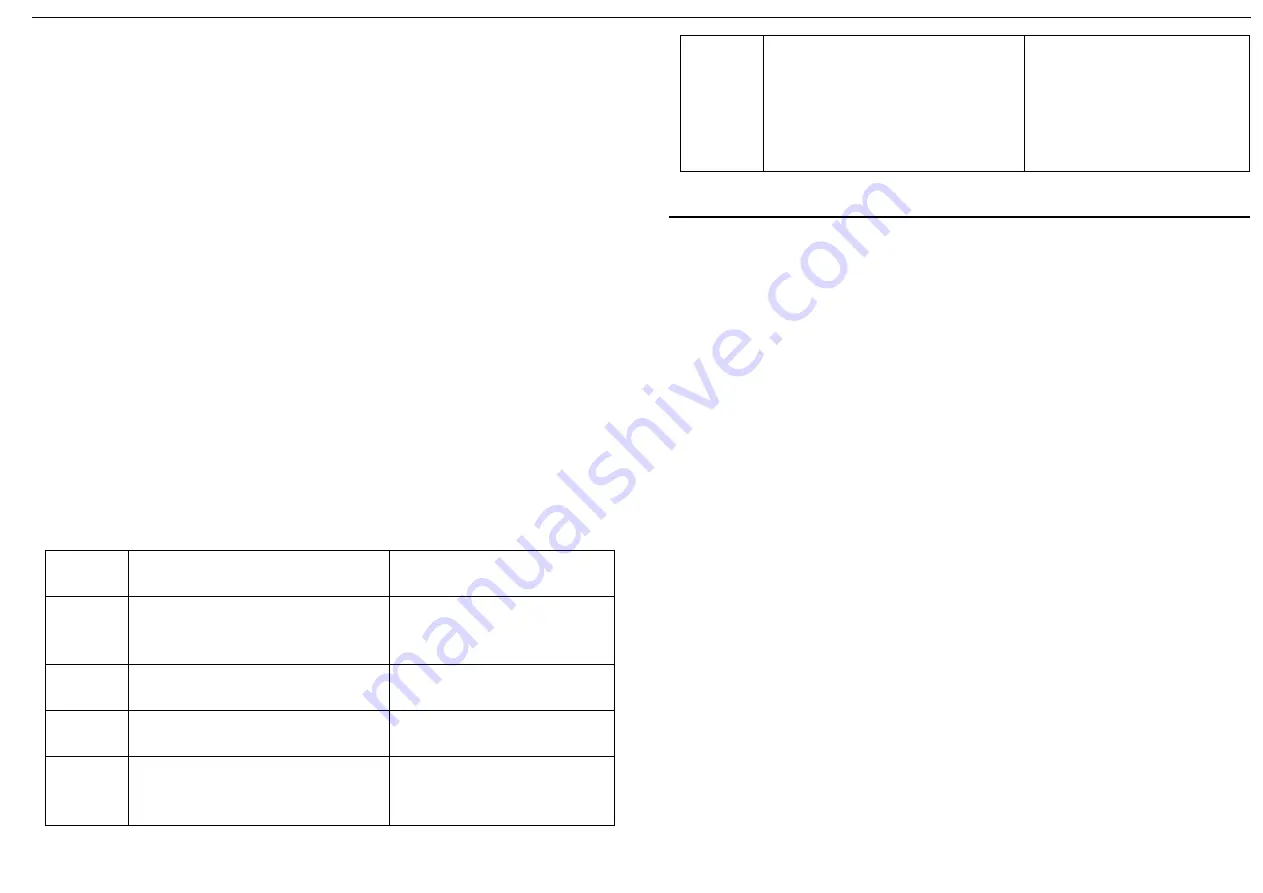
Shows fault code and eliminating methods: 

Fault 

code 

Code meaning 

Methods to solve them 

E:01


Removeable cover 2 

wasn‟t 

installed 

Make sure the removeable 

cover 2 is installed. 

E:02 

The multifunction head wasn

‟t 

installed correctly. 

Make sure the multifunction 

head is installed correctly.


E:03 

The mixing bowl wasn

‟t installed. 

Make sure the mixing bowl is 

installed correctly. 

E:04 

Mixing bowl overheating 

Waiting until the mixing bowl 

temperature falls down to 

room temperature. 

E:05 

Temperature sensor is open 

Install the mixing bowl and 

make sure the mixing bowl 

and the machine is installed in 

place. Unplug the machine 

and then reconnect it to the 

power supply 

 
Assembling the appliance                                                                                             


1. Press the unlock lever 

9

 and swing up the drive arm. 

2. To fit the mixing bowl 

7

, insert it in the base unit. 

Caution! 

Never use the mixing bowl 

without the splash guard 

6

 in position. Otherwise food 

might be ejected. 

3. Fit the splash guard 

6

 onto the drive arm from below. 

4. Press on the splash guard 

6

 until it engages. 

5. Select the appropriate attachment: 

Dough hook 

16

: For heavy dough, e.g. break dough 

Balloon whisk 

15

: For whipping cream, beating egg whites, etc. 

Beater 

21

: For medium to light dough/batter, e.g. batter for (pan) cakes. 

6. Fit the attachement into the appropriate opening in the drive arm from below. 

When doing so, make sure that the little lugs on the shaft of the attachment are 

inserted into the crosswise slot of the opening. 

7. Press the attachement lightly in and turn clockwise until it engages. 

8. Press the unlock level 

9

 and swing the drive arm down into the working position. 

The appliance is now ready to use. 

Fitting the blender jug 2: 

1. Press the unlock button for 

removeable cover 2 

to the left.


2. Take the removeable cover 2 

3

 off. 

3. Position the blender jug 

2

 so that the little nib points to the open padlock symbol. 

4. Turn the blender jug 2 clockwise until it engages. The nib is now pointing to the 

closed padlock symbol. 

9. Take off the blender jar, and set the Caudal cover to the machine. 

Fitting mincing Tube 5: 

1. Hold the body of the cutter housing, and be sure that the largest opening of the 

feed tube is upward. 

Summary of Contents for SM-1088

Page 1: ...ore use They are a constituent parts of the appliance and must be kept to hand at all times Multi functional Kitchen Machine Name of parts 1 Removeable cover 1 9 Unlock lever 17 Control panel 2 Blender Jug 10 Food Pusher 18 Pulse button Low speed 3 Removeable cover 2 11 Cone 19 On Off button 4 Hopper plate 12 Former 20 Adjusting selecting switch 5 Mincing Tube 13 Separator 21 Mixing Beater 6 Splas...

Page 2: ...ed by our Service Centre Repairs should only be carried out in a qualified workshop Children shall not play with the appliance This appliance shall not be used by children Keep the appliance and its cord out of reach of children The appliance may only to be used for its intended purpose according to these operating instructions Never operate the device empty During operation avoid contact with the...

Page 3: ...er working environments farm houses by clients in hotels motels and other residential type environments bed and breakfast type environments Never operate the appliance continuously for more than 5 minutes at rated power The appliance should be cool down to the room temperature after each process Be careful is hot liquid is poured into the mixing bowl 7 or blender Jug 2 as it can be ejected out of ...

Page 4: ...ing state of the appliance 24 Timer If press this button in standby condition the LED will flicker now the appliance gets into timer mode Time shows in 00 00 The 1st 00 means the hour and 2nd 00 means the minute The maximum setting time is 1 hours 25 Temperature Control If press this button in standby condition the LED will flicker now the appliance gets into heating setting mode Adjust the Einste...

Page 5: ...e is installed in place Unplug the machine and then reconnect it to the power supply Assembling the appliance 1 Press the unlock lever 9 and swing up the drive arm 2 To fit the mixing bowl 7 insert it in the base unit Caution Never use the mixing bowl 7 without the splash guard 6 in position Otherwise food might be ejected 3 Fit the splash guard 6 onto the drive arm from below 4 Press on the splas...

Page 6: ...rn the blender jug 2 anti clockwise until that the little nib points to the open padlock symbol 2 Remove the blender jug 2 3 Put the removeable cover 2 3 back on Removing the mincing Tube 5 Reverse operation in step Fitting mincing Tube 5 above Operation Guide knead dough 1 The dough hook or mixing blade should be used 2 Suggestion flour and water at a ratio of 5 3 3 When filling the mixing bowl p...

Page 7: ...d solid foodstuffs CI setting for crushed ice setting for ice crushing short powerful impulse movements setting for low speed to move 5 Use No longer than 3 minutes continuously at a time for the BL setting 8 Use No longer than 65 seconds continuously at a time for the CI setting 9 Let the appliance cool down to room temperature before continue to use Cooking 1 Always operate the device with a clo...

Page 8: ...ter and dry them immediately 8 We advise you to lubricate the blade with some vegetable oil 9 Only wipe the main appliance with a damp soft cloth 10 If the bowl and blade is hard to clean You may add some hot soapy water in the bowl and run the appliance at speed 1 for few seconds 11 How to clean the main body and mixing bowl Please pull out the plug from the outlet before cleaning Clean it with s...

Page 9: ...llection point for recycling electrical and electronic devices The materials are recyclable according to their labelling You make an important contribution to protecting our environment by reusing recycling or utilising old devices in other ways Please ask the municipal administration where the appropriate disposal facility is located ...

Reviews: