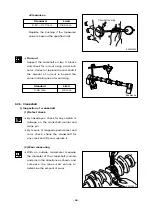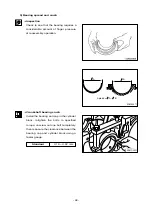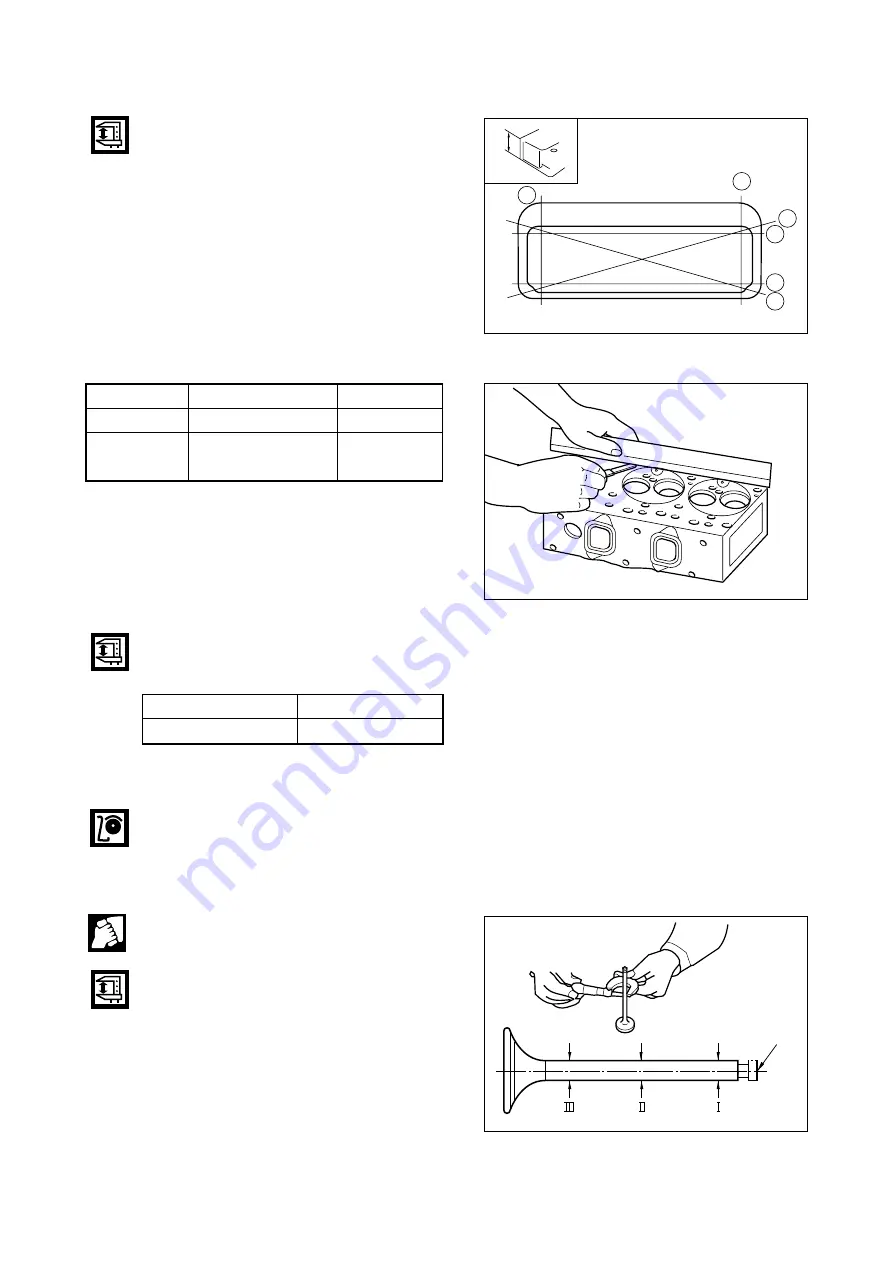
(2) Distortion of lower surface
•
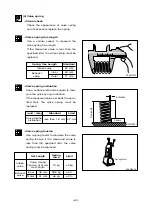
As shown in figure, measure the cylinder
head’s distortion at 6 directions with hor-
izontal ruler and clearance gauge.
•
If the measured value is beyond the limit
value, correct it by means of the fine
grinding paper or grinding machine.
•
If it is beyond the max. allowable value,
replace the cylinder head
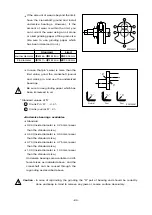
<Lower face warp and height>
(3) Flatness
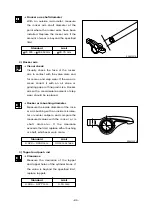
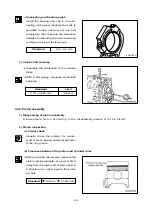
Check the flatness of the installing surface of cylinder head’s intake and exhaust m a n i f o l d s
w i t h h o r i z o n t a l r u l e r a n d clearance gauge.
(4) The hydraulic test
The hydraulic test of cylinder head is same as the cylinder block test.
3) Inspection of valve and valve guide
(1) Valve
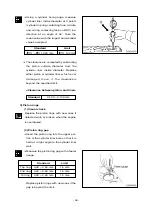
After cleaning valve with fuel, check it.
•
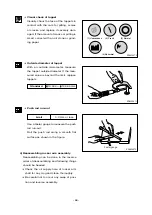
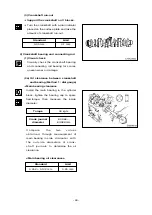
Valve stem outer diameter
Measure the valve stem outer diameter
at 3 positions (top, middle, and bottom),
and check for any wear and if beyond
the limit value, replace the valve.
- 80 -
(t)
A
B
C
D
E
EA3M2031
F
Standard
Limit
Warp
0.2 mm or less
0.3 mm
Thickness : t
109.9 ~ 110.1 mm
108.4 mm
(reference)
EA9M3020
Standard
Limit
0.05 mm
0.2 mm
EFM2036I
End of stem
Summary of Contents for D1146
Page 1: ......
Page 57: ...7 2 Trouble Shooting 53 ...
Page 58: ... 54 ...
Page 59: ... 55 ...
Page 60: ... 56 ...
Page 61: ... 57 ...
Page 62: ... 58 ...
Page 63: ... 59 ...


