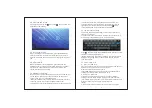
background image

to


make


sure


the


battery


is


fully


charged


at


the


first


time

On


chargi

ng


the


Power

  indicating lamp of the device is in high 

light blue color, the desktop icon of the battery      keep 
rolling which shows it is connected to the device. 
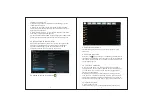
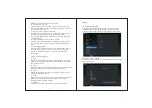
1.2.

6

 Switch input methods

The device support handwriting, number, letter, pinyin etc. 
switching 

as

 follow

s

:

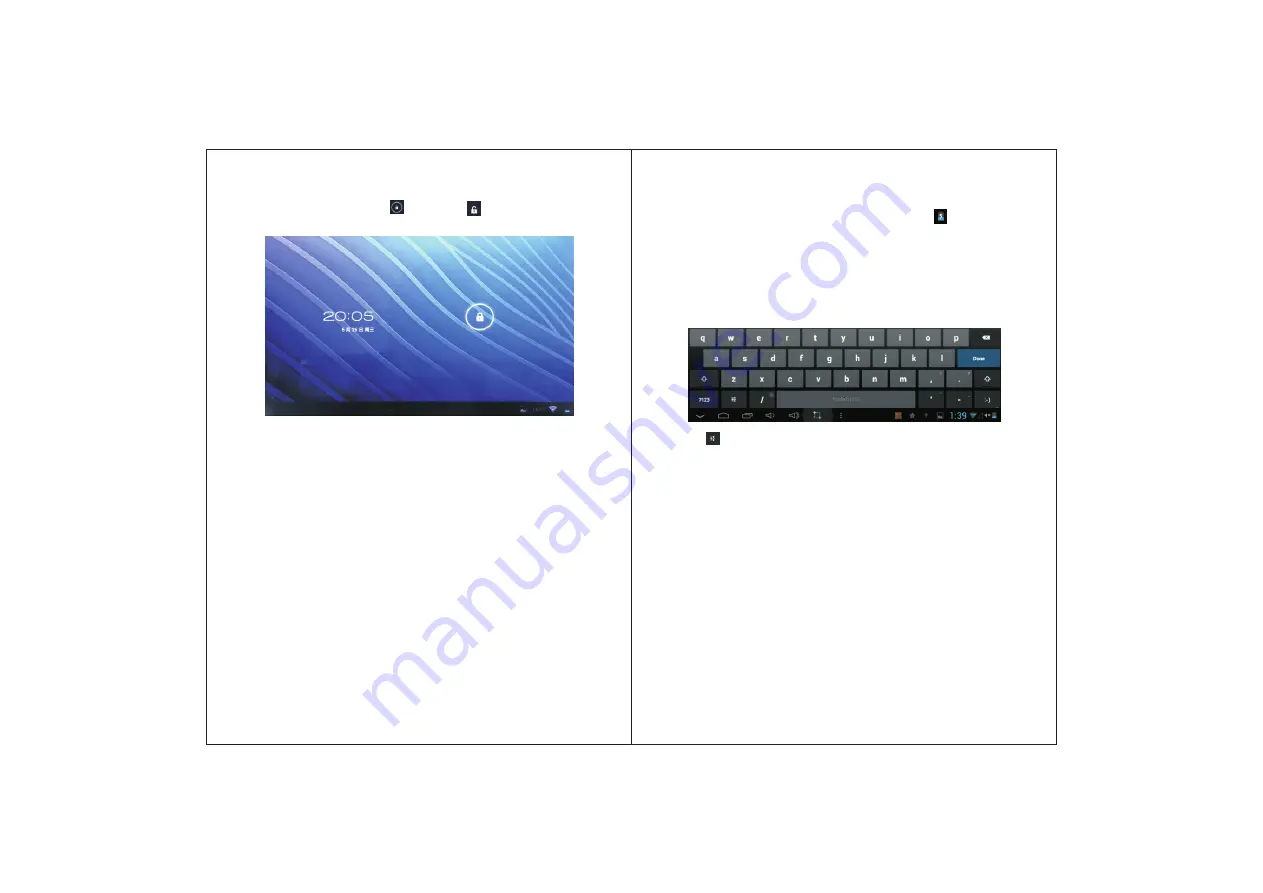
Click any text input area of the working program interface, it 
will pop input keyboard interface, as shown below:

Press      , then it will pop Input Method switch interface.Select 
the input method you want here.
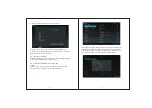
[Noted] After newly install input method, you should 

choose


Settings>Language & input>K

e

yboard

 & I

n

put


m

ethods

then you can use.  

1.2.

7

 Use T-Flash card

●    Insert T-FLASH card
Insert the T-Flash card into the slot in direction of the devices 
bottom shell until you hear a sound of click.
●    Browse files in the memory card
In this MID device,you can view and use the needed files in 
catologue of M

e

nu

>File manager> SD Card.

●    Remove T-Flash card
Close all open files from the T-Flash, then enter MENU>
S

e

ttings

>TF card and & device storage, click Unmount SD 

card ,System will prompt that TF card was removed safely. Tap 
with your fingertips to the pop-up T-Flash Card
[Note]
1. Do not insert the TF card by force, this card can only be 

3

2

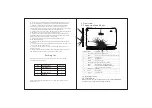
1.2.2 Unlock the screen

Please press and drag the      icon to the      , then the LCD will 
unlocked automatically.

1.2.3 Lock the screen

When the device is in the ON mode, press the POWER key 
shortly, the system will lock the screen and enter the save 
power mode. Then the screen is OFF but the system will still  

r

un

.

1.2.4 Switch OFF

When the device is in the ON mode, press and hold the 
POWER key for 3 seconds, the screen will display the power 
off interface, choose the power off item to confirm, the 
system will shut automatically.

1.2.

5

 Battery charging 

Insert the micro port of the battery adaptor into 220V AC slot 
on the device, and connect the other side with the power 
socket. Then,you can charge the device. 
[Note] This device is not recommended to use USB interface 
to charge, please use the special power adapter for 
charging.You should charge the battery for at least 

8

-

12

 hours 

Summary of Contents for D9018

Page 1: ...User Manual Model D9018 Android 4 1 ...

Page 2: ...ng our product This device is built in high performance Wifi receiver module supporting external 3G USB DONGLE wireless network card turning on the broadband wireless networks breaking through the restraint of network cable it will bring you into the portable media player world and fulfill your entertainment needs It also support picture browsing E book Reader games online chat and other functions...

Page 3: ...g or walking in the street or it may cause an accident Please do not scrape the screen it may be damaged and can not display anything Never clean the device with any chemicals and detergent or it will damage the product surface and corrode the spray paint Packing list Welcome to purchase this product when you open the package acceptance of the following Attention Accessories are subject to the rea...

Page 4: ... card Close all open files from the T Flash then enter MENU Settings TF card and device storage click Unmount SD card System will prompt that TF card was removed safely Tap with your fingertips to the pop up T Flash Card Note 1 Do not insert the TF card by force this card can only be 3 2 1 2 2 Unlock the screen Please press and drag the icon to the then the LCD will unlocked automatically 1 2 3 Lo...

Page 5: ...en If you want to stop the rolling screen you just need to touch it 1 2 13 Home screen Switch home screen In the home state you can change the home interface by applied in one direction 2 Do not remove the TF card before Uninstalling it or the card may be damaged 3 If the memory card is write protected data will not be formatted and written please remove the write protection before such operations...

Page 6: ...ed to remove for several seconds drag the icon to when the icon turns big the bottom of screen will appear then you can delete the application 1 2 14 Screen gestures Click When you need to input by the on screen keyboard you just need to select applications or press the button on the screen then click the items Press When you want to start the available options of a project such as web page link y...

Page 7: ...network n the right interface o 9 8 2 Click Continue and draw again to confirm it 3 Cilck confirm to complete unlock pattern designing 4 Each time you open or waking your MID device you must draw pattern to unlock the screen Select the expected wireless network the system will directly connect the network or popup the password input window according to network access security settings Please consu...

Page 8: ...at Max Resolutions Screen Ratio JPG BMP JPEG GIF Support Transmission rate Work Frequency Front 0 3 megapixel camera rear 0 3 megapixel Support 20 60 Simplified Chinese Traditional Chinese English French German Spanish 0 5 Kg SERVICE CENTER 1845 S Vineyard Ave Ste 4 Ontario CA 91761 Tel 909 974 2859 Fax 909 974 2865 Hours 8 30AM 5 00PM PST TO OBTAIN WARRANTY SERVICE Contact DOPO Technical Support ...

Page 9: ...or more of the following measures Reorient or relocate the receiving antenna Increase the separation between the equipment and receiver Connect the equipment into an outlet on a circuit different from that to which the receiver is connected Consult the dealer or an experienced radio TV technician for help The radiated output power of this device is below the FCC radio frequency exposure limits Nev...

Reviews: