background image

12

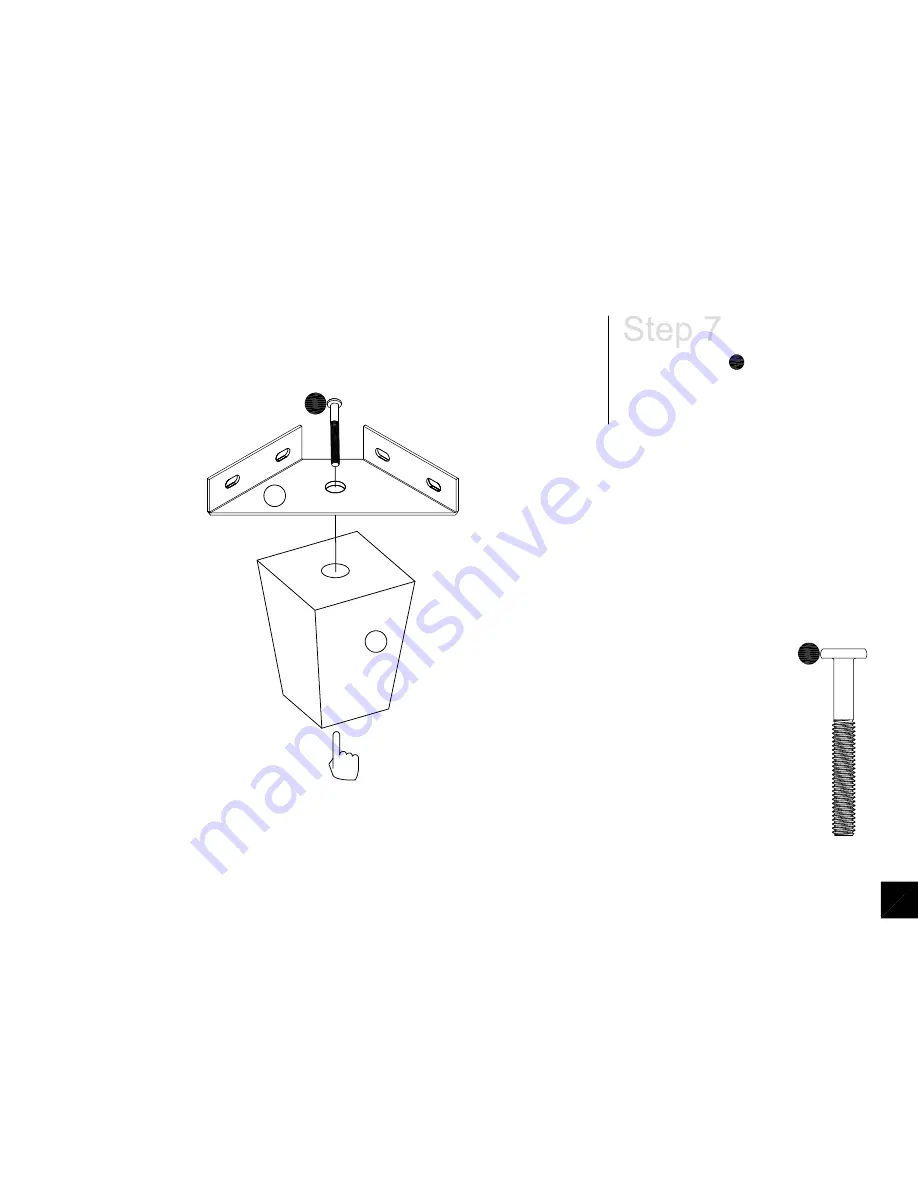
X4

Z

N

5

5

Attach 

Z

 to 

N

 with    


.

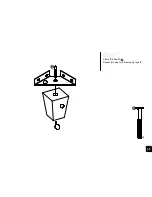
Repeat this step for all remaining legs 

Z

.

5

Summary of Contents for 4026019

Page 1: ...E Visit www dhpfurniture com eng support home or call Toll Free 1 800 267 1739 Date of Purchase If parts are missing or damaged we will gladly ship your replacement parts free of charge Lot Number Tha...

Page 2: ...hout charge subject to the terms and conditions described above Visit www dhpfurniture com to view the limited warranty valid in the U S and Canada Call our toll free number if you need assistance Wor...

Page 3: ...3...

Page 4: ...X 1 T927260 Footboard X 2 T926860 Side Panel 01 X 2 T926670 Side Rail 01 X 4 T926680 Side Rail 02 X 2 T926690 Side Rail 03 X 2 T926700 Center Rail 01 X 1 T926720 Cross Brace X 2 T926660 Support Leg 0...

Page 5: ...X 4 5 16 X 2 1 4 X 1 4mm X 1 X 3 1 4 The screw s bolt s to be used at each step are shown in actual size in the lower right corner of the page Please do not completely tighten all the hardware until t...

Page 6: ...6 X16 C D H F 3 3 3...

Page 7: ...7 X12 3 3 3...

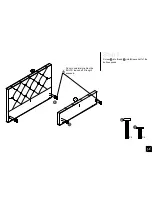
Page 8: ...8 X12 Attach S to D and T to C with Repeat the same step for the other subassembly C D 1 1 1 1...

Page 9: ...9 A1 A...

Page 10: ...10 X4 B Do not completely tighten the BOLTS leave half of length exposed 1 1 2 Screw into A and intoB leave half of the bolts exposed X4 2 2 1...

Page 11: ...11 Hang C D on A B as illustrated below don t completely tighten the untill the STEP 10 is complete B C D C D A 2 2...

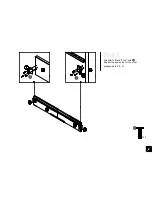
Page 12: ...12 X4 Z N 5 5 Attach Z to N with Repeat this step for all remaining legs Z 5...

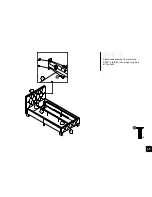
Page 13: ...13 X2 8 1 Attach N x 4 to A B C D with 8 2 Attach L x 2 to H with X16 Z H L 1 2 1 2 1 2...

Page 14: ...14 X4 Insert I x 2 J into M x 2 then fix them with M M 1 1 1...

Page 15: ...15 X4 Attach subassembly from previous STEP to A B then properly tighten all the bolts A A I I B 1 1...

Page 16: ...16 X3 Attach K to F x 2 J with and X3 K J F 4 4 6 6 4 6...

Page 17: ...17 G 12 1 Insert O into X 12 2 Then press X into F G 12 3 Insert both O into Y then press Y into I as shown Repeat the same procedure going backwards for every row of slats...

Page 18: ...ustred on this page and available for replacement WARNINGS Helpful Hints Weight Limit 250 Lb 113 Kg 18 X 2 T393120 End Cap 03 X 16 T393100 End Cap 01 X 2 T920510 End Cap 02 X 2 T392520 End Cap 04 For...

Page 19: ...re cual es el premio para este trimestre Como registrarse www twitter com DHPfurniture www pinterest com dhpfurniture para tener acceso a promociones de DHP Gracias por comprar un producto DHP Esperam...

Page 20: ...producto es 2 sin embargo es recomendable contar con ayuda adicional Tiempo estimado de ensamble es 2 horas Aseg rese de que todas las partes est n incluidas La mayor a de las partes est n etiquetadas...

Page 21: ...con los Repita el paso para las otras partes C D Paso3 Una la parte S en D T en C con Repita el paso las otras partes C D Paso 4 Pegue A1 a la parte pos terior de A con el velcro como se ilustra Paso...

Page 22: ...code QR ou visitez nous au www dhpfurniture com eng registrer Suivez nous sur www facebook com DorelHomeProducts www twitter com DHPfurniture www pinterest com dhpfurniture les concours et les promoti...

Page 23: ...est pas destin des fins commercial AVERTISSEMENT POUR LES JEUNES ENFANTS Ce produit contient des petits composants S il vous pla t assurez vous qu ils sont gard s loin des petits enfants Ne pas utili...

Page 24: ...seur de lit sous ce produit tape 1 Attacher F H C D avec R p tez la m me tape pour les autres C et D tape 2 Attacher G C D avec R p tez la m me tape pour les autres C et D tape 3 Attacher S D T C avec...

Reviews: