background image

Step 3

8

B

A

FRONT

FRONT

1

4

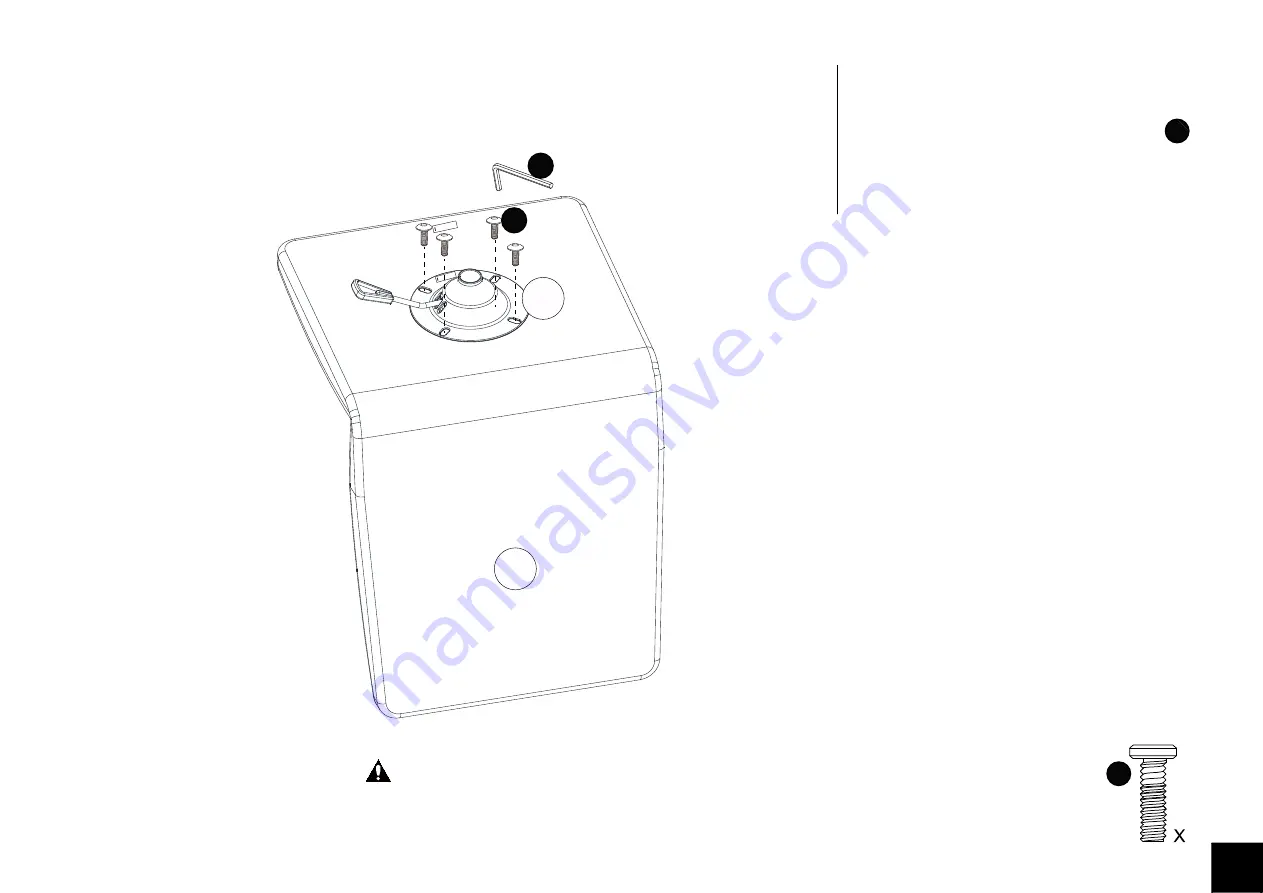
Attach seat plate 

B

 to seat 

A

 with bolts      

as shown.

1


1

2

Place the plate 

B

 with the ''FRONT'' sticker towards 

the front of the chair 

A

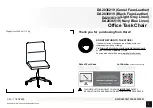
Summary of Contents for DA2036019

Page 1: ...Reserved Weight Limit 250 Lb 113 Kg DO NOT RETURN TO THE STORE If parts are missing or damaged we will gladly ship your replacement parts free of charge Visit www dhpfurniture com eng replacement par...

Page 2: ...oes not cover wearing tearing fading or splitting of the fabric where applicable Liability for consequential damages is excluded to the extent exclusion is permitted by law This warranty gives you spe...

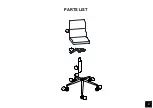
Page 3: ...3 PARTS LIST A C E E D E E E B...

Page 4: ...ceived all the parts listed above PARTS LIST 1 PC 1 PC 1 PC 5 PCS GAS LIFT 1 PC SEAT PLATE SEAT STAR BASE CASTER PART LABELS PART NUMBERS DA2036219 T806180 T806210 T806220 T806230 T806190 T806200 T806...

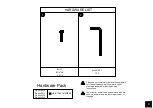
Page 5: ...Hardware Pack Please do not completely tighten all the hardware until the entire assembly is complete unless otherwise indicated in the step by step instructions The screw s bolt s to be used at each...

Page 6: ...Step 1 6 Attach casters Ex5 to star base D as shown E E E E E D...

Page 7: ...Step 2 7 Attach gas lift C to star base D as shown C D...

Page 8: ...Step 3 8 B A FRONT FRONT 1 4 Attach seat plate B to seat A with bolts as shown 1 1 2 Place the plate B with the FRONT sticker towards the front of the chair A...

Page 9: ...9 A C Step 4 Attach seat A and seat plate B to gas lift C as shown B...

Page 10: ...mum weights indicated may result in instability or cause possible injury Move your new furniture carefully with two people lifting and carrying the unit to its new location our Clean the product with...

Page 11: ...t a es v lida solamente con presentaci n de una prueba de compra Esto se limita a la reparaci n o reemplazo de componentes defectuosos del mueble y no se incluye ning n trabajo de ensamblaje Esta gara...

Page 12: ...alguna etapa de las instrucciones Los tornillo s perno s que se utilizan en cada paso se muestran en tama o real en la esquina inferior derecha de cada p gina N MERO DE PIEZAS ETIQUETAS DE PIEZAS A B...

Page 13: ...tornillos y tuercas peri dicamente y apri telos si es necesario Instrucciones Etapa 1 Etapa 2 Etapa 3 Esta unidad est dise ada para ser utilizada nicamente con los productos y o pesos m ximos indicado...

Page 14: ...r votre mobilier Ce type d outils risque d endommager les pi ces Informations sur la garantie DHP garantit que ce produit est exempt de tout vice de mat riaux et de fabrication et s engage rem dier un...

Page 15: ...es l assemblage en les comparant avec le tableau des pi ces illustrations disponibles dans la section en anglais Remarque Sauf indication contraire dans les instructions ne pas resserrer compl tement...

Page 16: ...abrasifs ou chimiques V rifiez les vis et crous p riodiquement et resserrez les si n cessaire Cette unit est destin e tre utilis uniquement avec les produits et ou les poids maximum indiqu s L utilis...

Reviews: