24
1
2
3
4
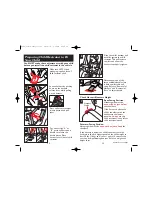
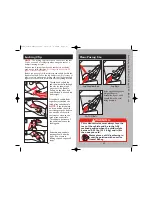
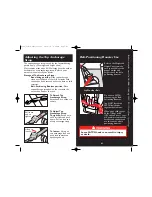
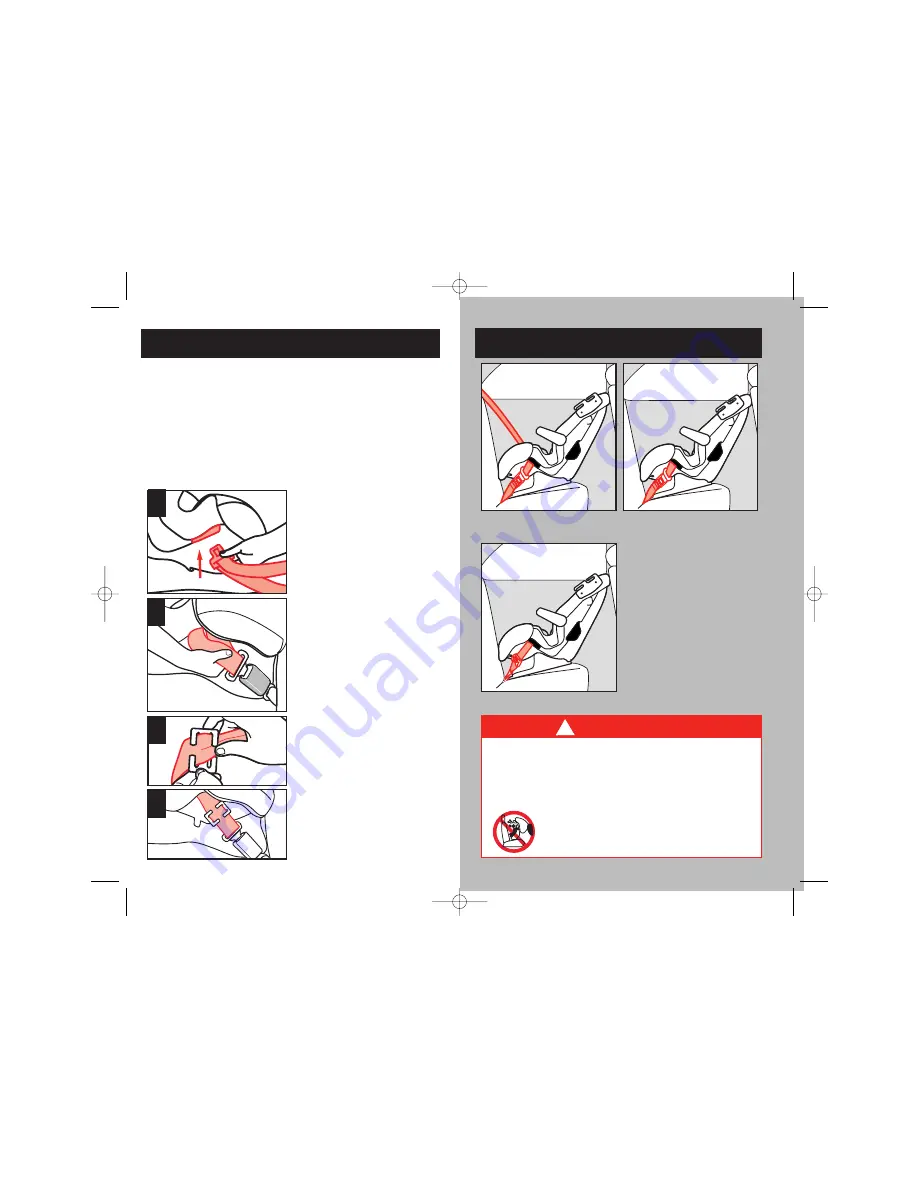
Thread both vehicle lap
and shoulder belts through
the slot (as shown) and
out other side. Buckle.
Pull up on shoulder belt
until all slack is out and lap
belt is tight.
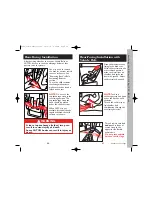
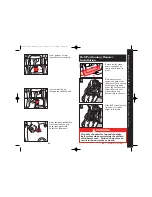
Grasp both vehicle belts
together just behind the
latch plate and unbuckle.
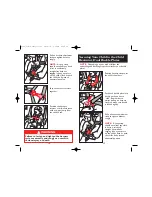
NOTE:
If the latch plate
ends up behind the child
restraint, grasp the belts to
the outside of the child
restraint, as close to the
latch plate as possible.
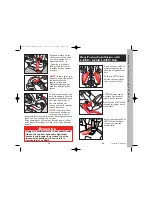
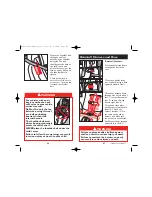
Rebuckle belt. Lap belt
portion should now be
tight. If not, remove
locking clip and repeat all
steps.
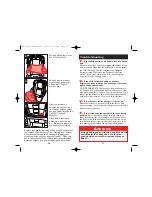
Thread both portions of
the vehicle belt onto the
locking clip.
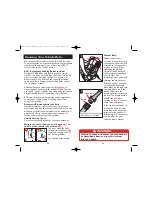
Locking Clip
Rear-Facing Use
Lap/Shoulder Belt
LATCH Belt
WARNING:
Lap Belt
!
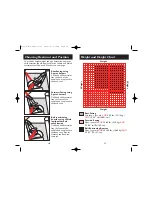
Rear Facing Use:
5-35 lbs.
(2.3-16 kg),
19-36” (48-91 cm).
Refer to the Weight and
Height Chart to
determine if your child
should be in the rear-
facing position.
25
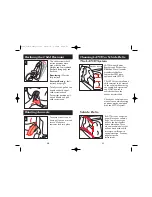
NOTE:
The locking clip is located on the back of the seat.
You do not need a locking clip when using this seat as a
belt-positioning booster.
Remove the locking clip when the seat belt is not being
used with a child restraint.
A locking clip will not fix all
types of seat belt problems.
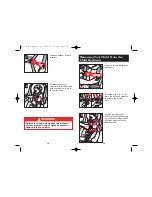
Before you put your child restraint in the vehicle, buckle the
lap/shoulder belt. Pull on the lap belt portion. If it loosens or
slips, you must either use a locking clip to hold the seat belt
tight or move the child restraint to another seating location.
This child restraint must always face the
rear of the vehicle and be in the fully
reclined position when the child weighs
between 5-35 lbs. (2.3-16 kg) and is less
than one year old.
Never place a child rear-facing in
a seating position with an active
frontal airbag.
4358-3340A Instrctions 11/15/04 9:18 AM Page 27


