Configuration
Technical Manual
81
V28 - 08/2019
Electronic safe lock
2.
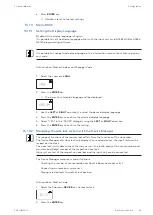
Press the ENTER key.
ð
The count will be displayed.
3.
Press the ENTER key to define a new time period.
4.
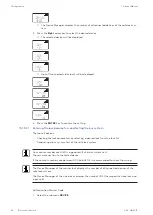
Use the LEFT or RIGHT arrow key to set the month, day and year for the starting point of
the Holiday Locking Period.
5.
Press the ENTER key to confirm the settings.
6.
Use the LEFT or RIGHT arrow key to set the month, day and year for the endpoint of the
Holiday Locking Period.
7.
Select "YES" in the "SAVE?" dialog by using the LEFT or RIGHT arrow key.
8. Press the ENTER key.
15.1.6.3.2
Changing an existing Holiday Locking Period
1.
Proceed as in the described sequence "Adding a Holiday Locking Period".
2.
Instead of pressing the ENTER key to define a new time period, use the RIGHT or LEFT ar-
row key to select the Holiday Locking Period to be changed.
3.
Overwrite the Holiday Locking Period.
15.1.6.3.3
Deleting an existing Holiday Locking Period
1.
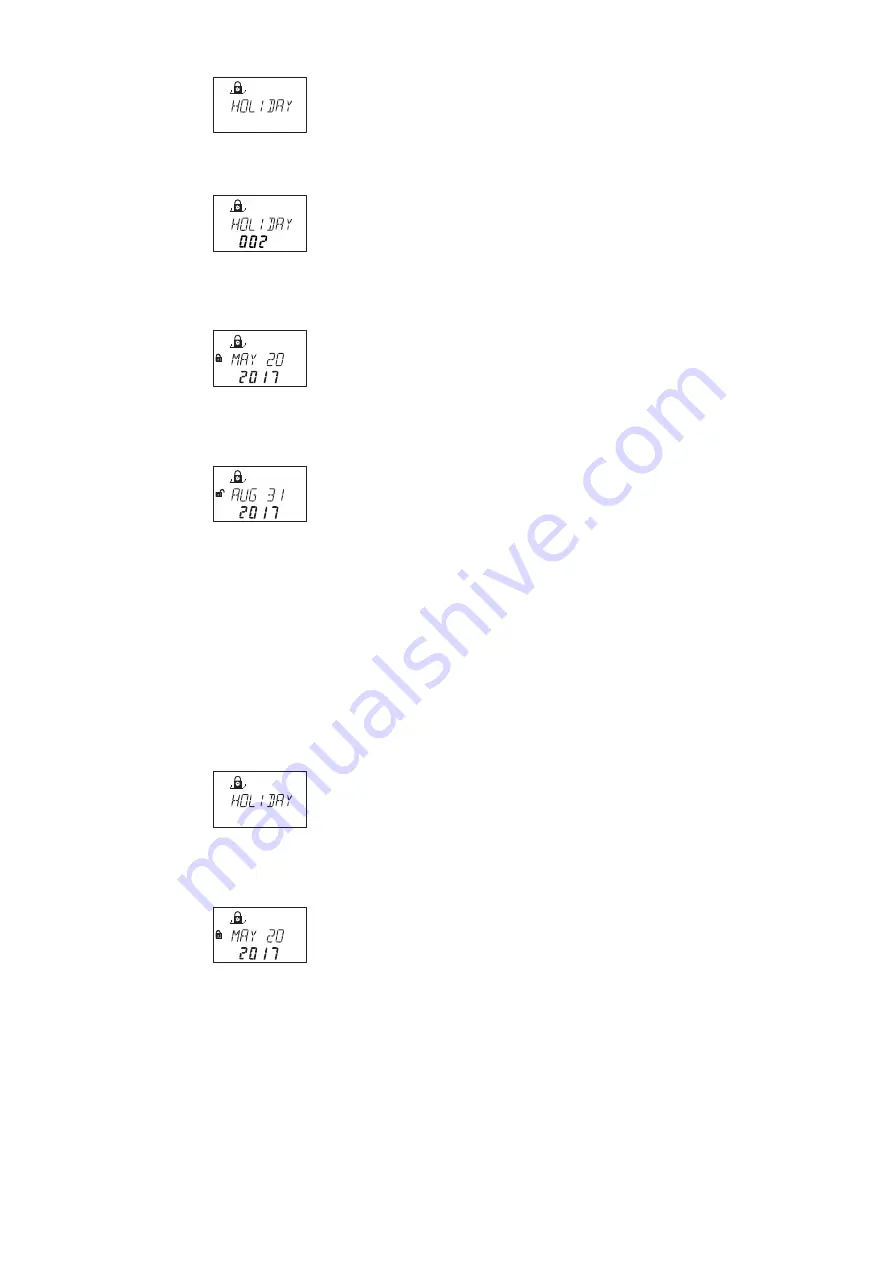
Select the submenu HOLIDAY.
2.
Press the ENTER key.
3.
Use the RIGHT or LEFT arrow key to select a starting point for the Holiday Locking Period
to be deleted.
4.
Press the DEL key.
5.
Select "YES" in the "CLEAR" dialog by using the LEFT or RIGHT key .
6.
Press the ENTER key to confirm the setting.
15.1.6.4
Configuring Time Locking Interruptions
It is possible to define up to 8 date-related Time Locking Interruptions.
During these Time Locking Interruptions it is possible to open the lock by overriding an existing
time locking period (for example Weekly Locking or Holiday Locking Period).
The set Time Locking Interruption will still be saved, even if the defined time and date have al-
ready elapsed.


