52
ED50
08-2018
DL4614-140
dormakaba ED50 OHC Installation Instructions
Chapter 25
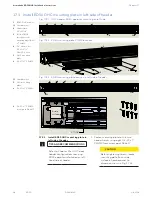
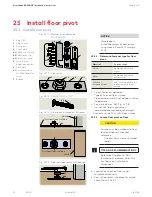
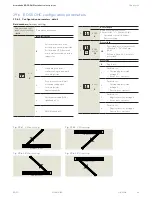
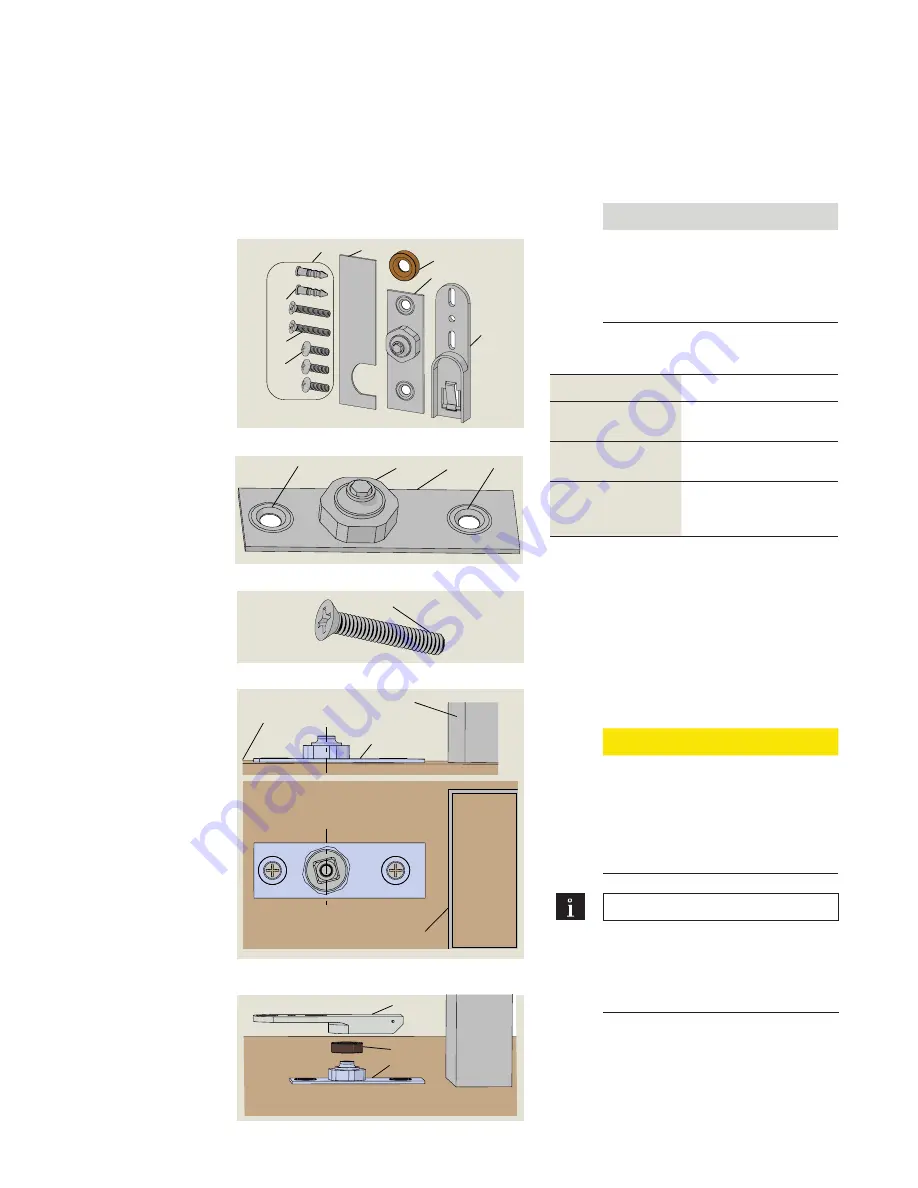
Fig. 25.1.1 Bottom pivot assembly
DC0735-020
3
4
5
6
7
4.2
4.1
4.3
1
Plug, 1 1/2"
2
Plug, 10 mm
3
Door pivot
4
Screw pack
4.1
PHMS, 1/4-20 x 3/4"
4.2
FHMS, #14 x 1 1/2"
4.3
Anchor (not used)
5
Wrench, pivot
height adjustment
6
Floor pivot
6.1
Countersunk hole
for #14 FH machine
screw
7
Bearing
25 Install floor pivot
25.1 Install floor pivot
6
6.1
6.1
6.2
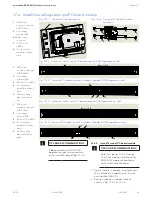
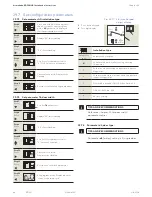
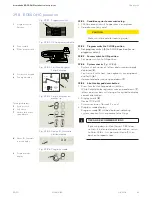
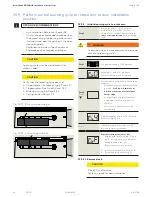
Fig. 25.1.2 Floor pivot
Fig. 25.1.3 FHMS, 1/4-20 x 1 1/2"
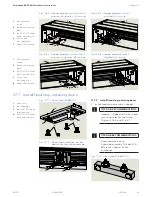
Fig. 25.1.4 Floor pivot installation, RH jamb
NOTICE
Double doors
Install floor pivots at both jambs
using steps in Para. 25.1.1 through
25.1.3
25.1.1 Determine fastener type for floor
pivot.
Material
Fastener type
Wood
Phillips #14 FH wood
screw
Metal
Phillips #14 FH sheet
metal screw
Concrete /
brick and mortar
1/4” concrete anchor for
#14 screw or Tapcon®
screws
1. Select fasteners plated on:
• Type of finished floor surface.
• Floor material under finished floor surface,
if applicable.
2. Concrete anchor: Ref. Fig. 25.1.8.
• Insure that floor material can
accommodate required anchor depth.
• Anchor must be flush with floor surface.
25.1.2 Locate floor pivot on floor
CAUTION
Jambs must be installed and floor
level and flatness checked;
reference:
• Chapter 16; customer installed
jambs.
TIPS AND RECOMMENDATIONS
Reference Chapter 14, OHC
Installation Template, Para. 14.3
for floor pivot installation
dimensions.
3. Locate floor pivot on floor using
template dimensions.
4. Secure floor pivot into place for plumb
check (Para. 25.1.3).
4.2
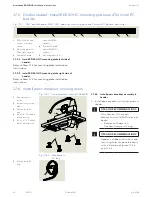
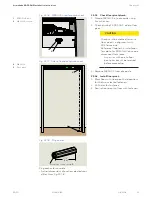
Fig. 25.1.5 Floor and door pivot with bearing
3
6
7
6
Finished floor surface
Jamb
Finished floor surface
Jamb

